Loading
Tourbillon Mechanica - Tourbillon Escapement Mechanical Clock (Assembly guide pdf in description)
Published 2020-06-15T15:40:14+00:00


$25.00 Tourbillon Mechanica - Tourbillon Escapement Mechanical Clock (Assembly guide pdf in description)
Published 2020-06-15T15:40:14+00:00
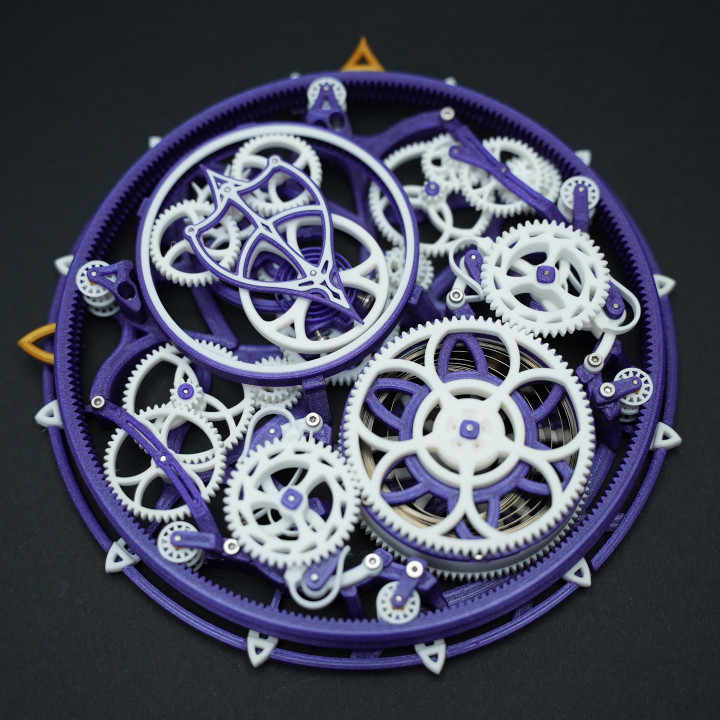
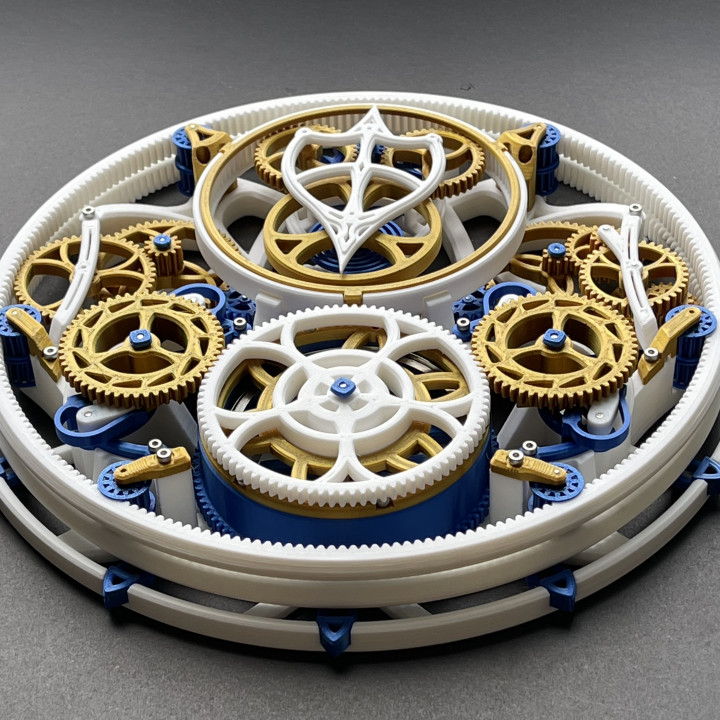
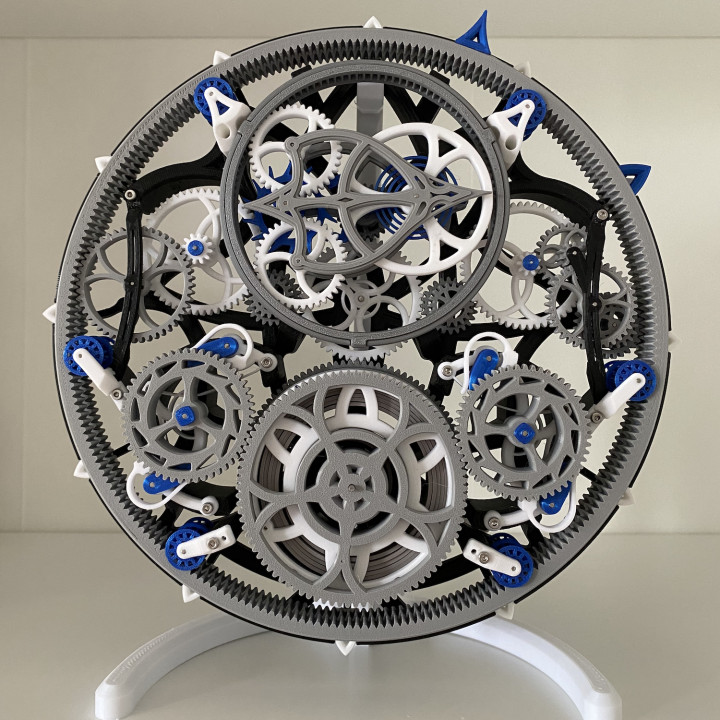
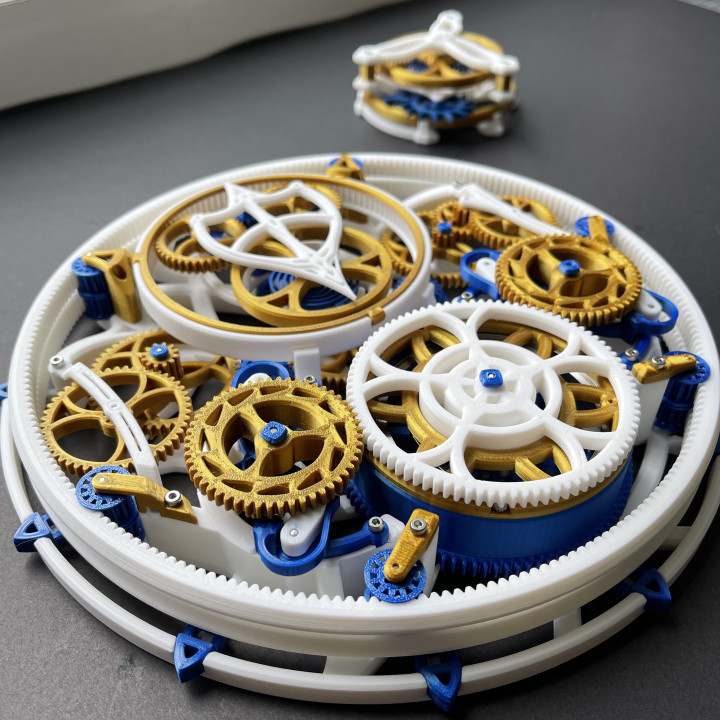
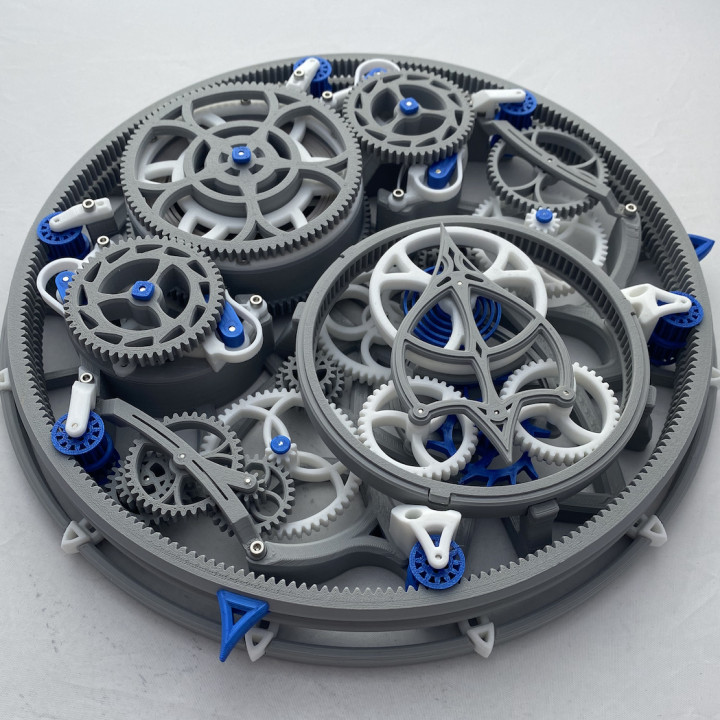
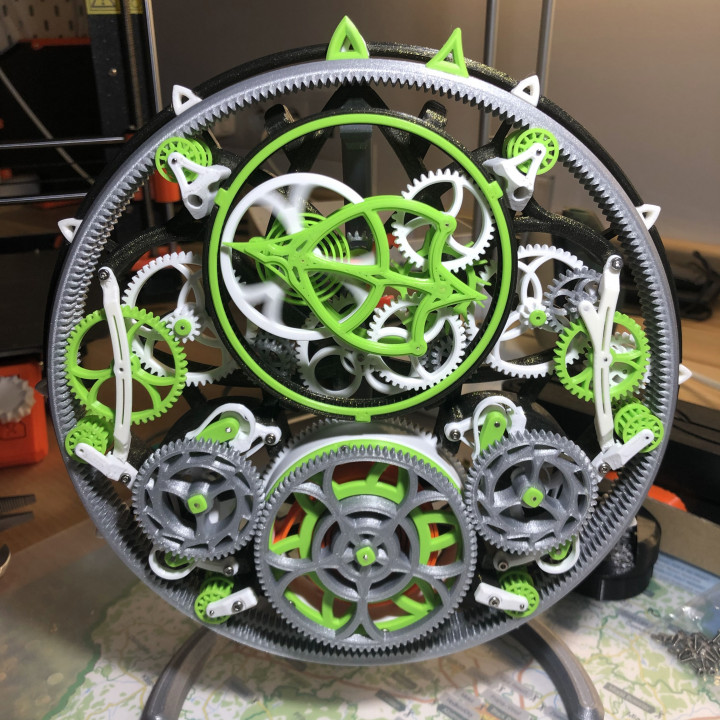
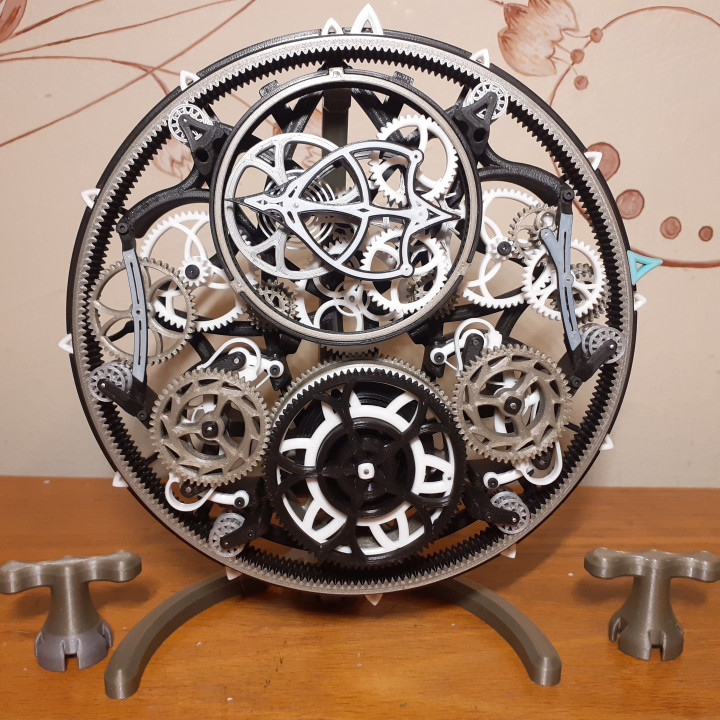
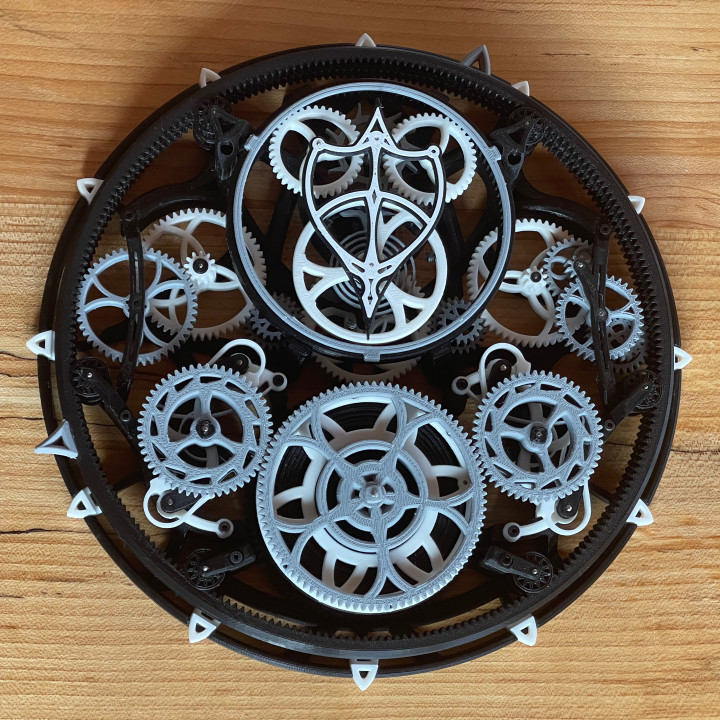
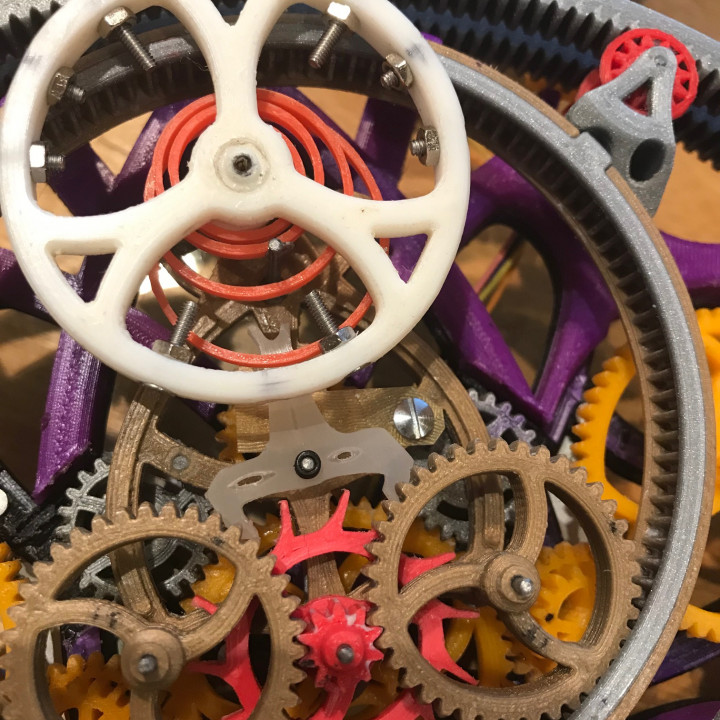
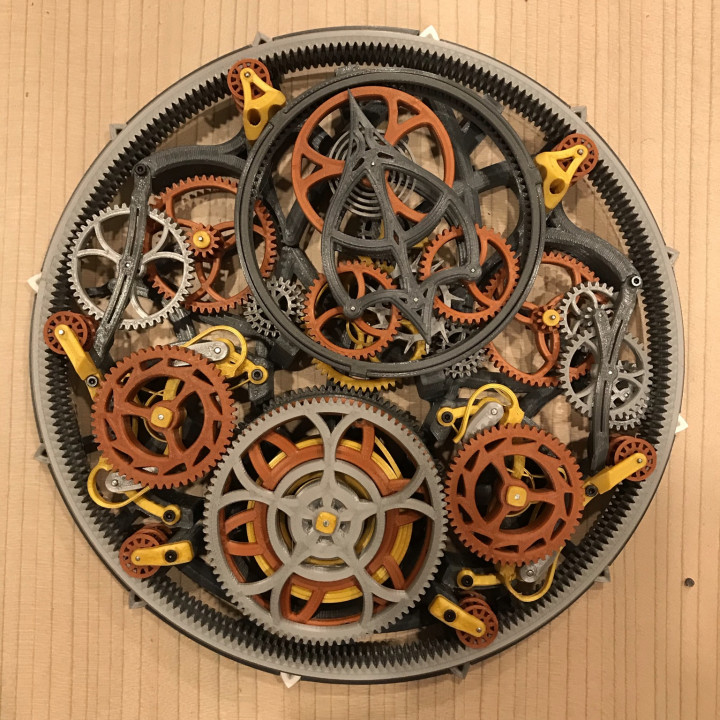
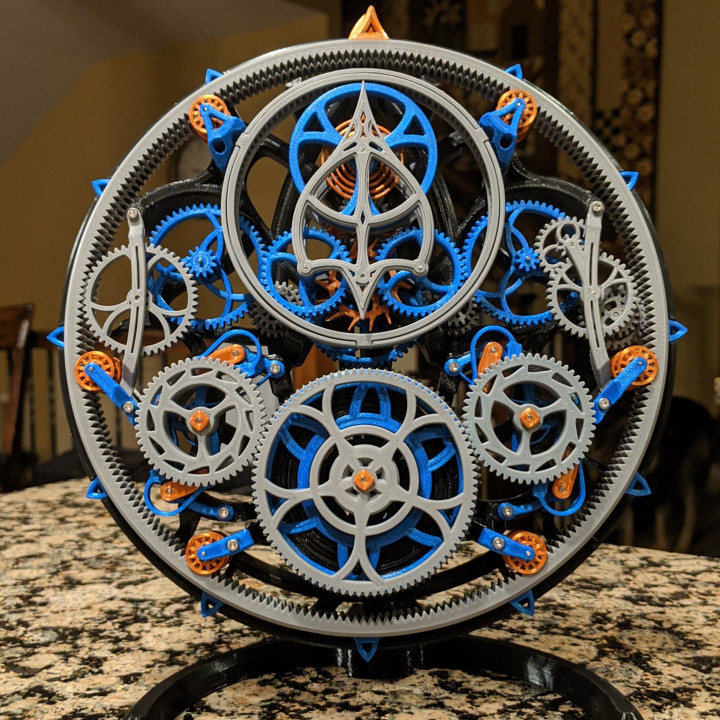
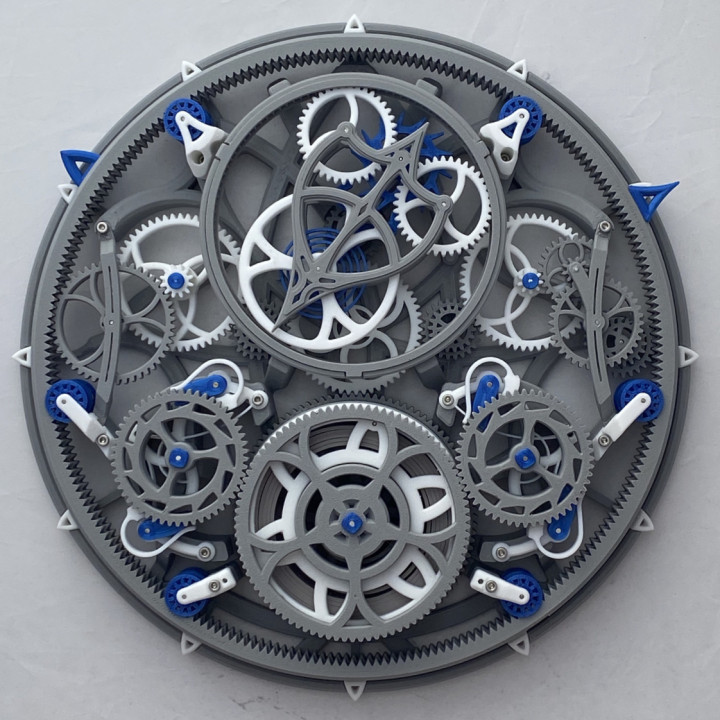
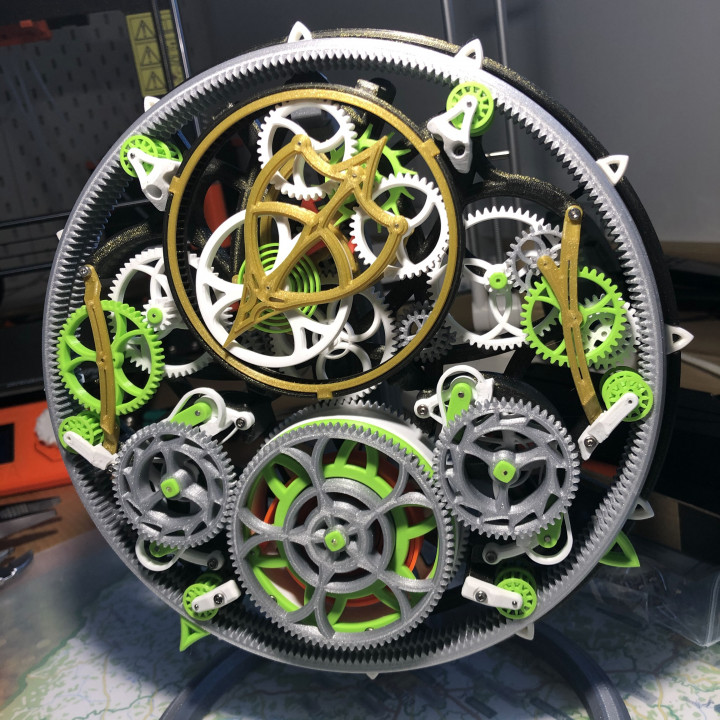
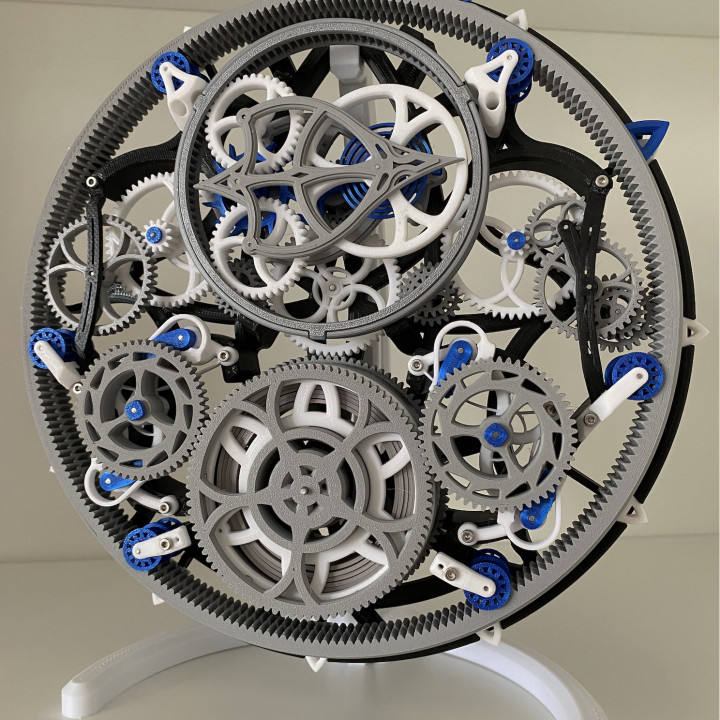
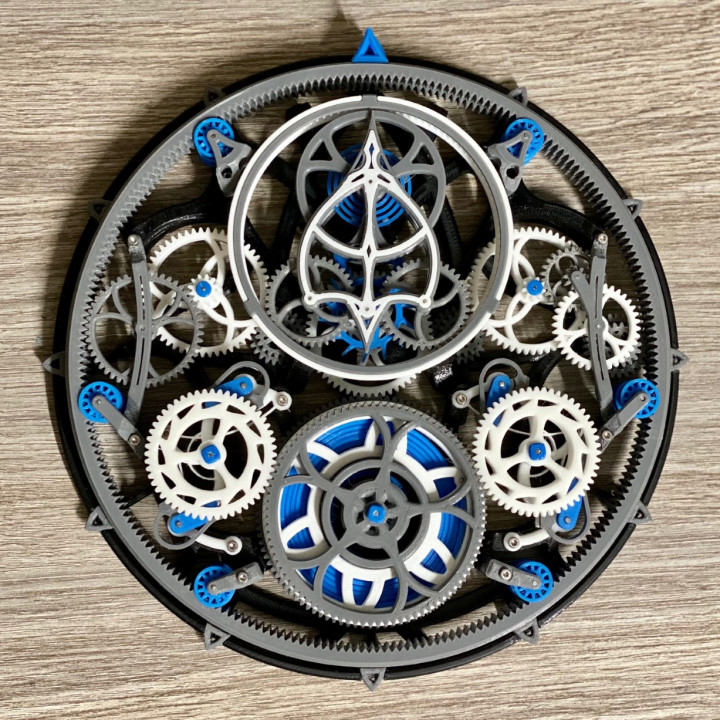
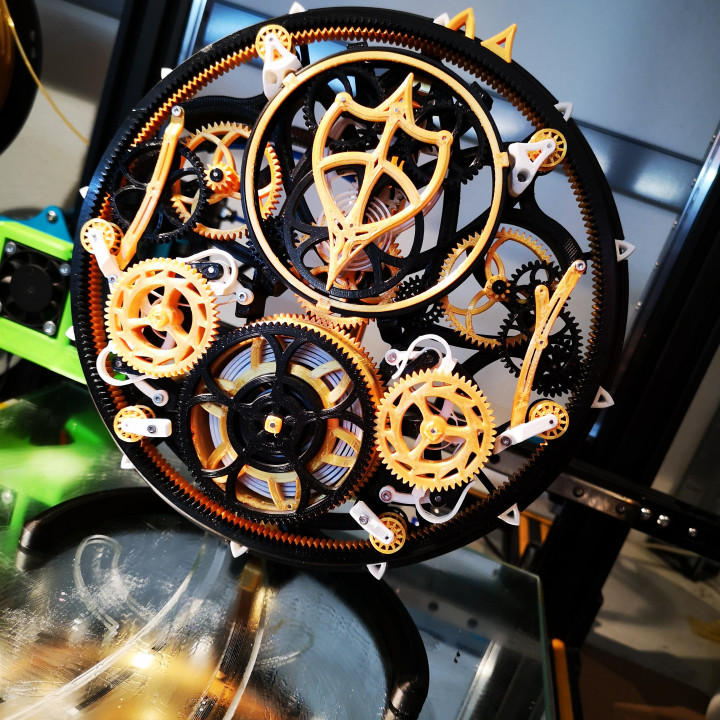
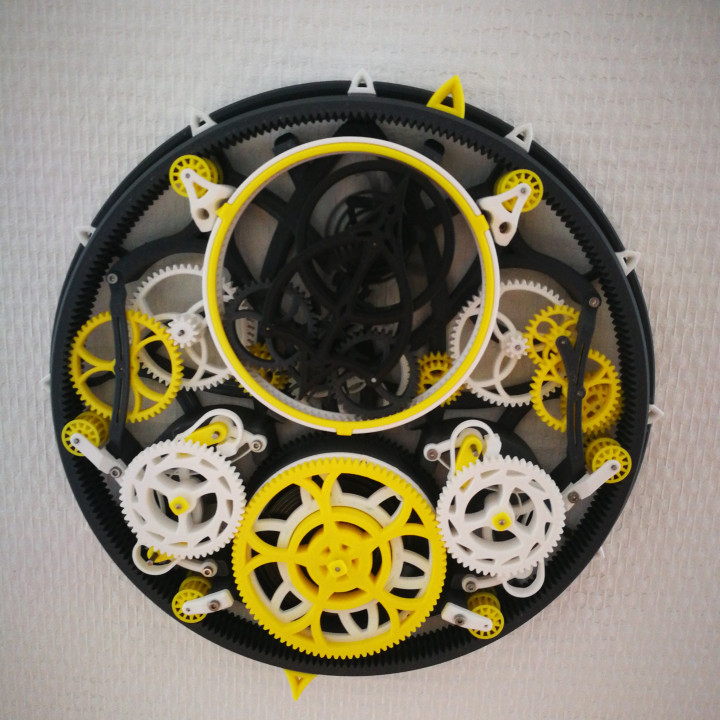
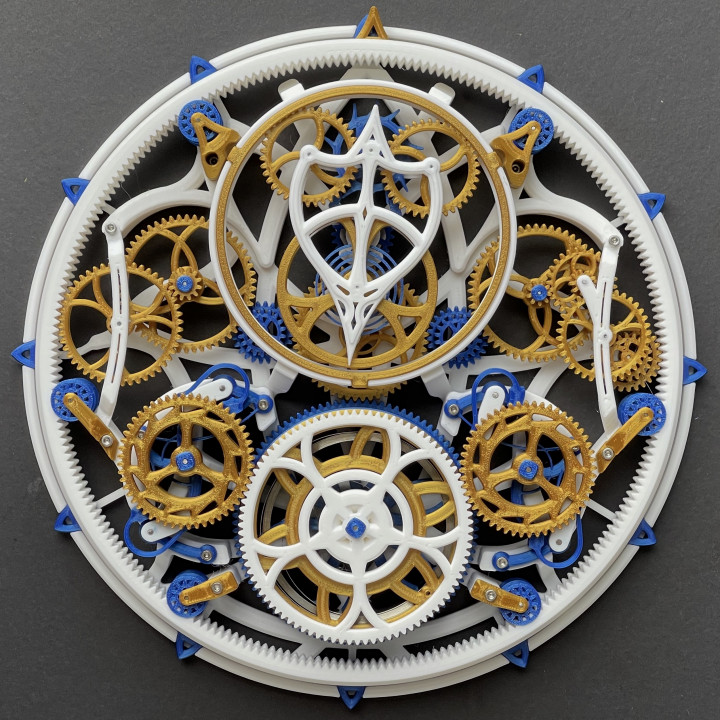
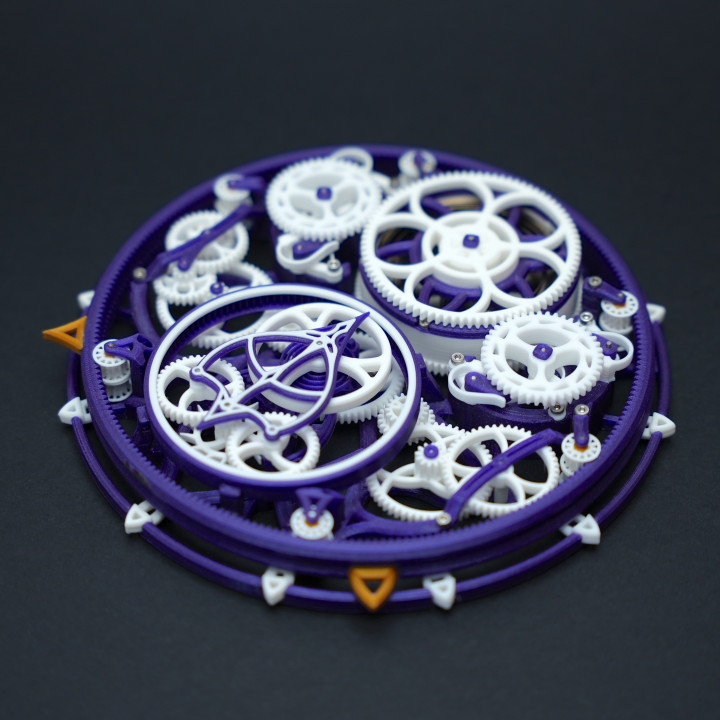
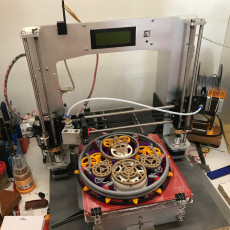
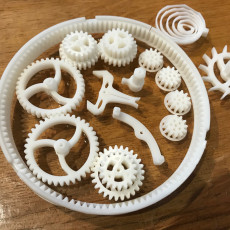
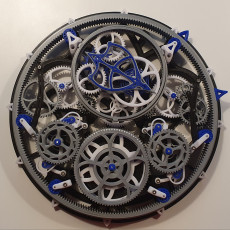
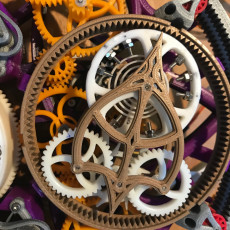
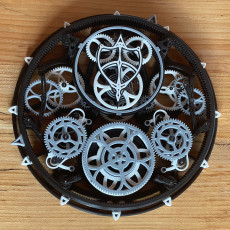
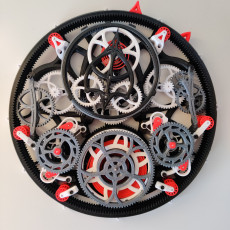
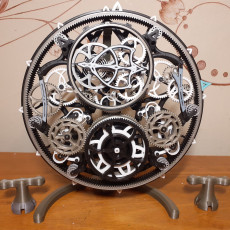
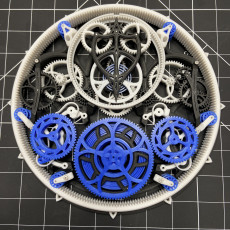
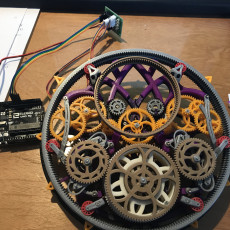
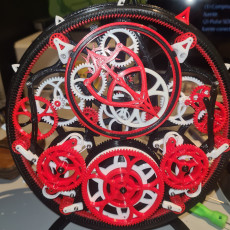
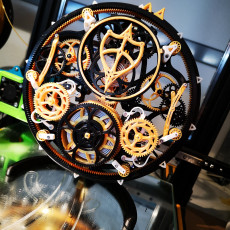
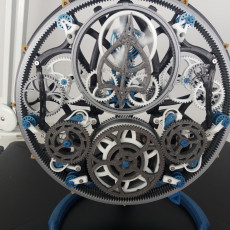
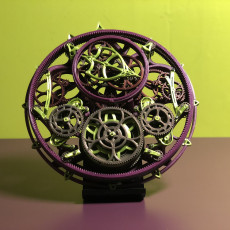
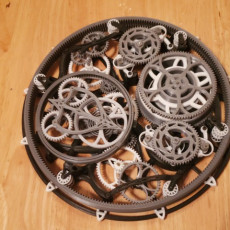
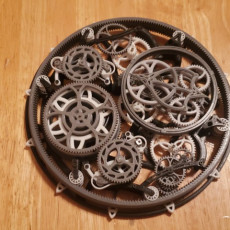
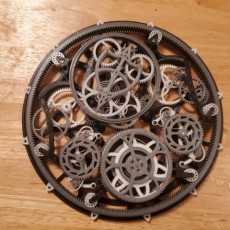
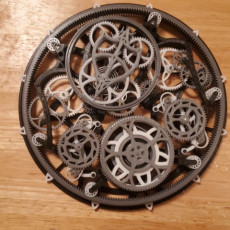
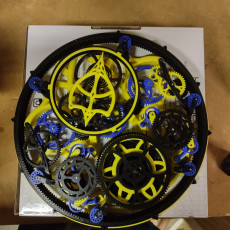
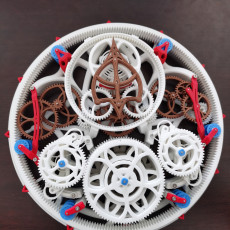
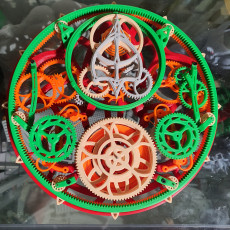
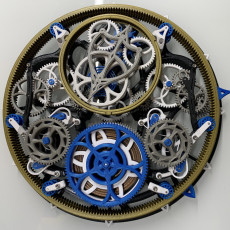
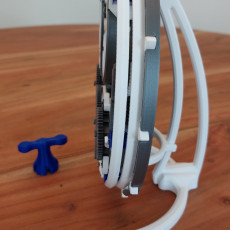
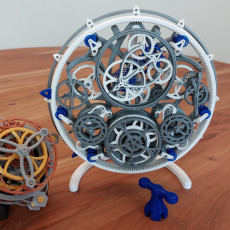
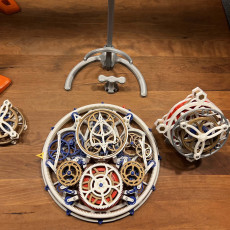
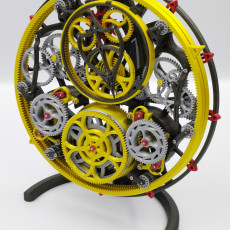
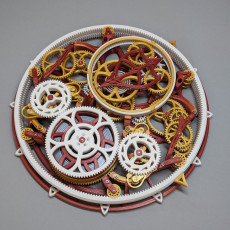
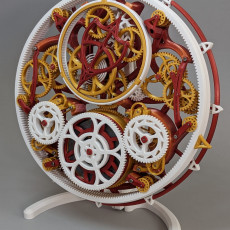
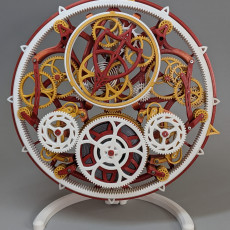
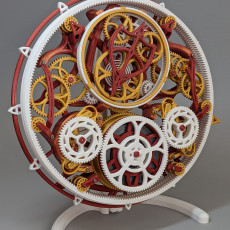
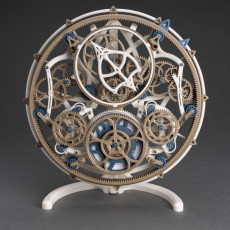
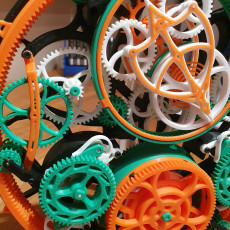
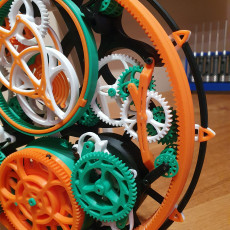
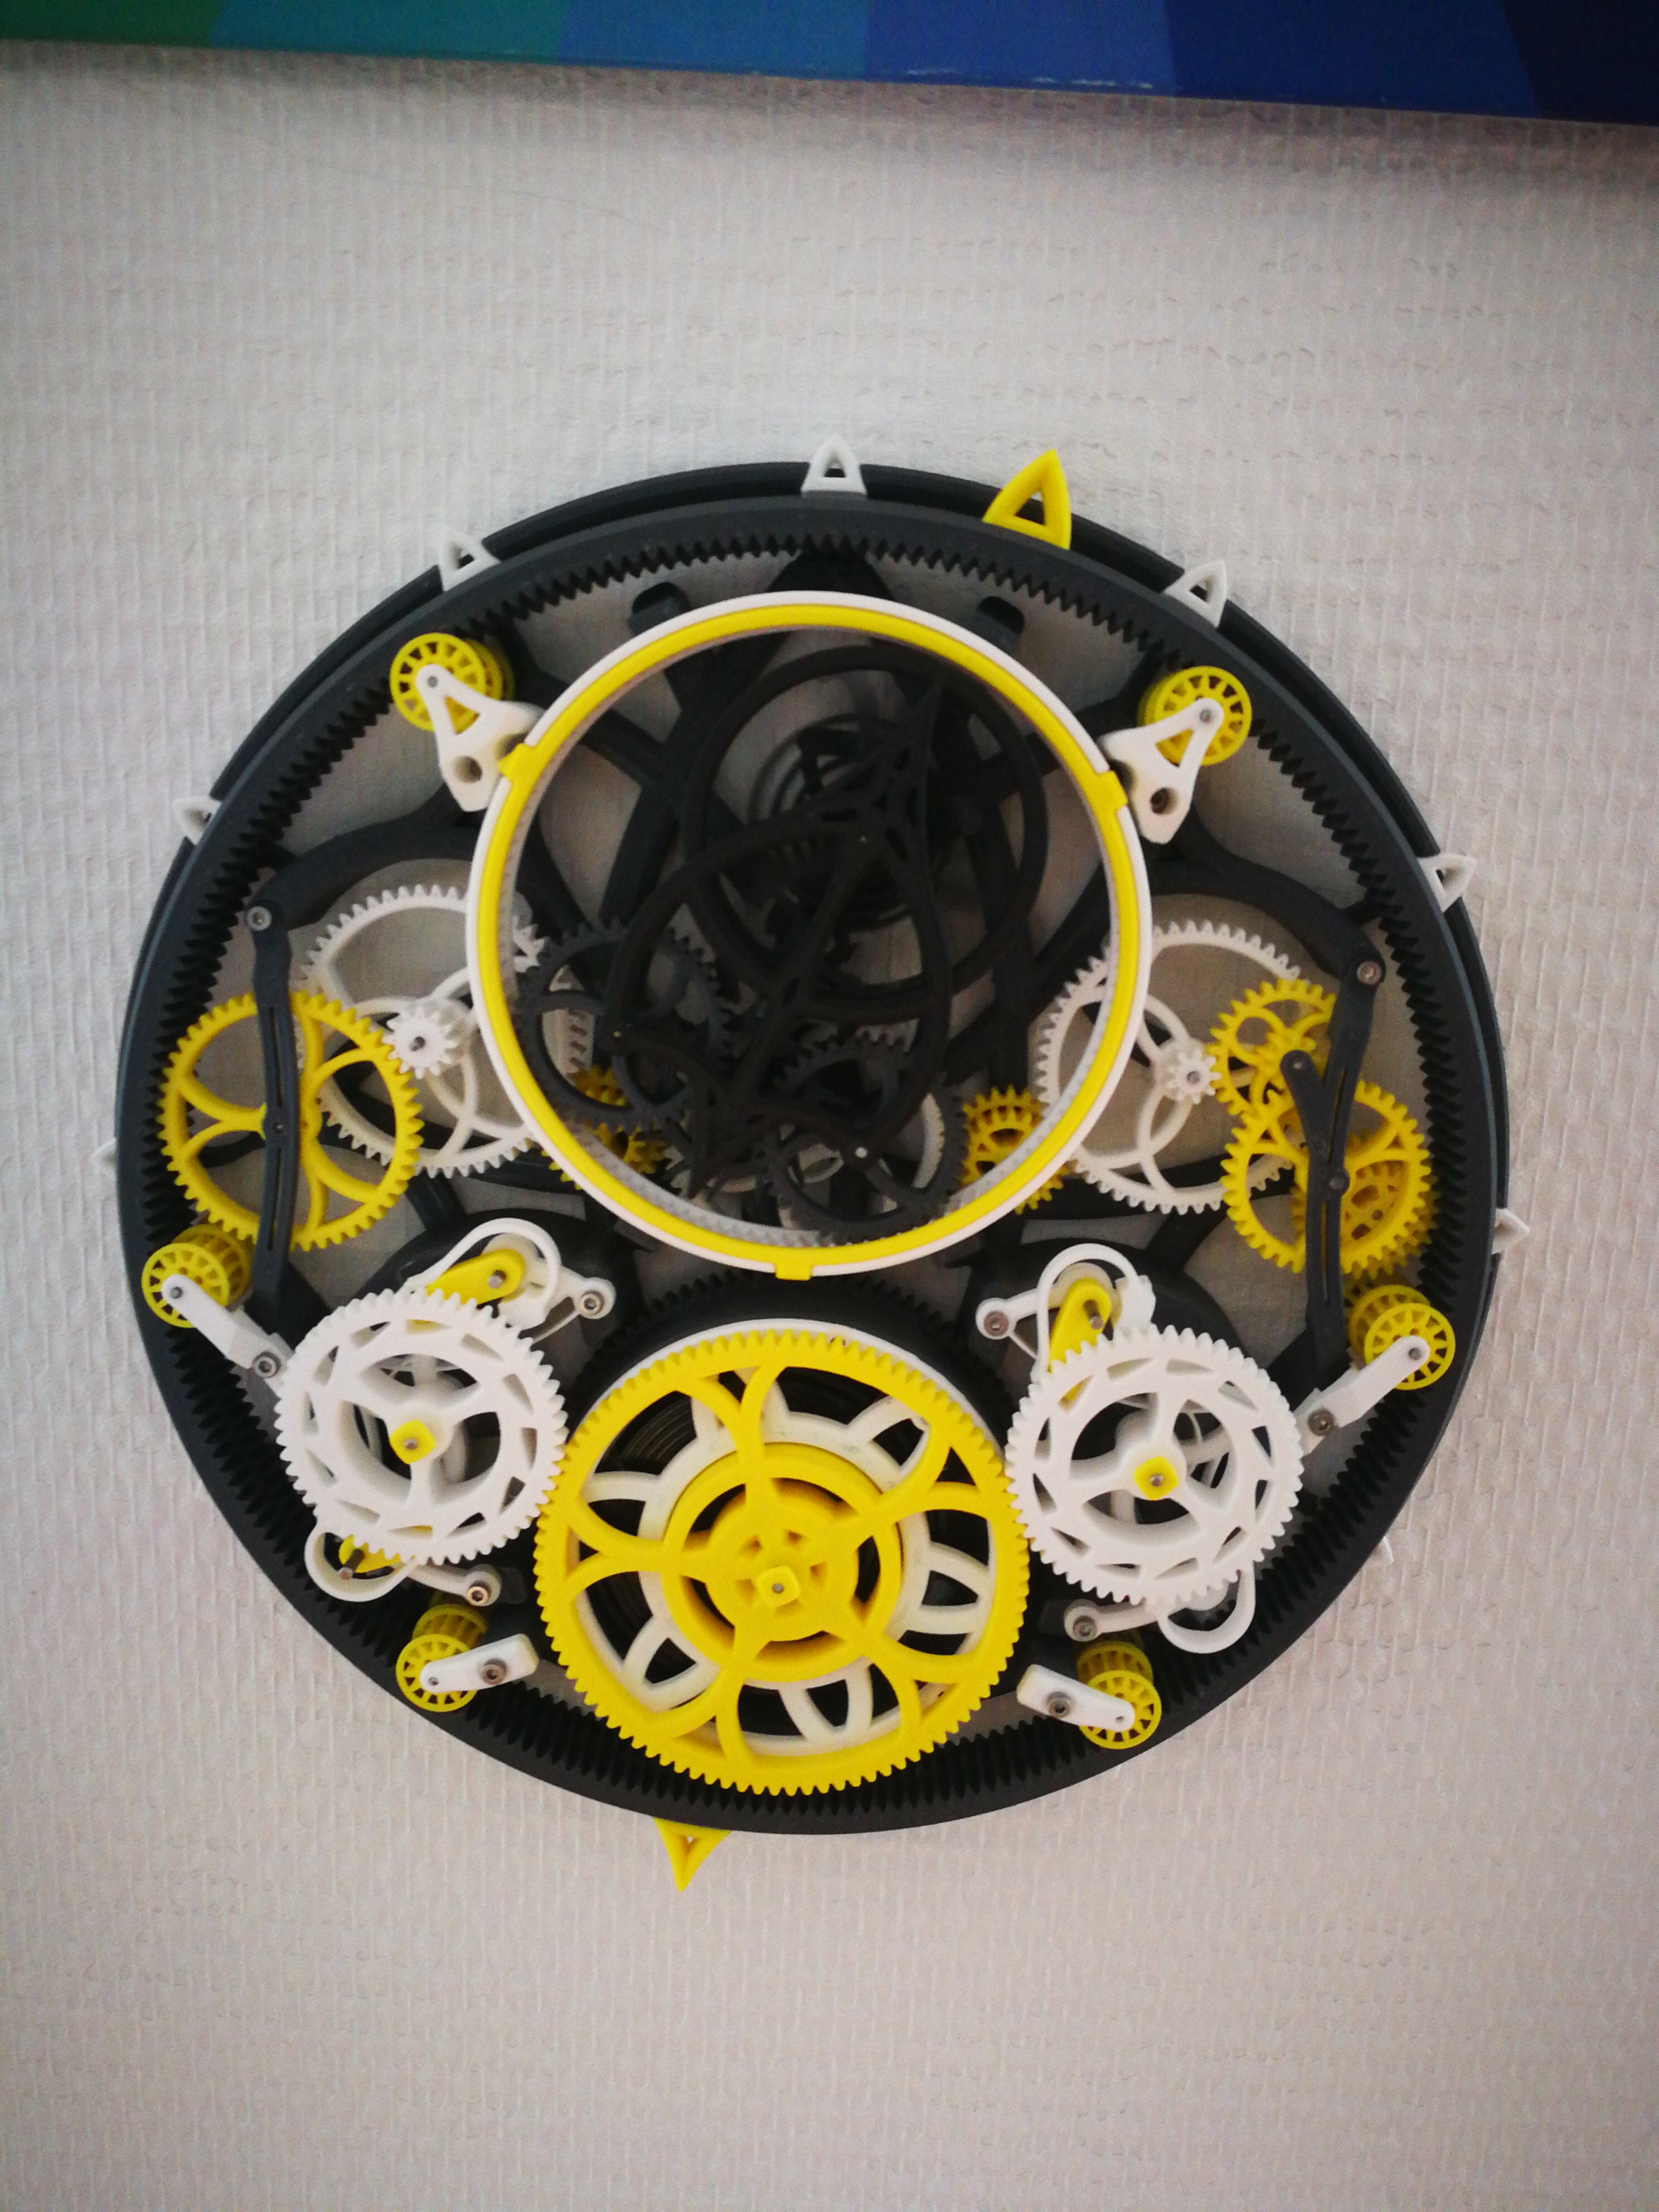
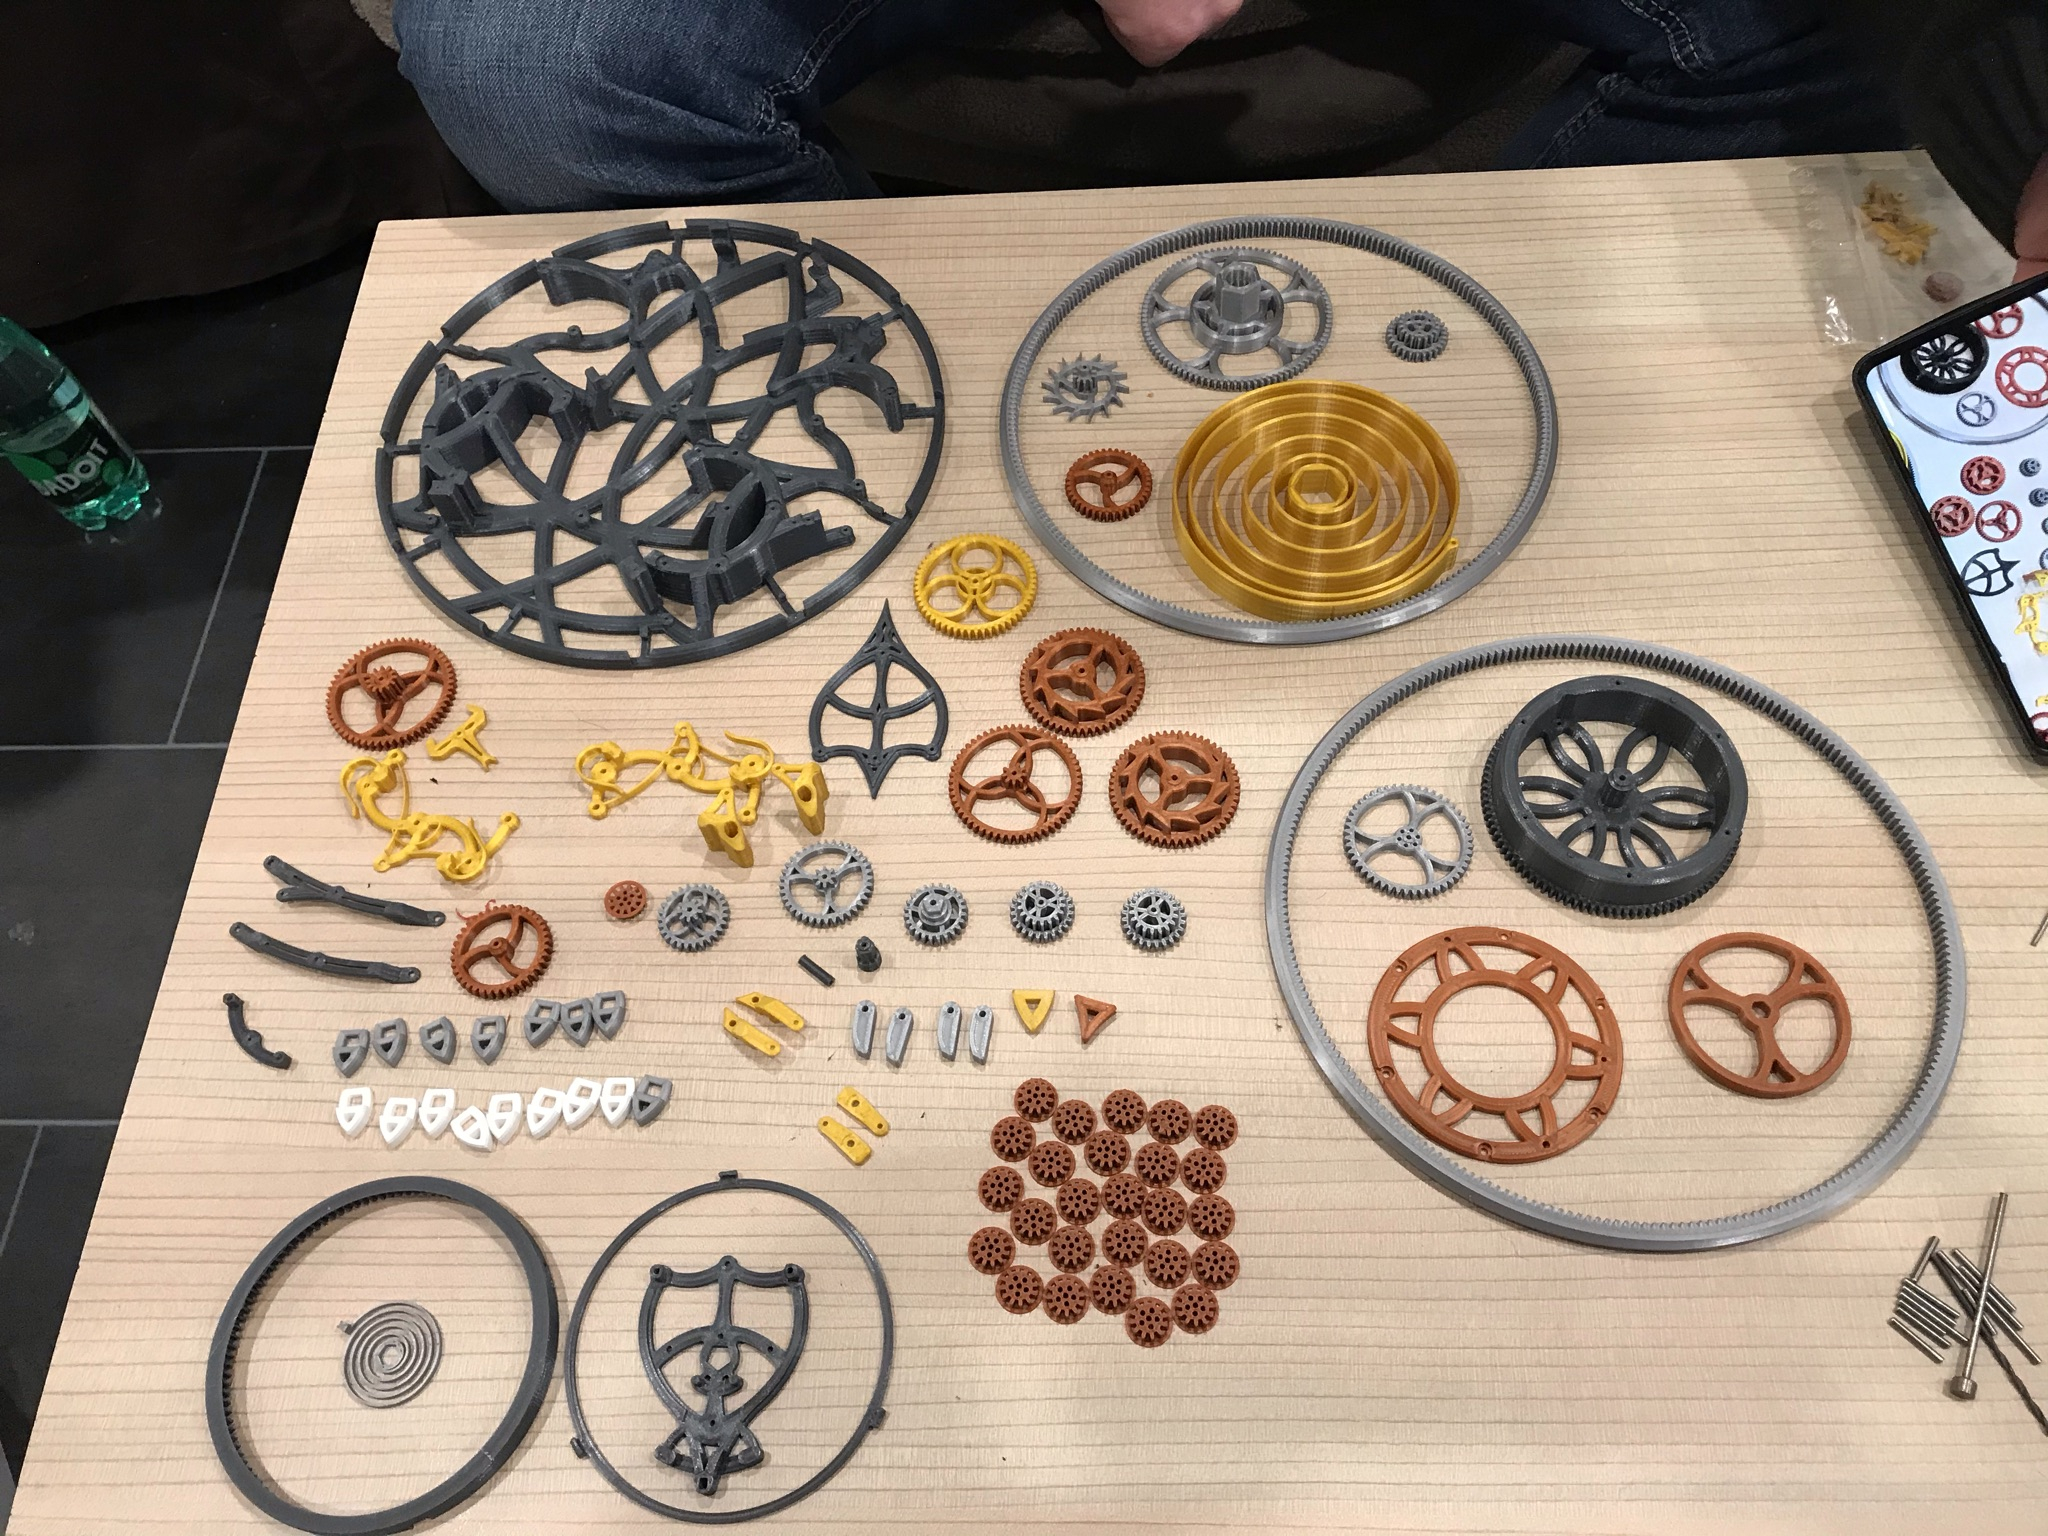
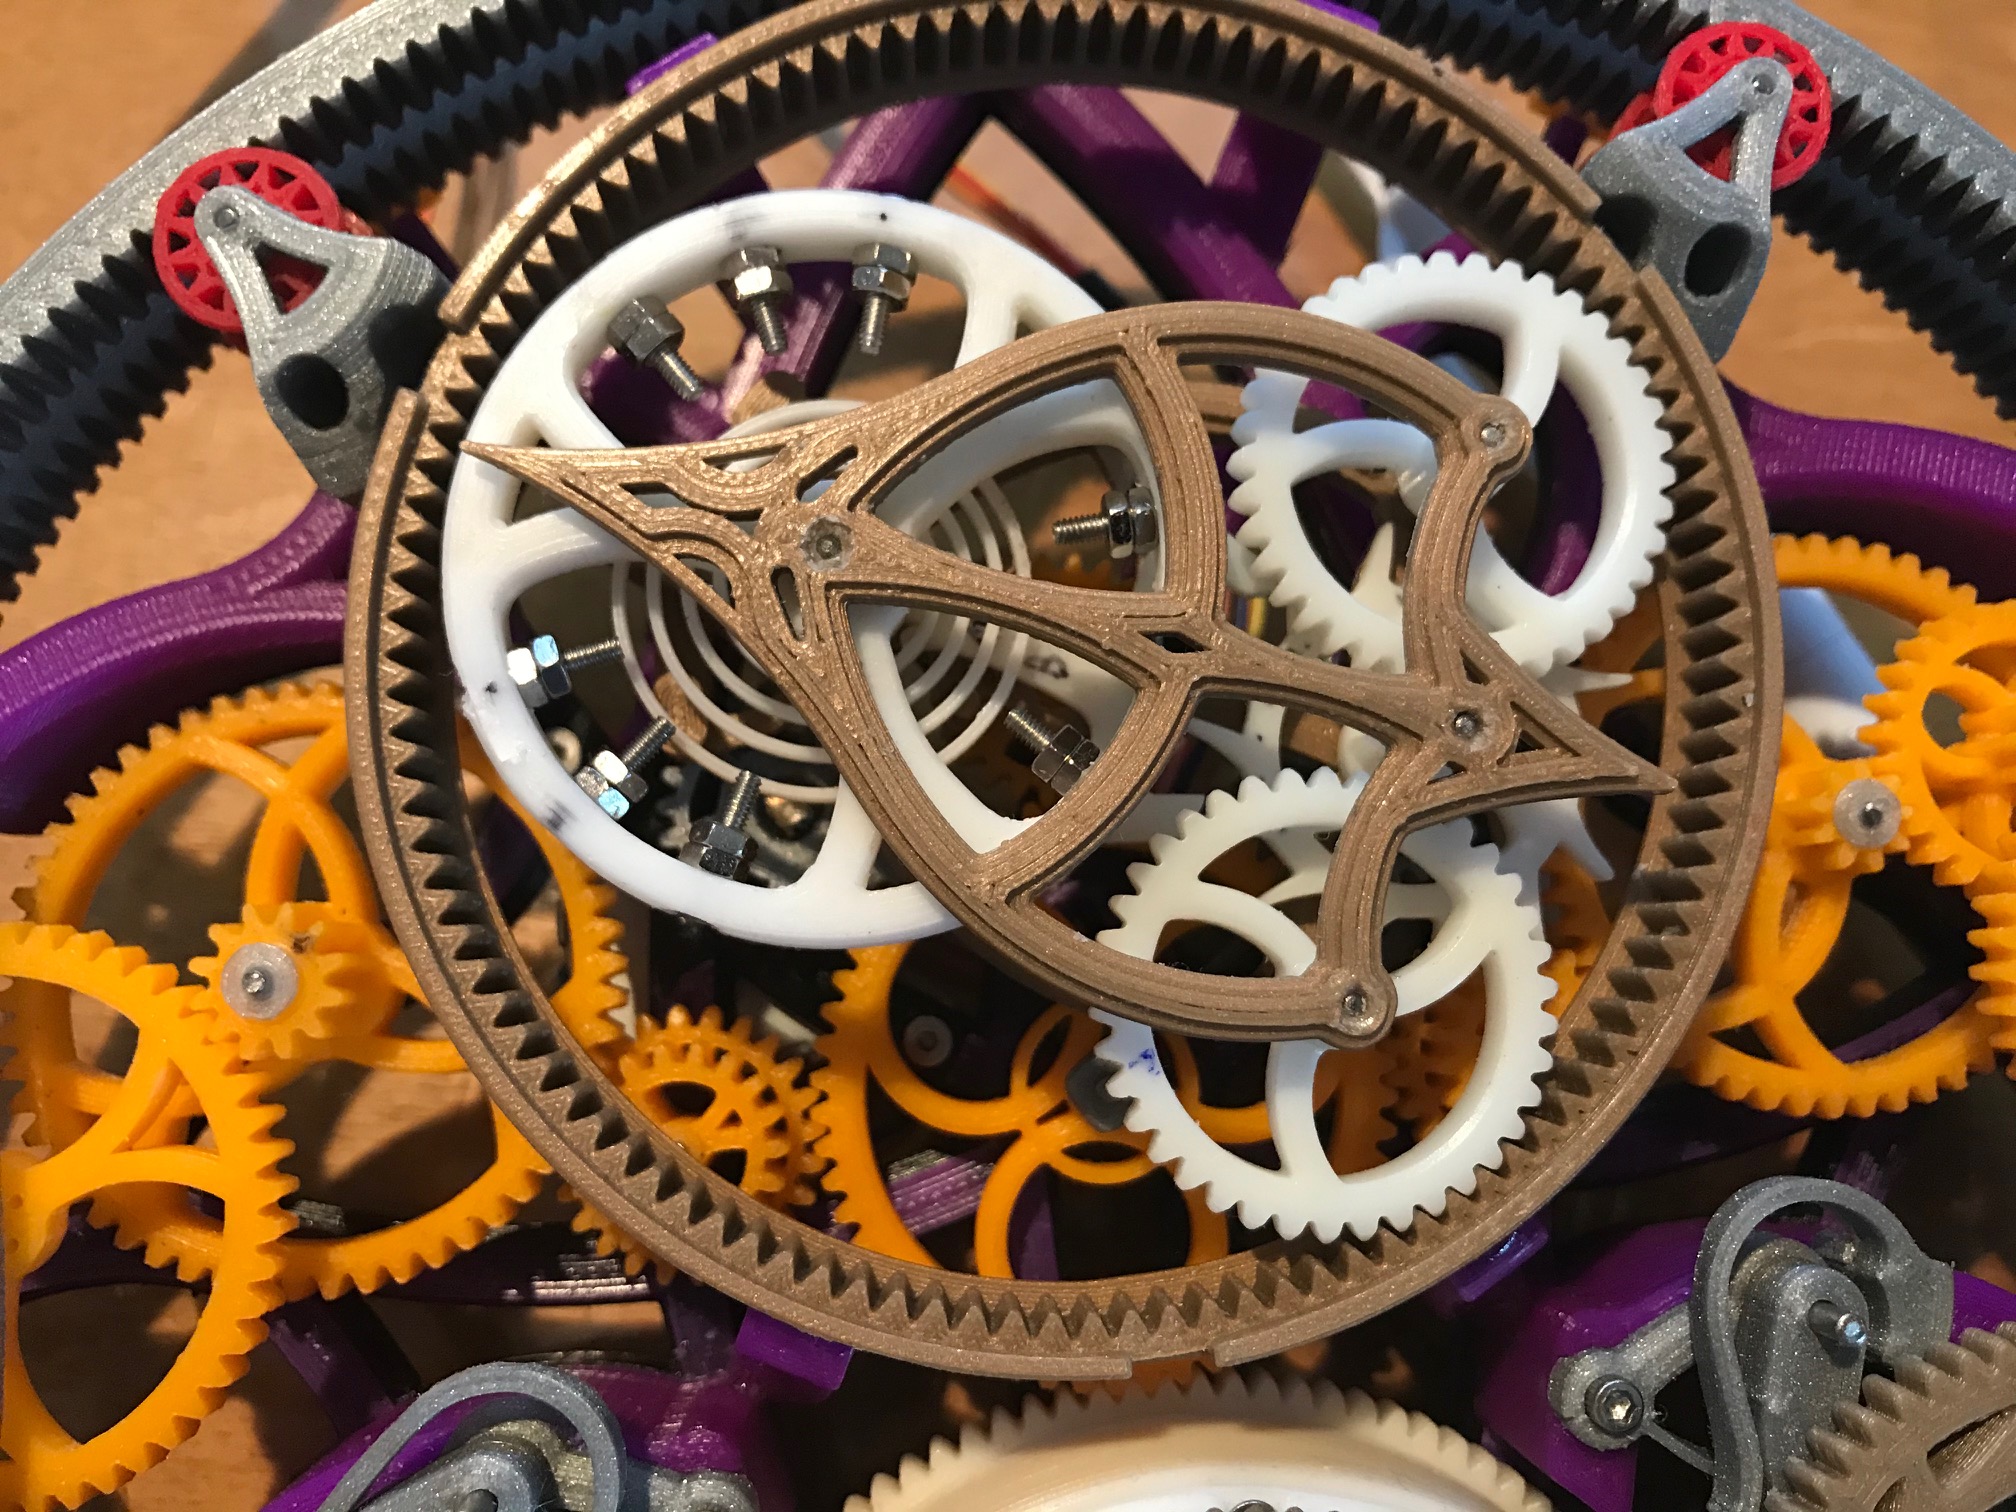
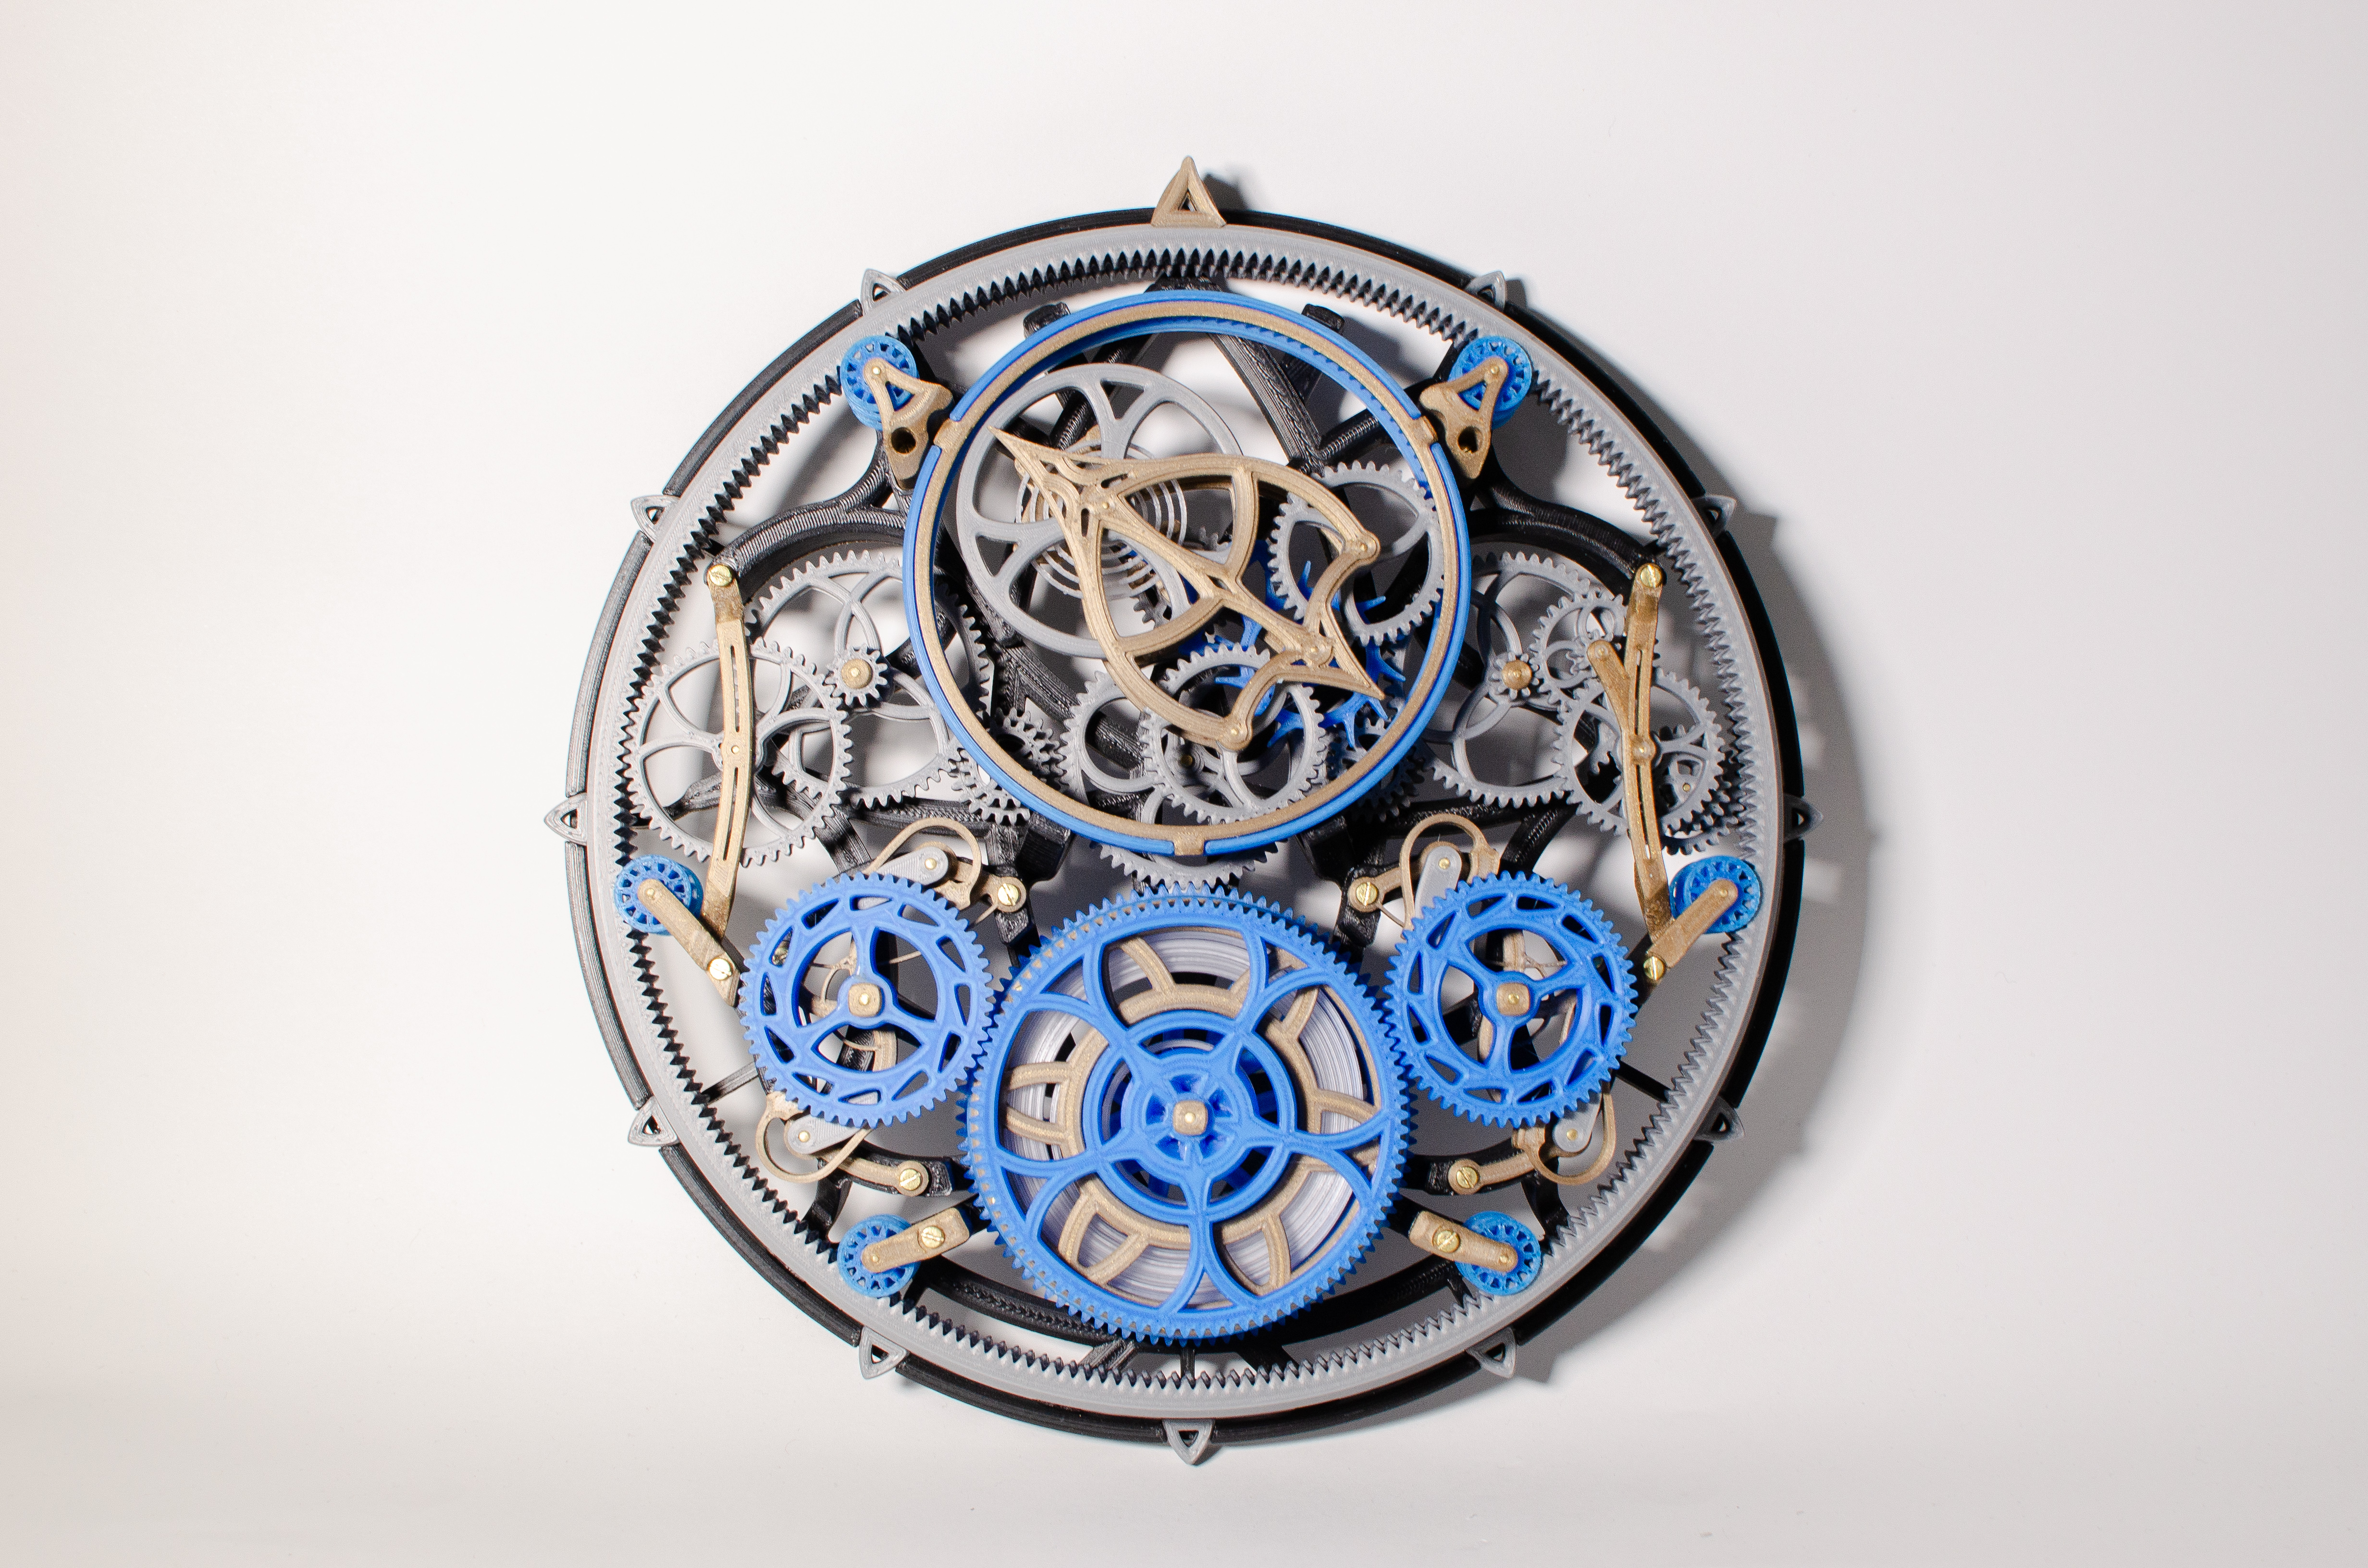
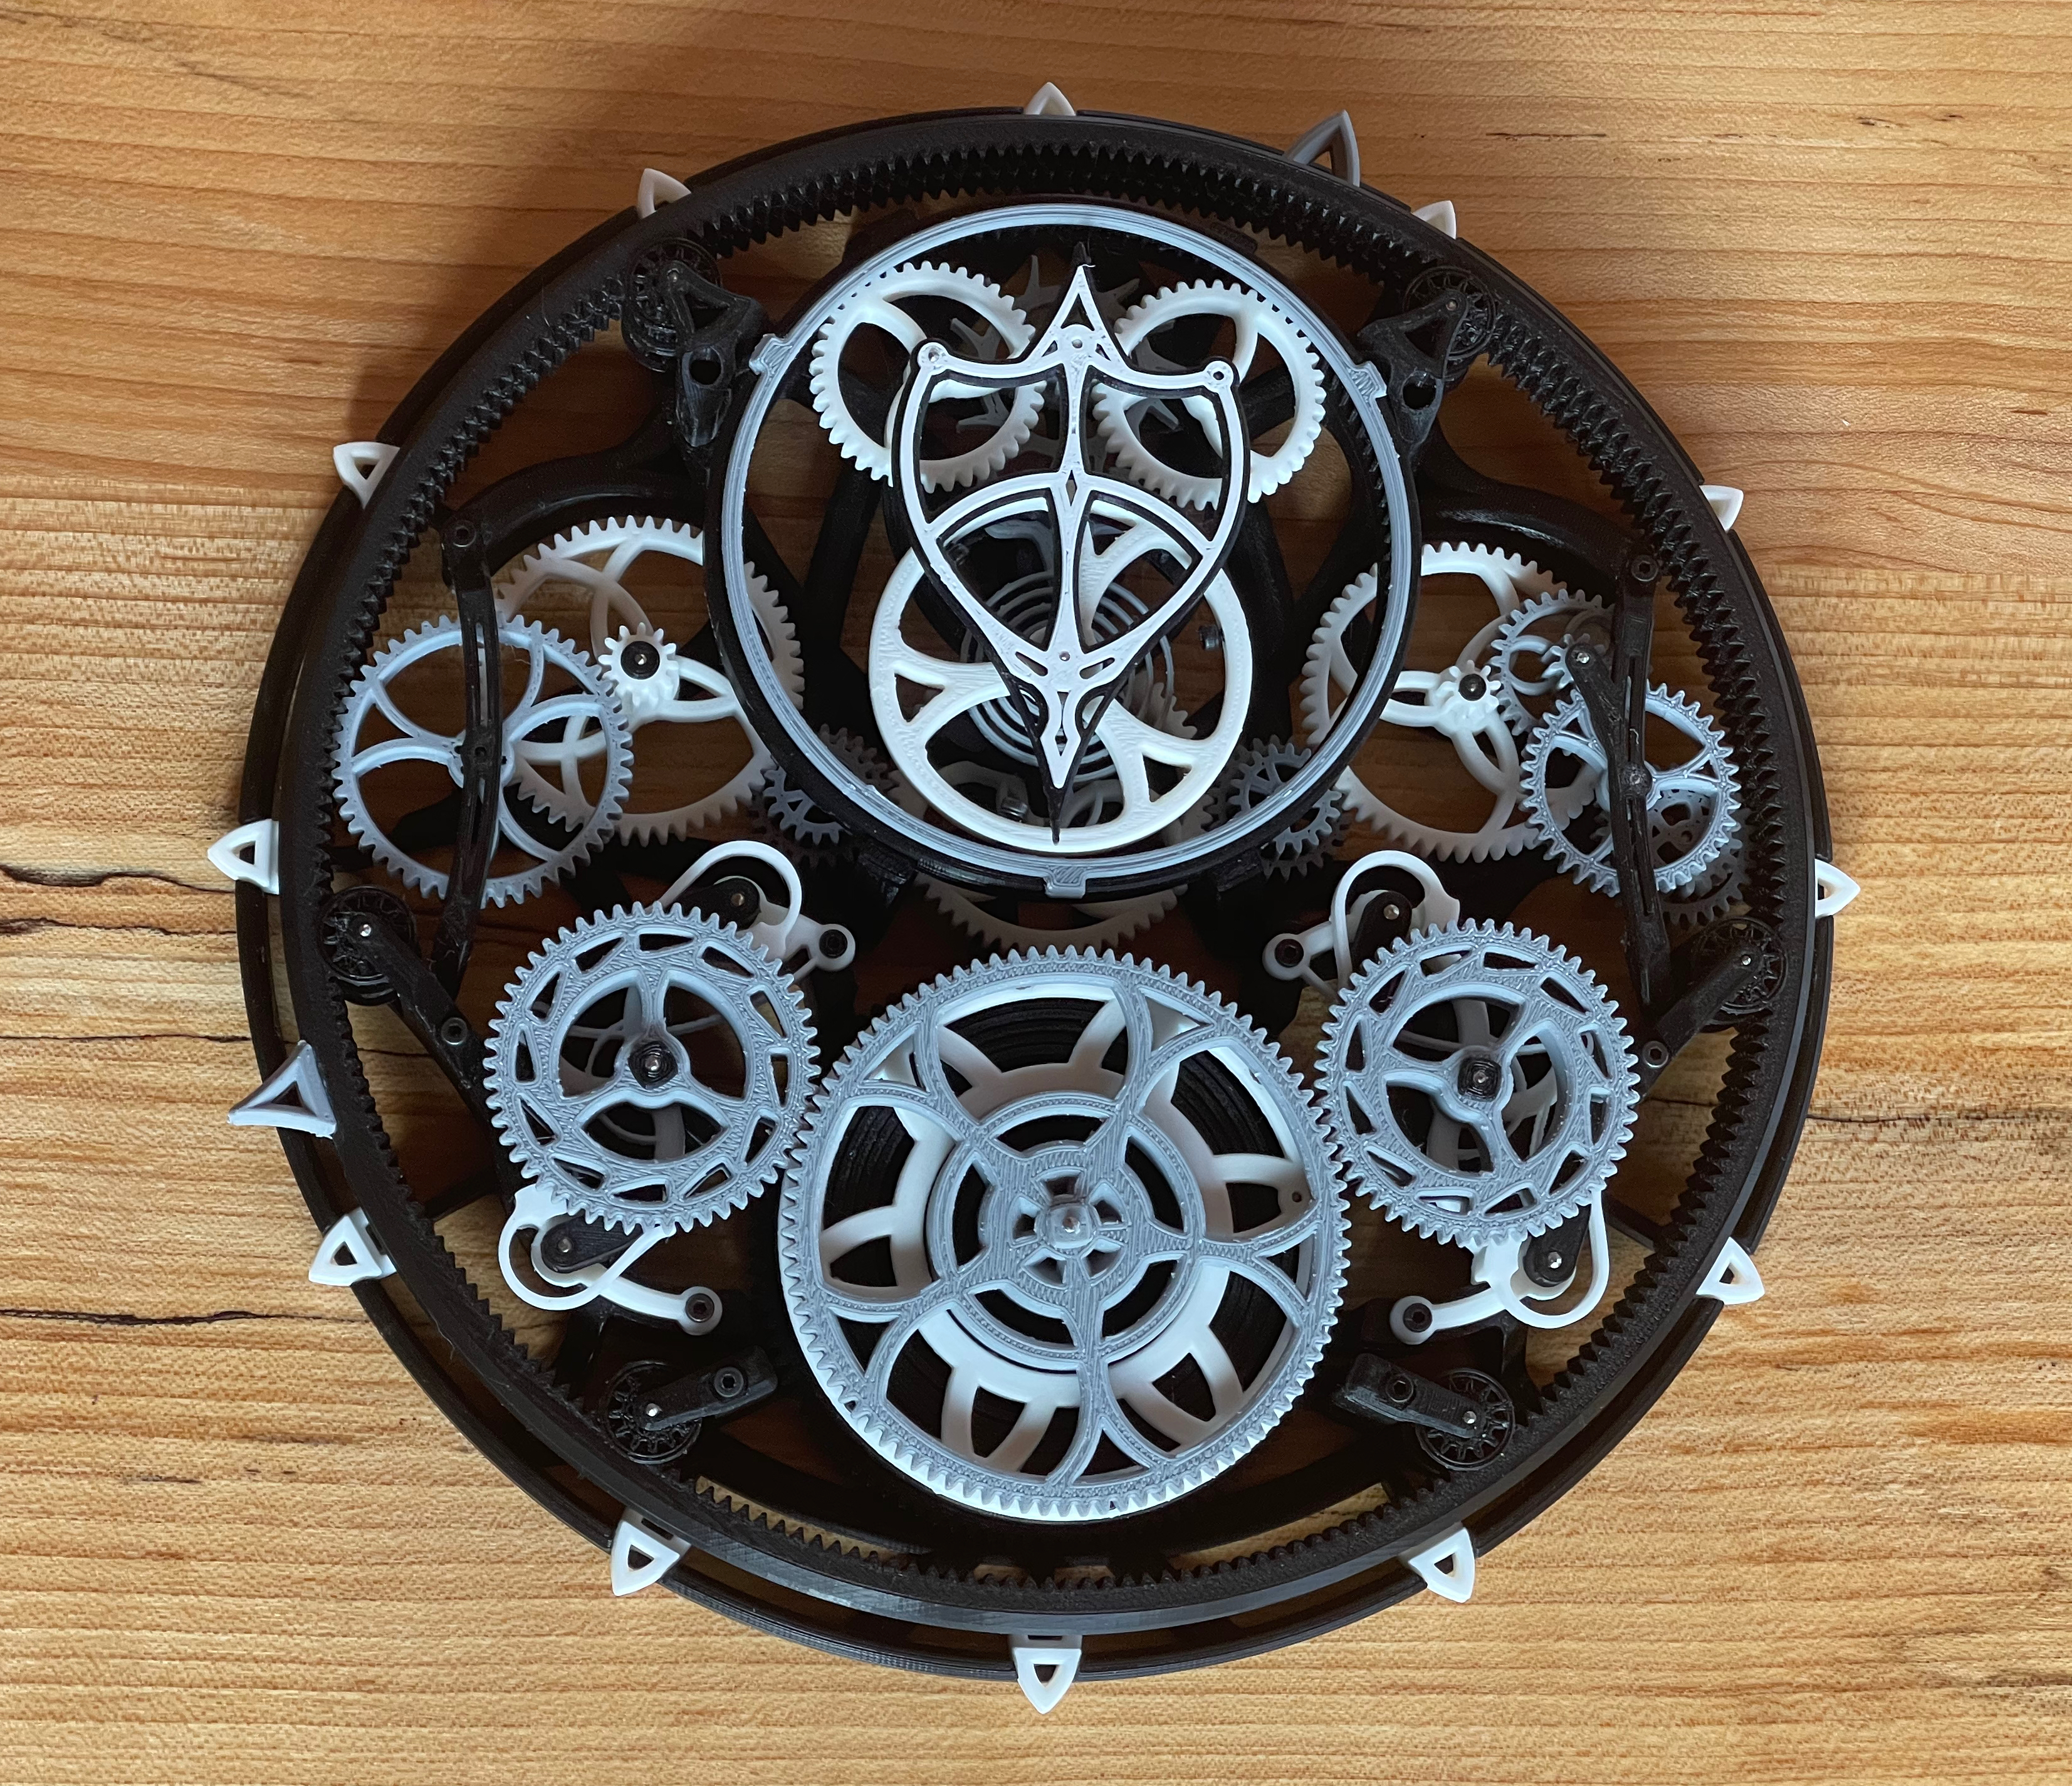
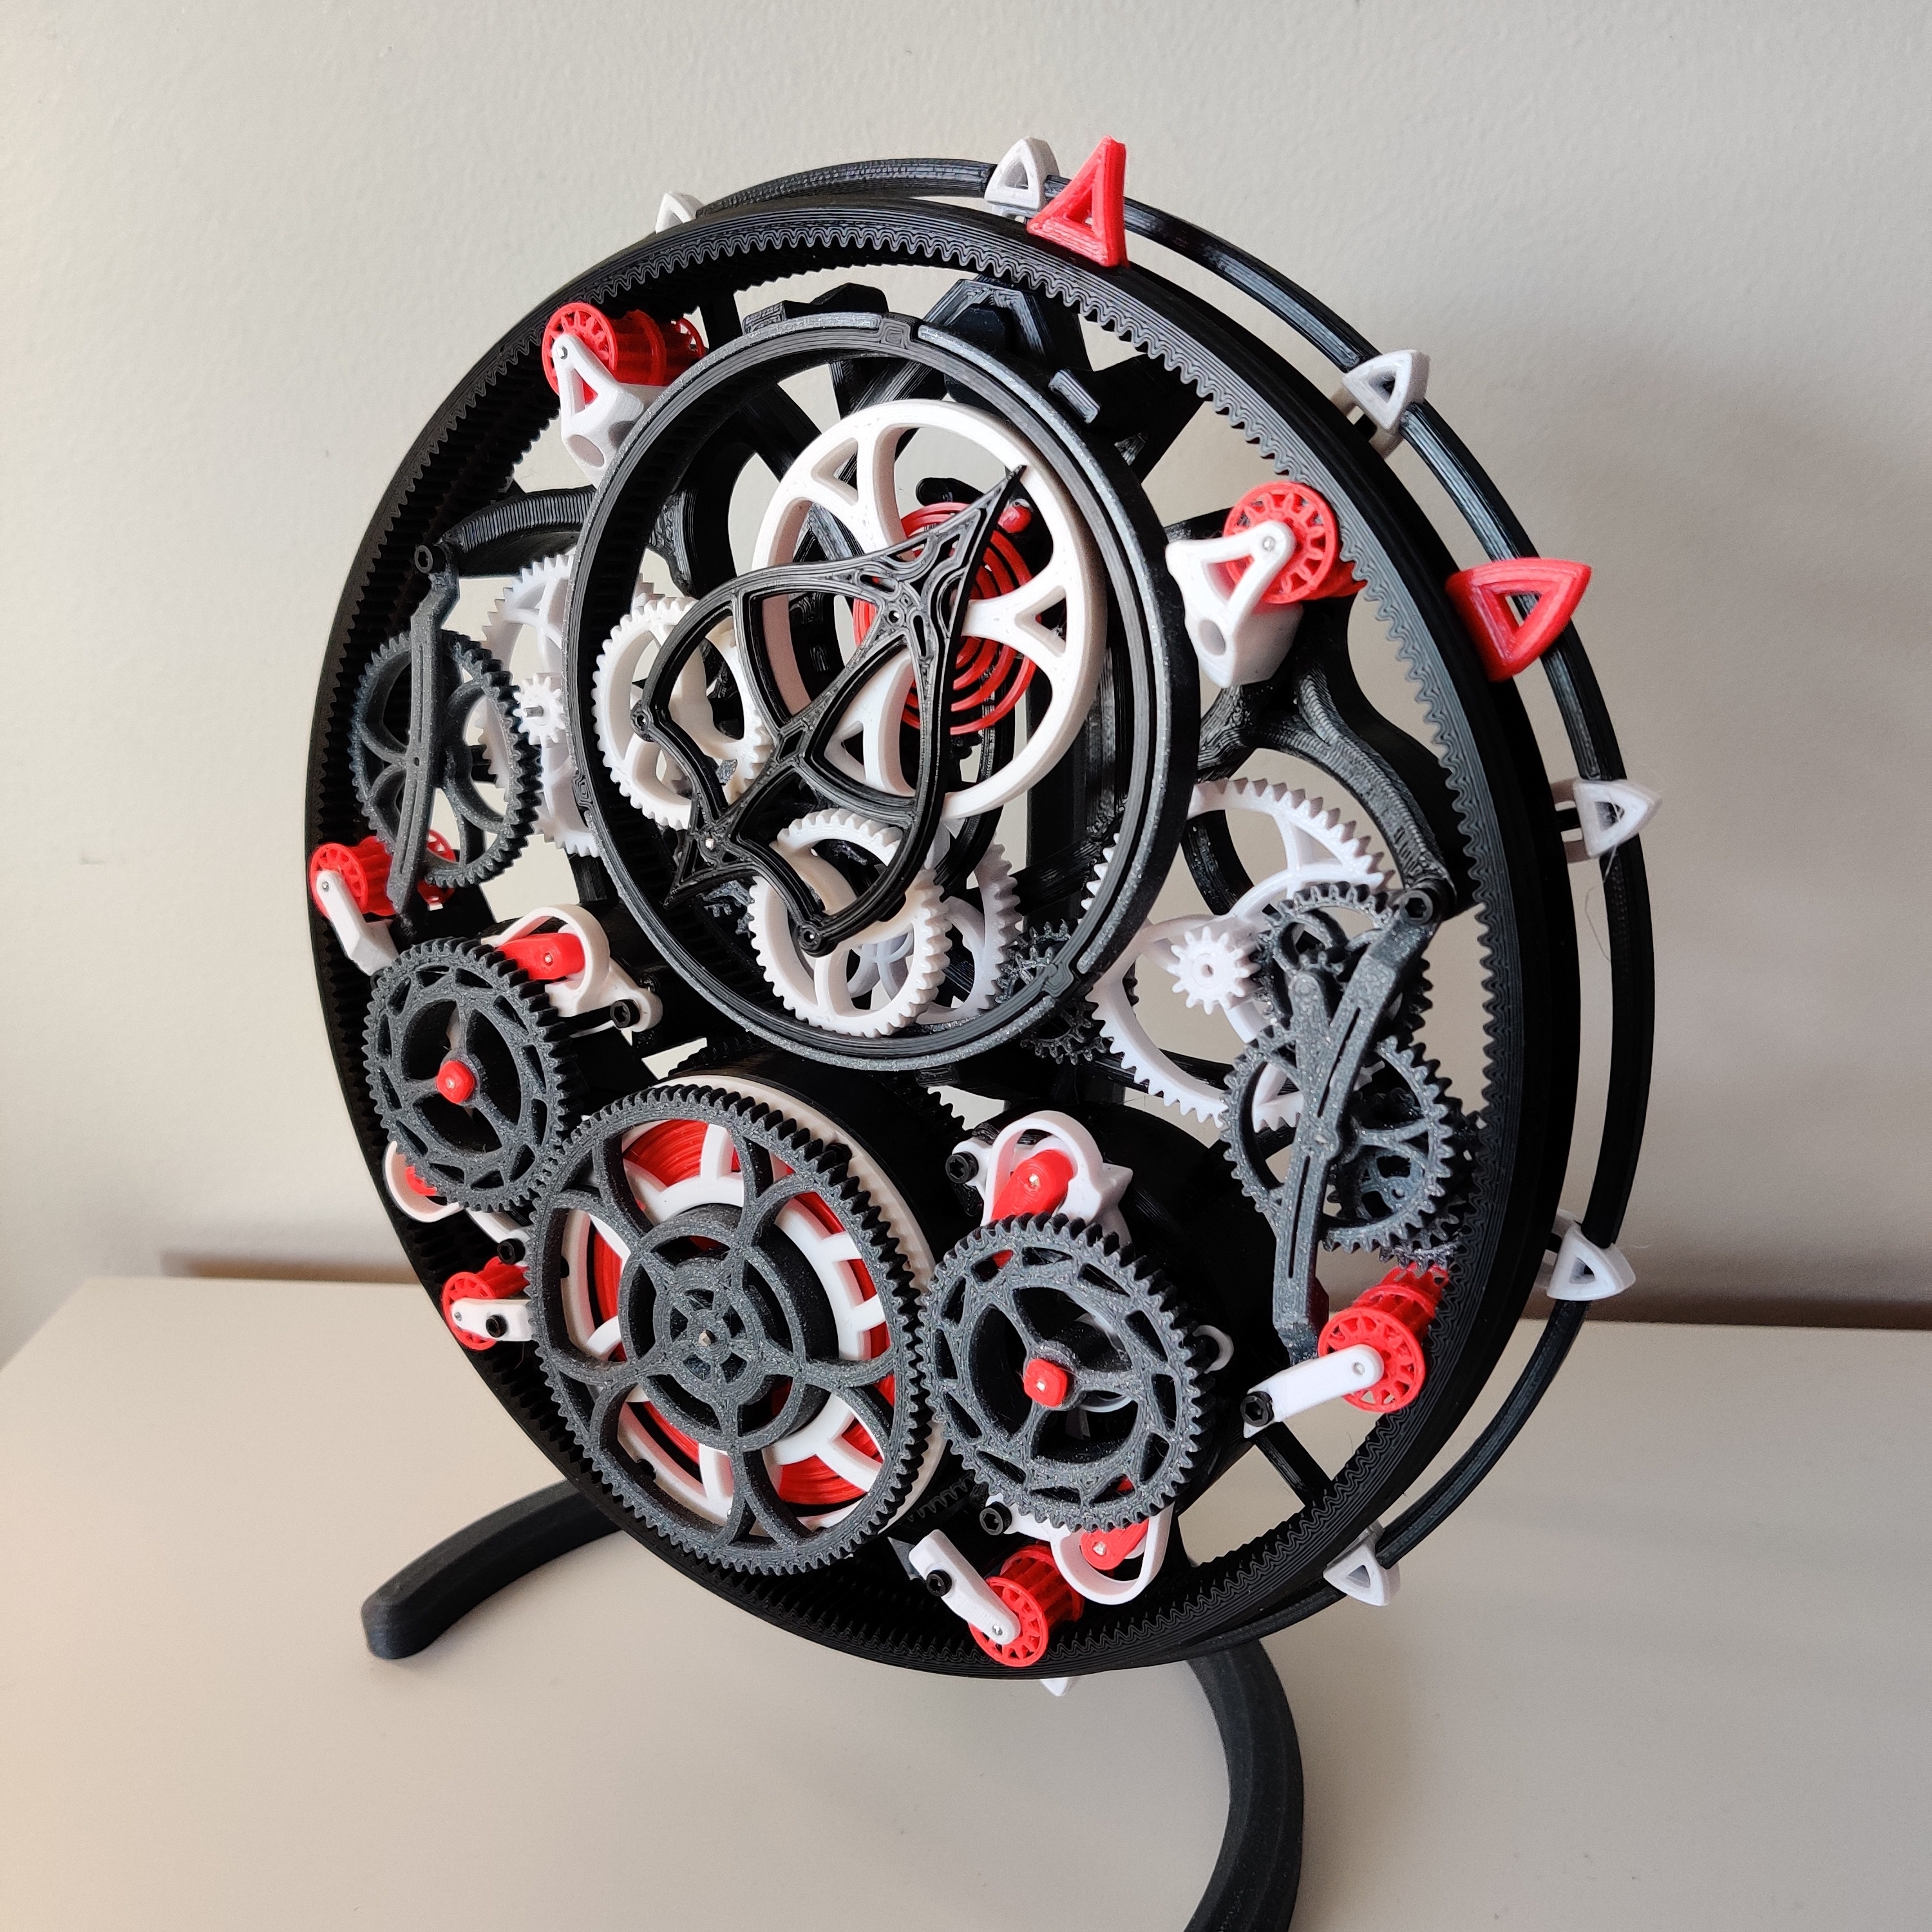
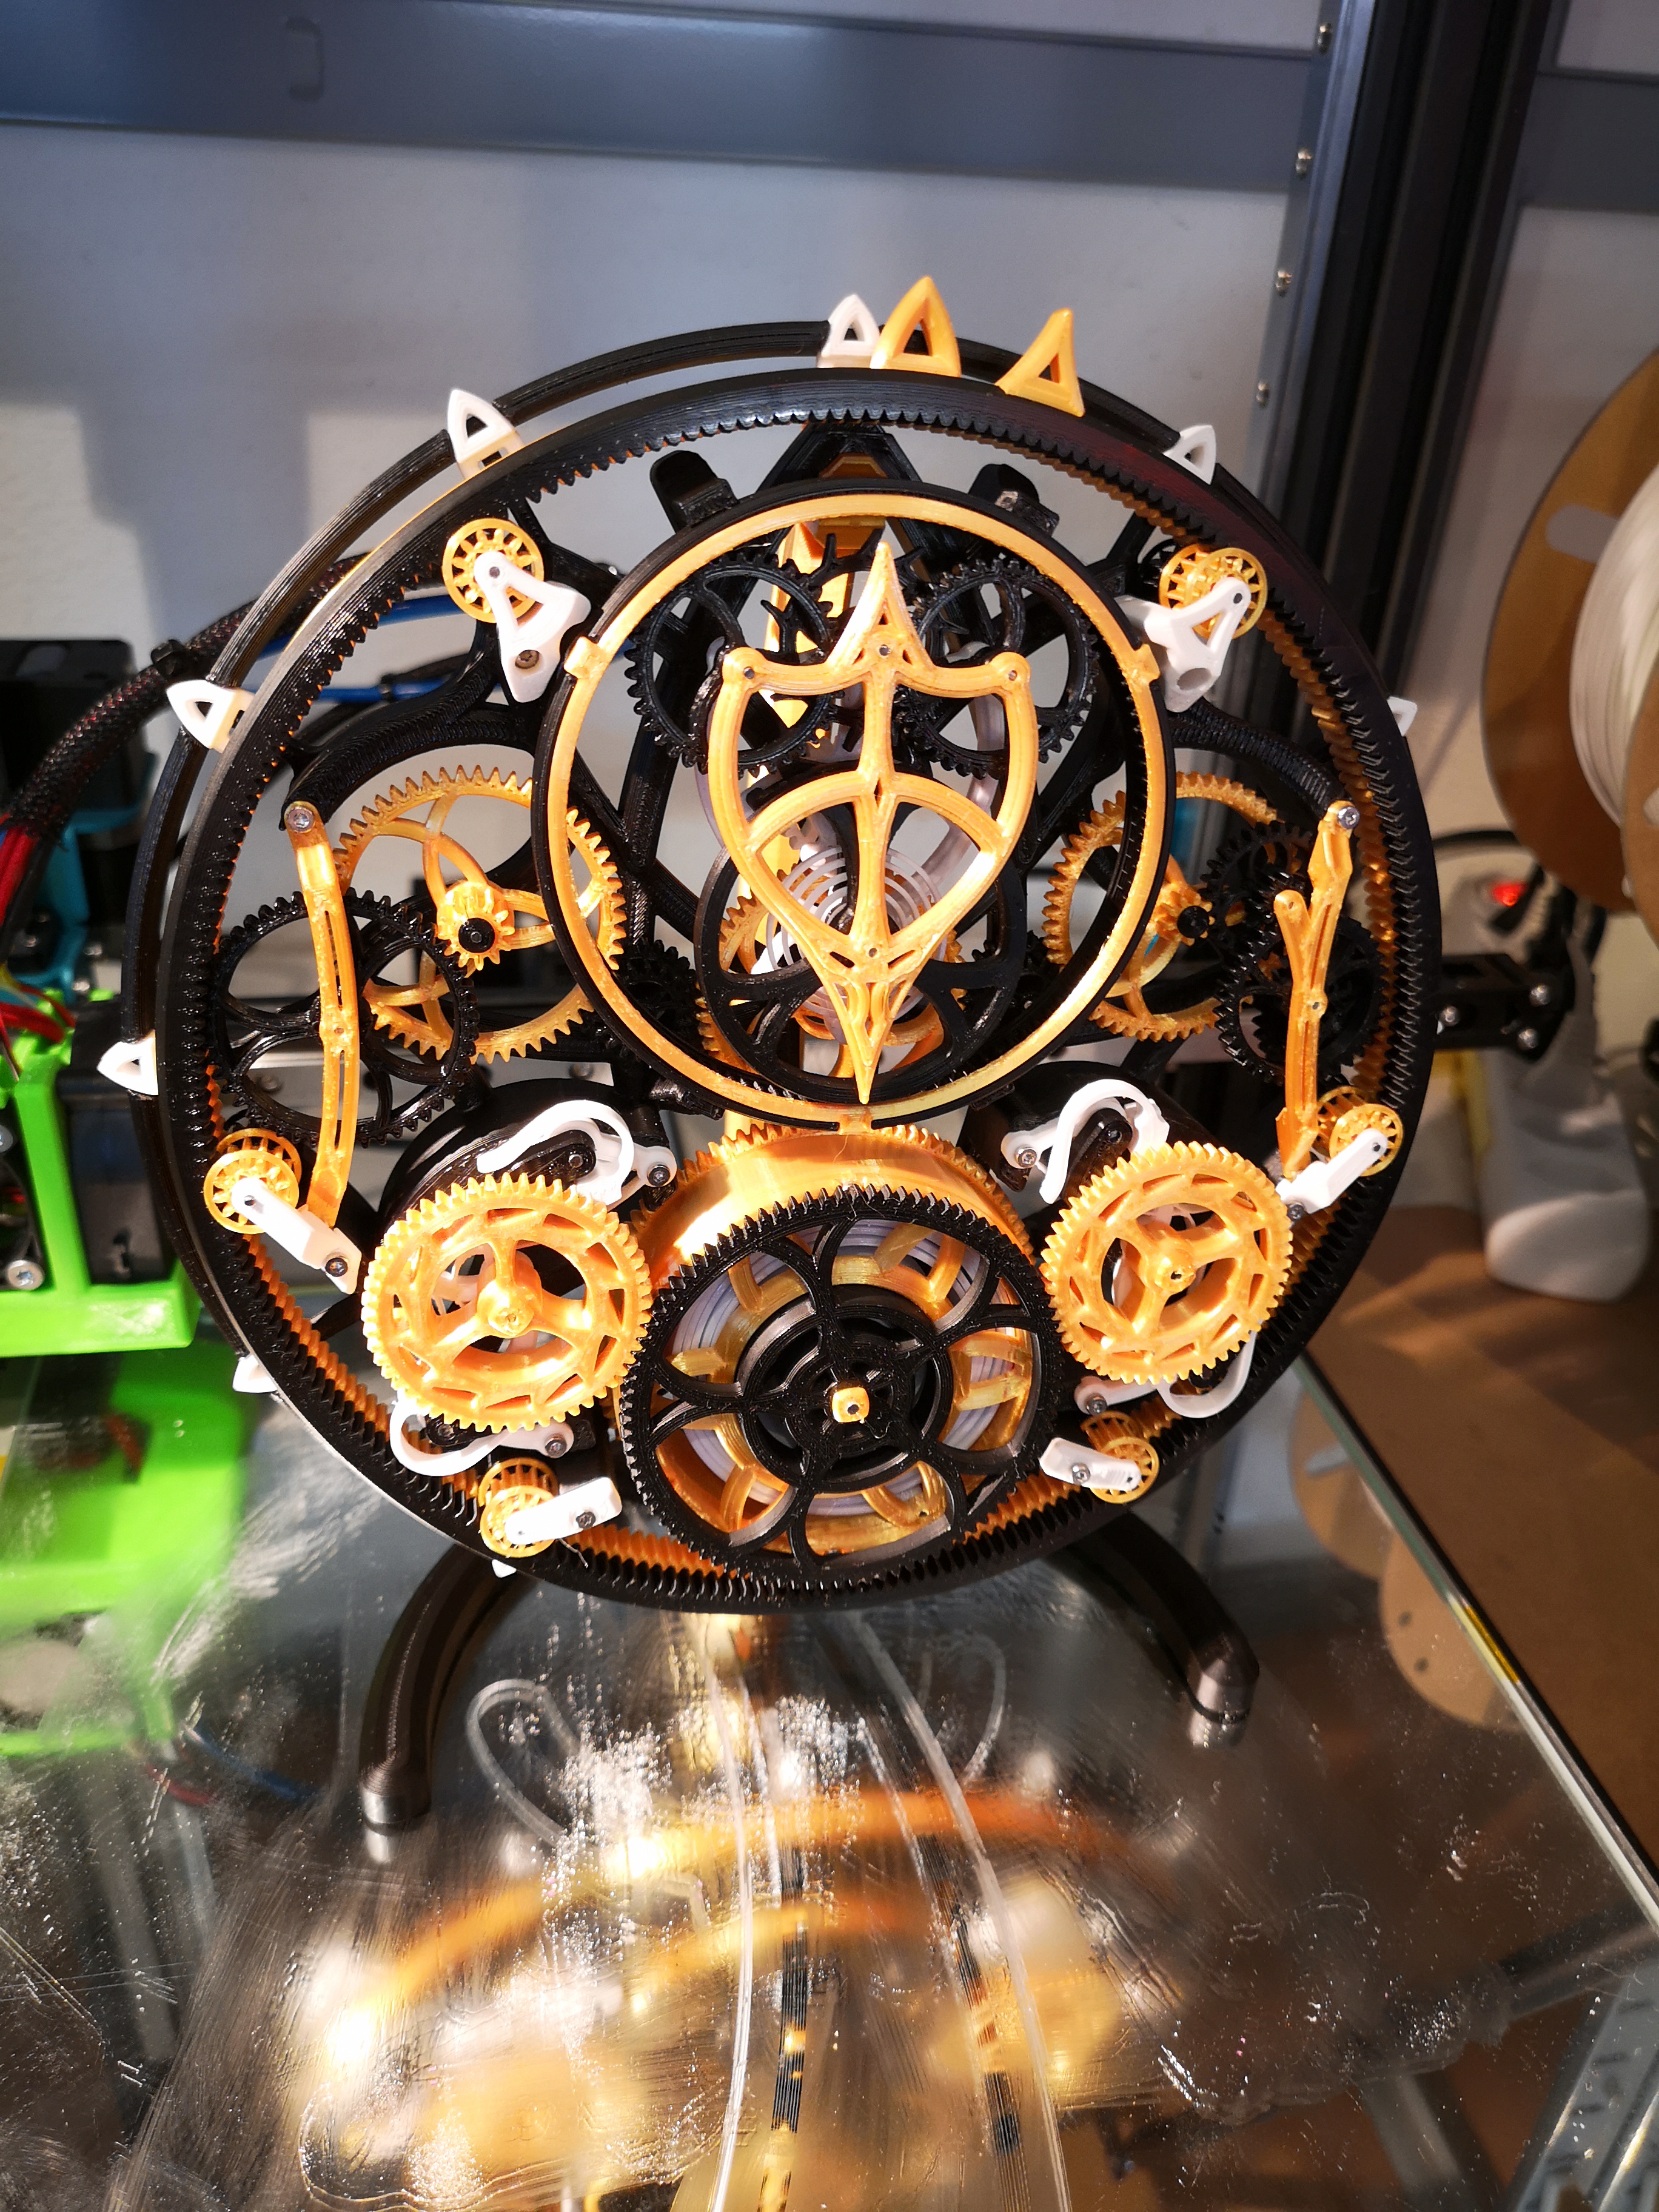
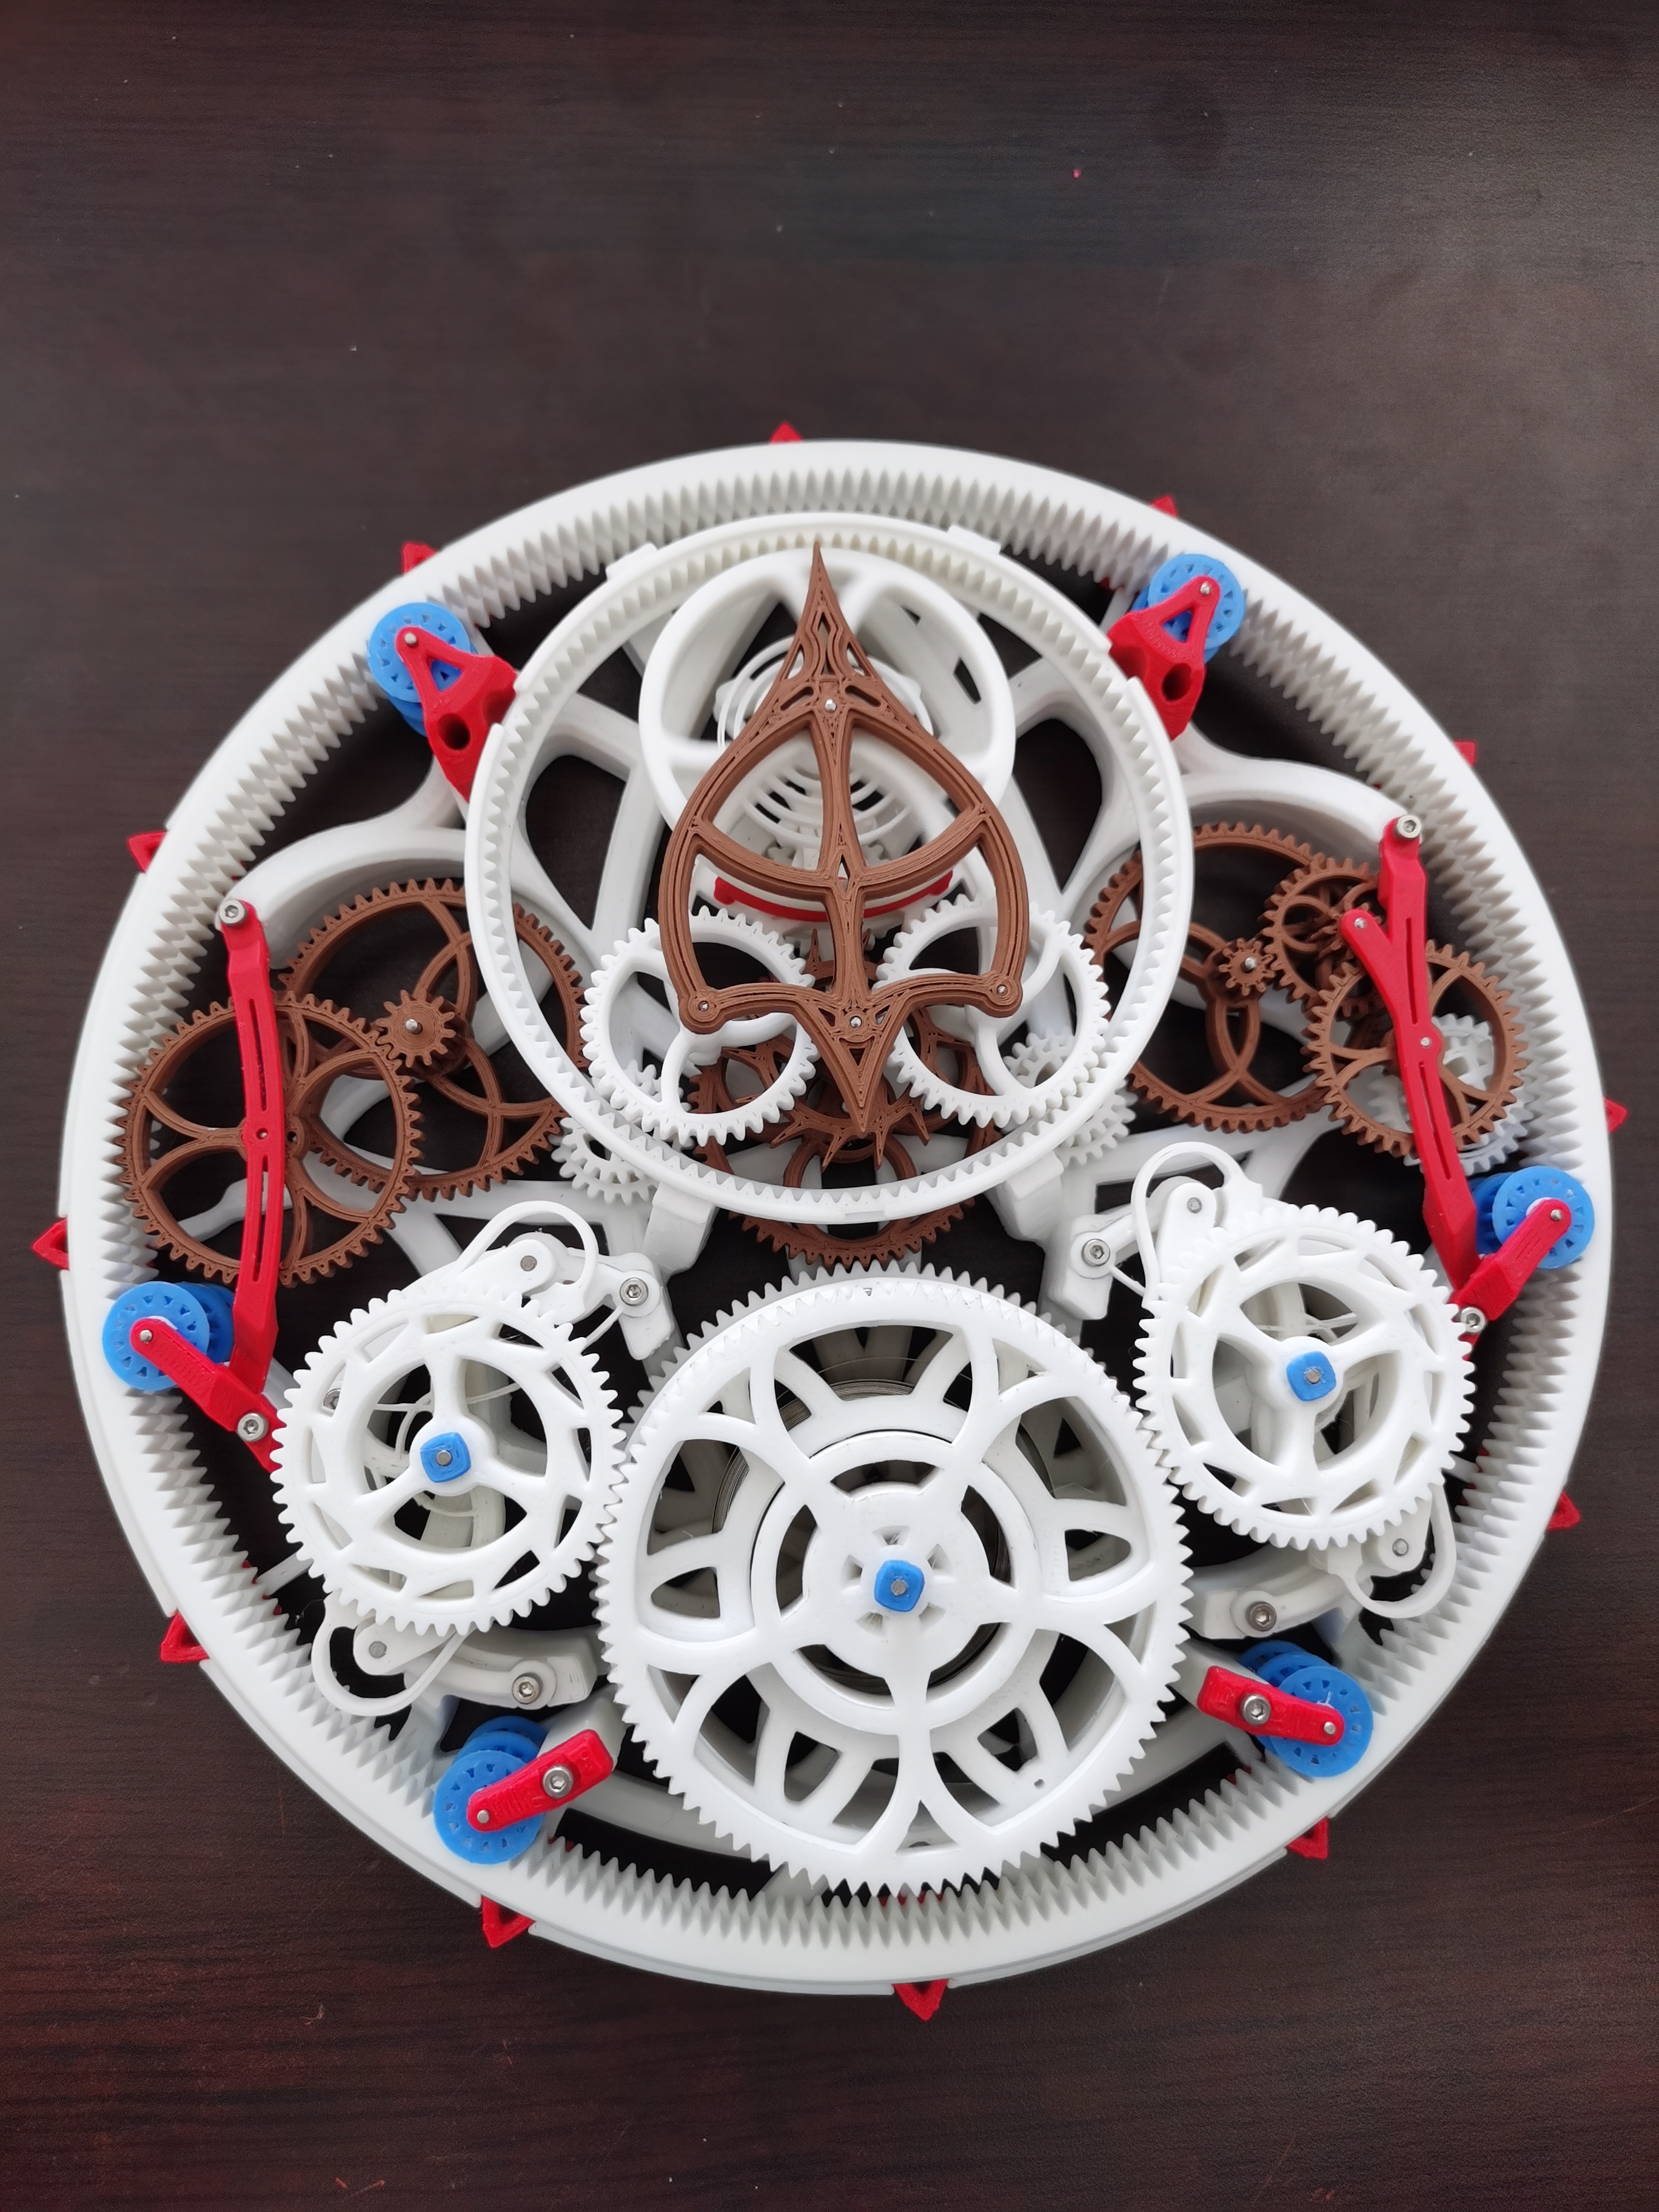
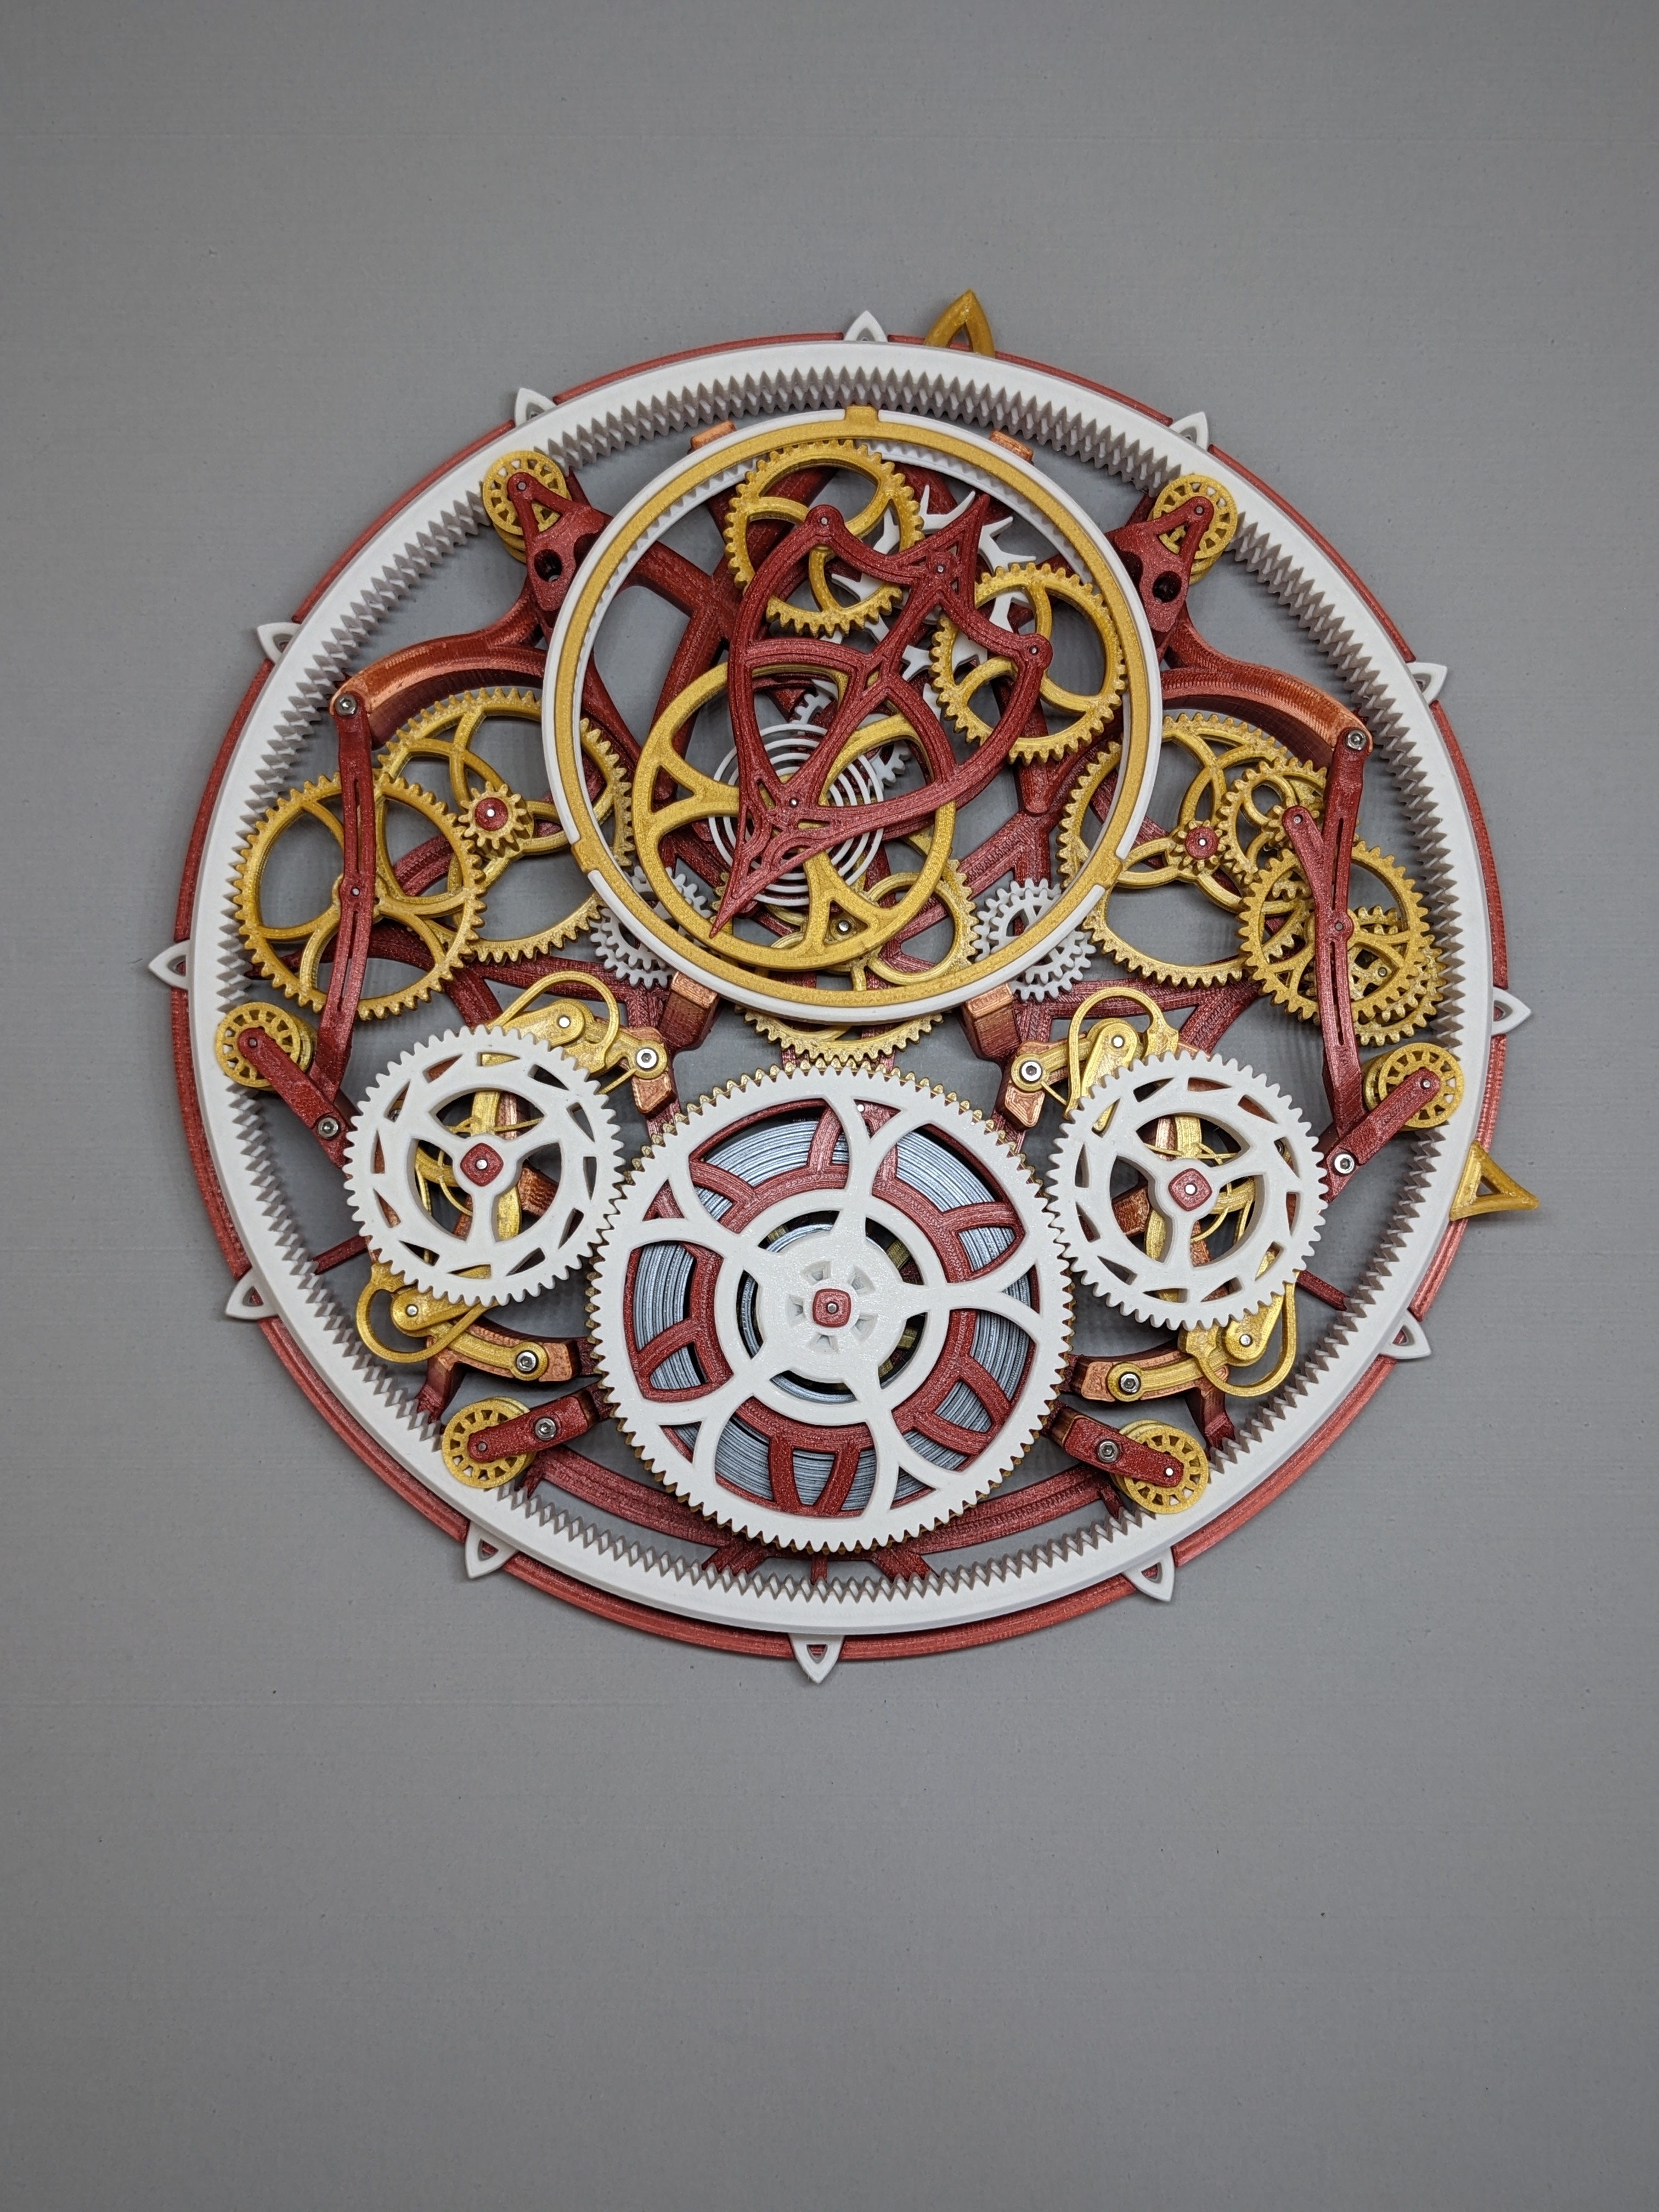
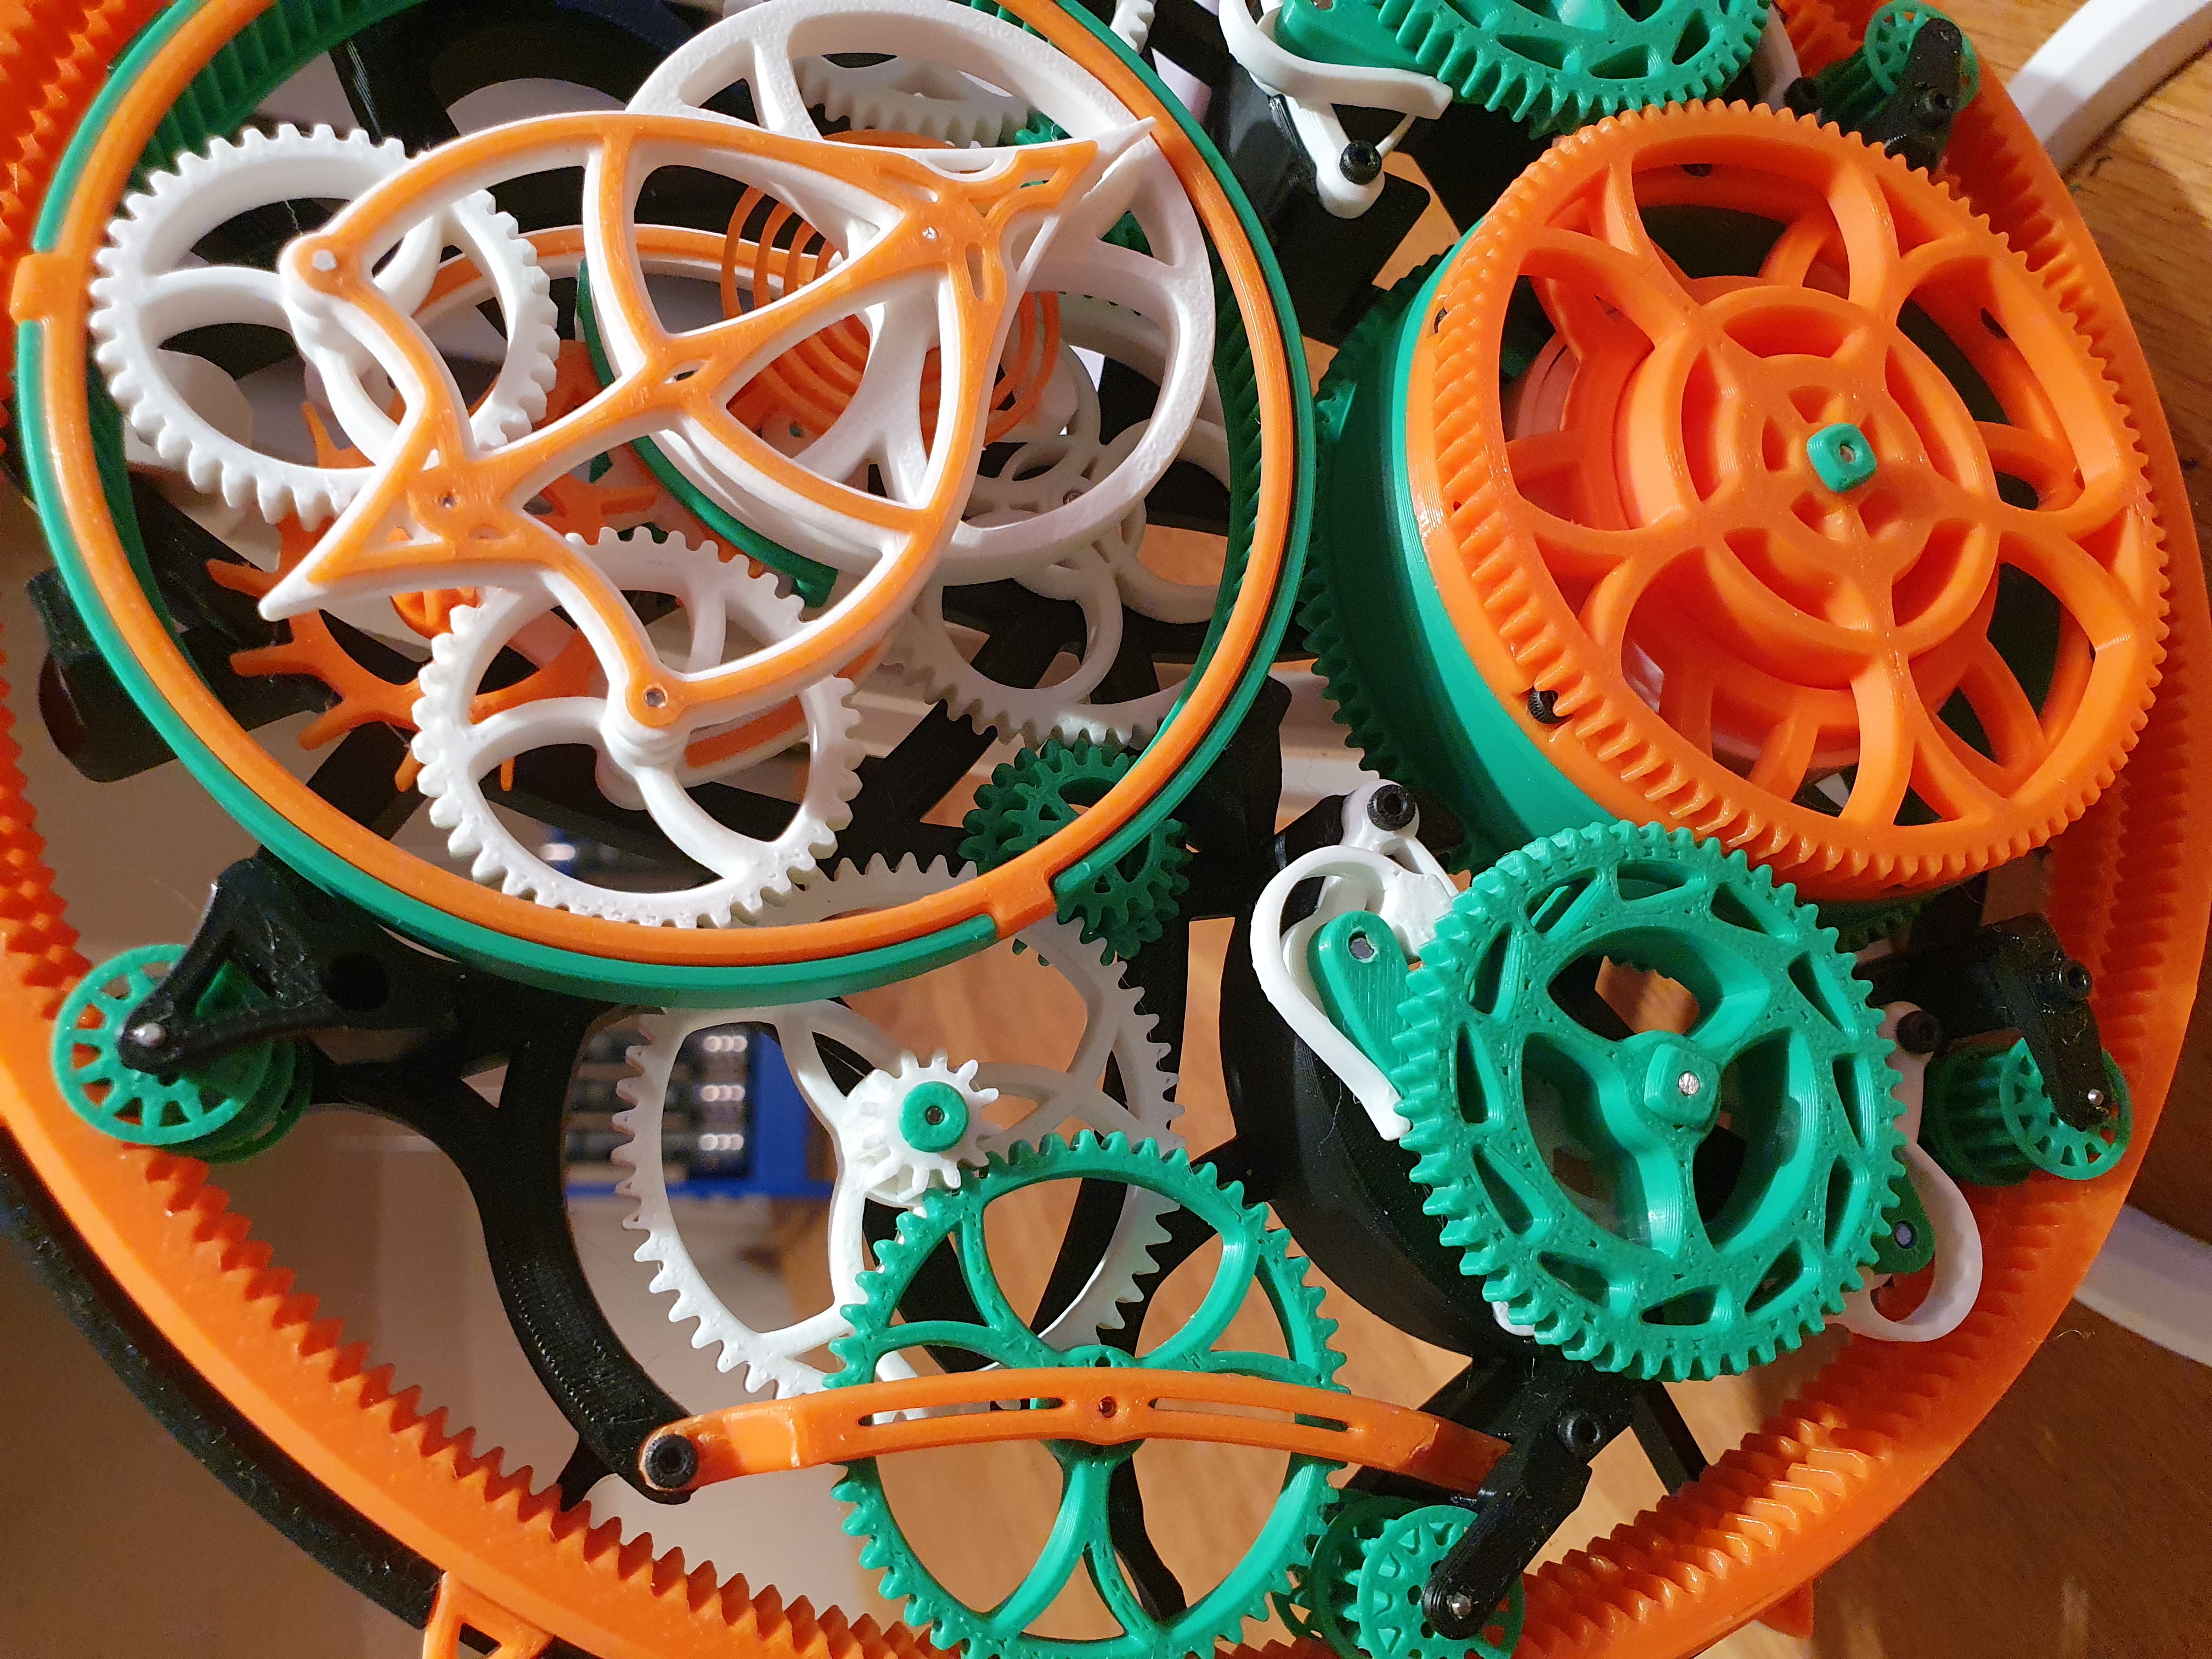
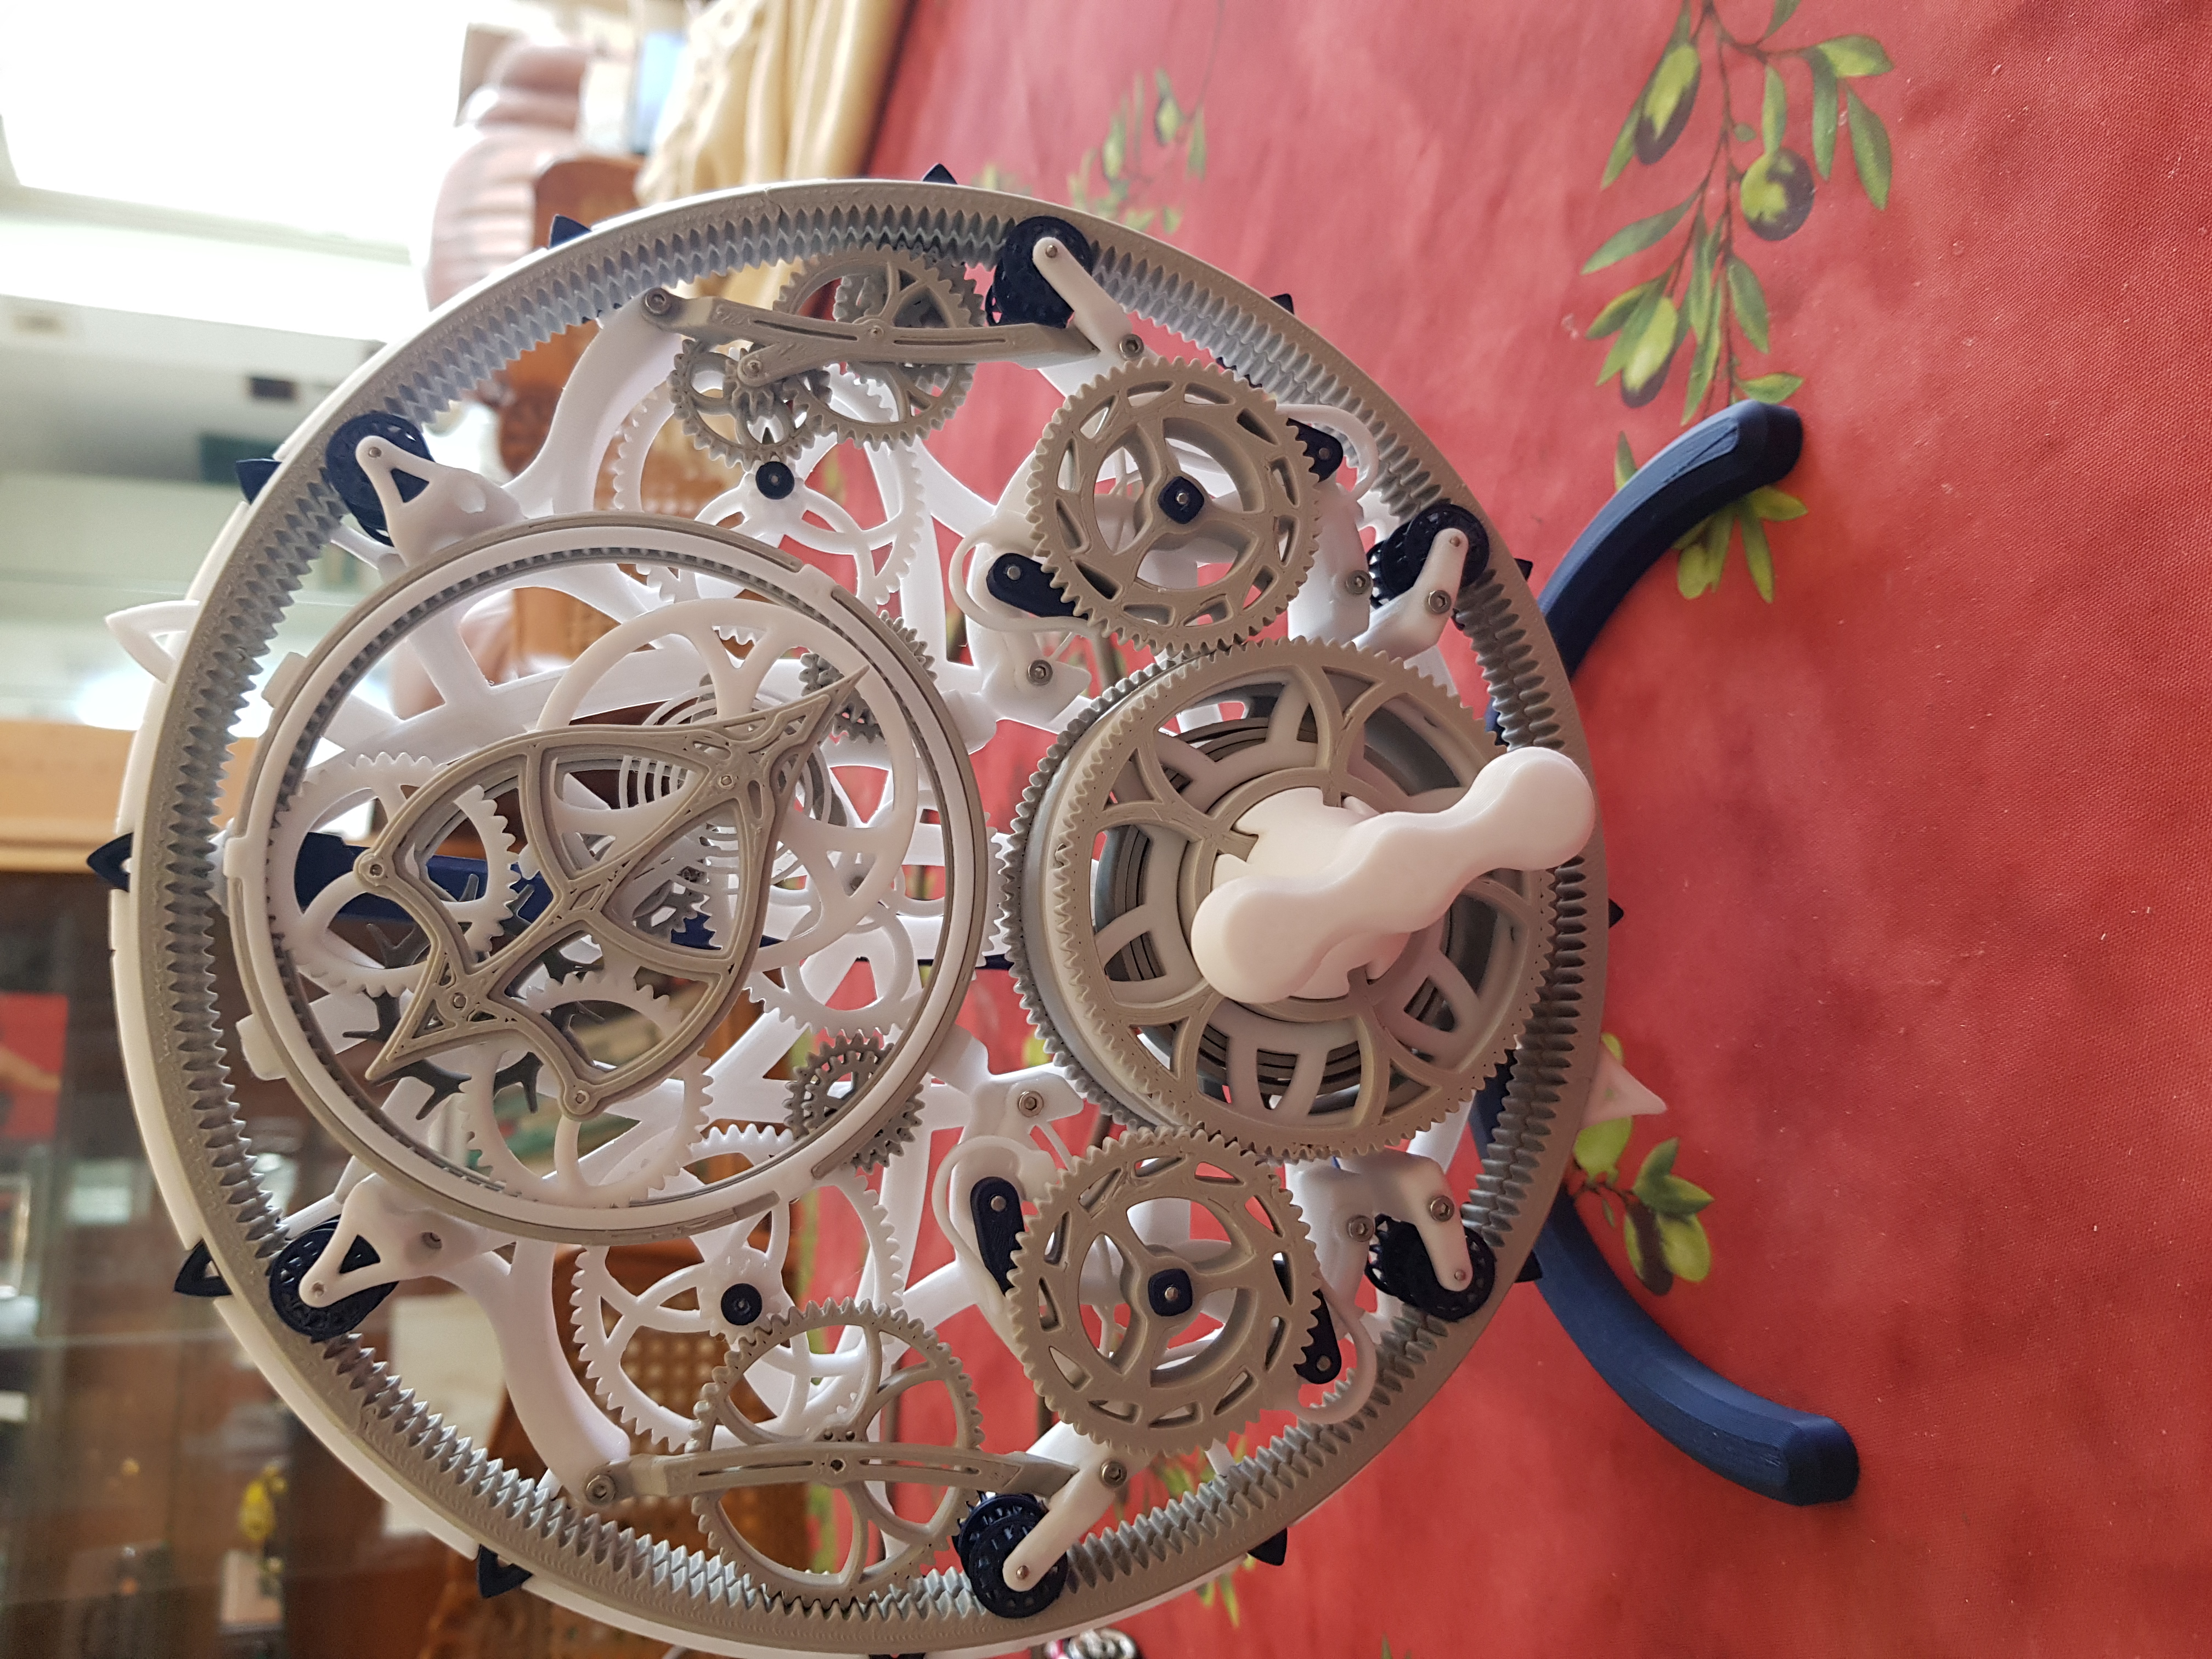
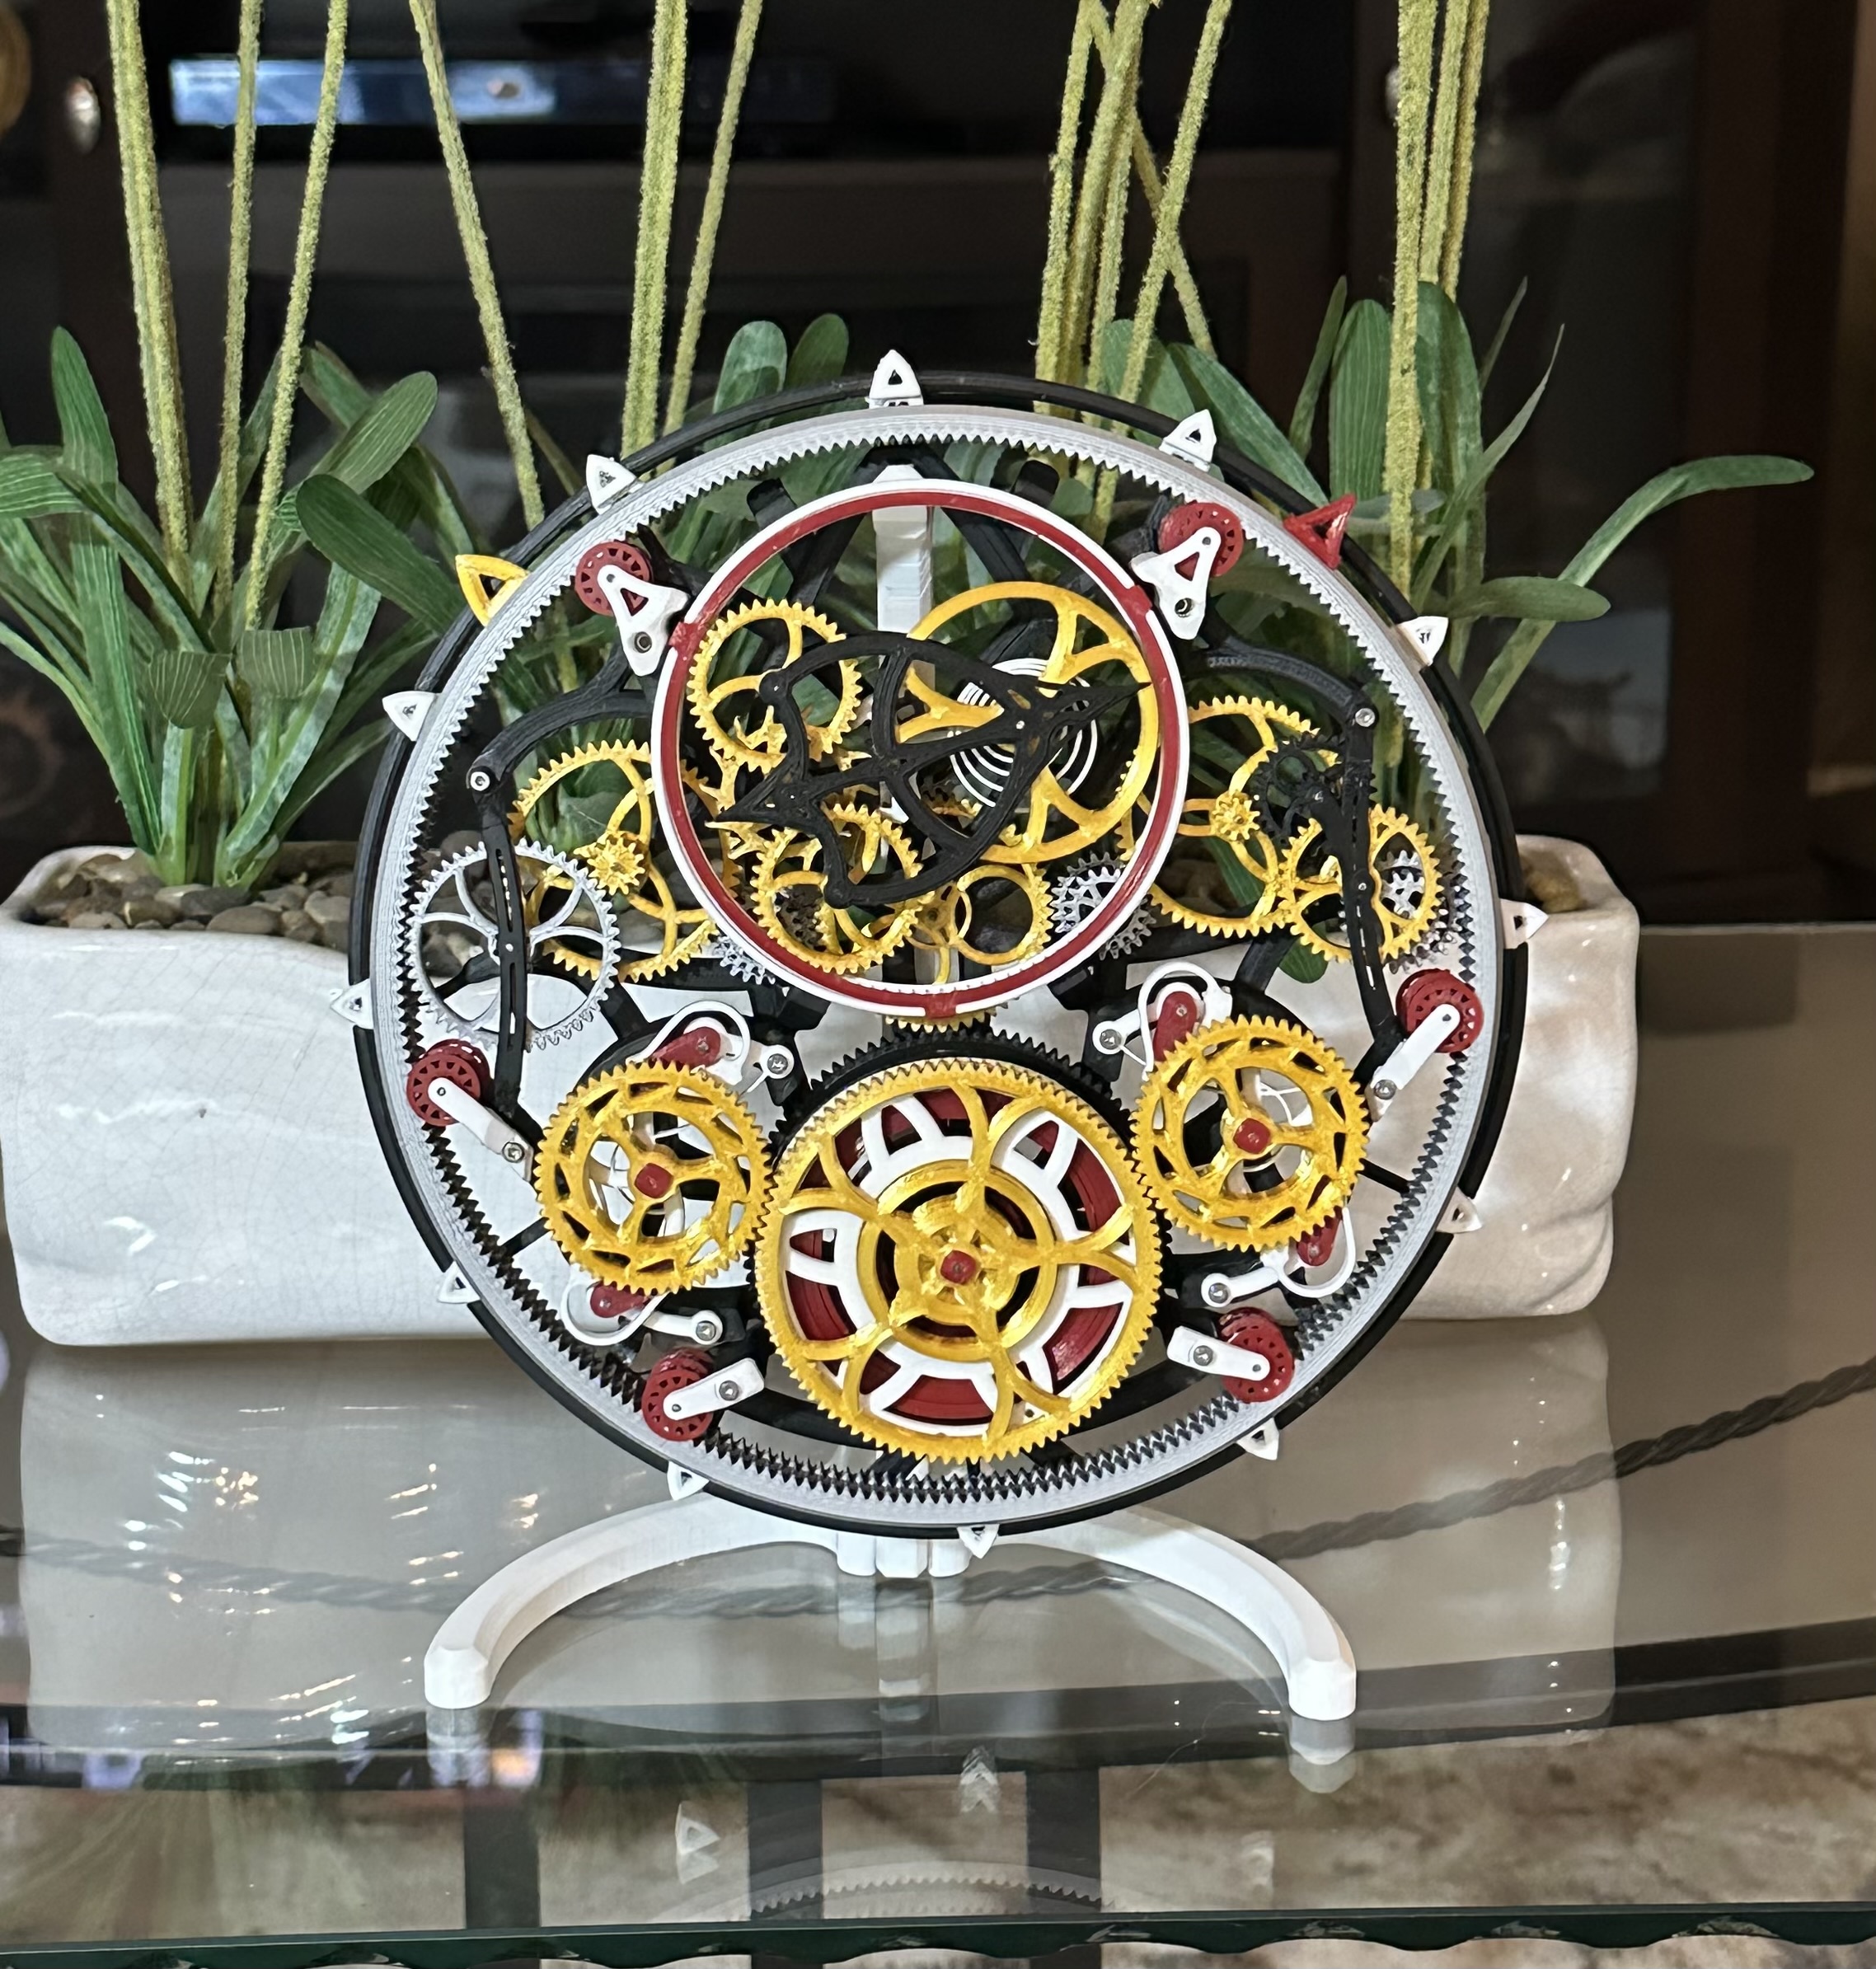
The Tourbillon Mechanica is an almost entirely 3D printed functional mechanical clock (except for metal pins and screws)
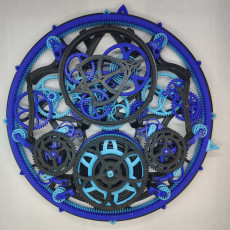
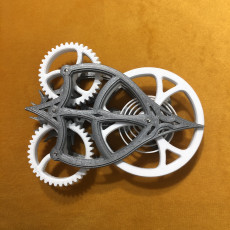
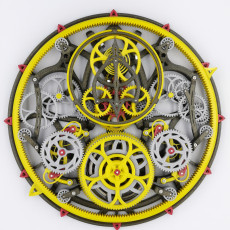
This skeletonized mechanical clock with a tourbillon escapement is designed to showcase a basic mechanical watch's mechanism. It has a unique hour and minute indicator that runs around the perimeter in order to showcase the entire mechanism.
Detailed assembly video guide: https://youtu.be/E9prY3ky6Bo
Detailed assembly guide, preparation and printing details: here
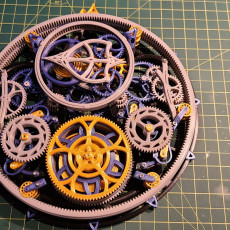
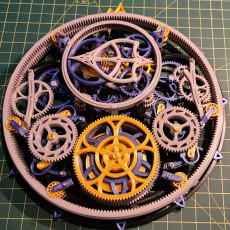
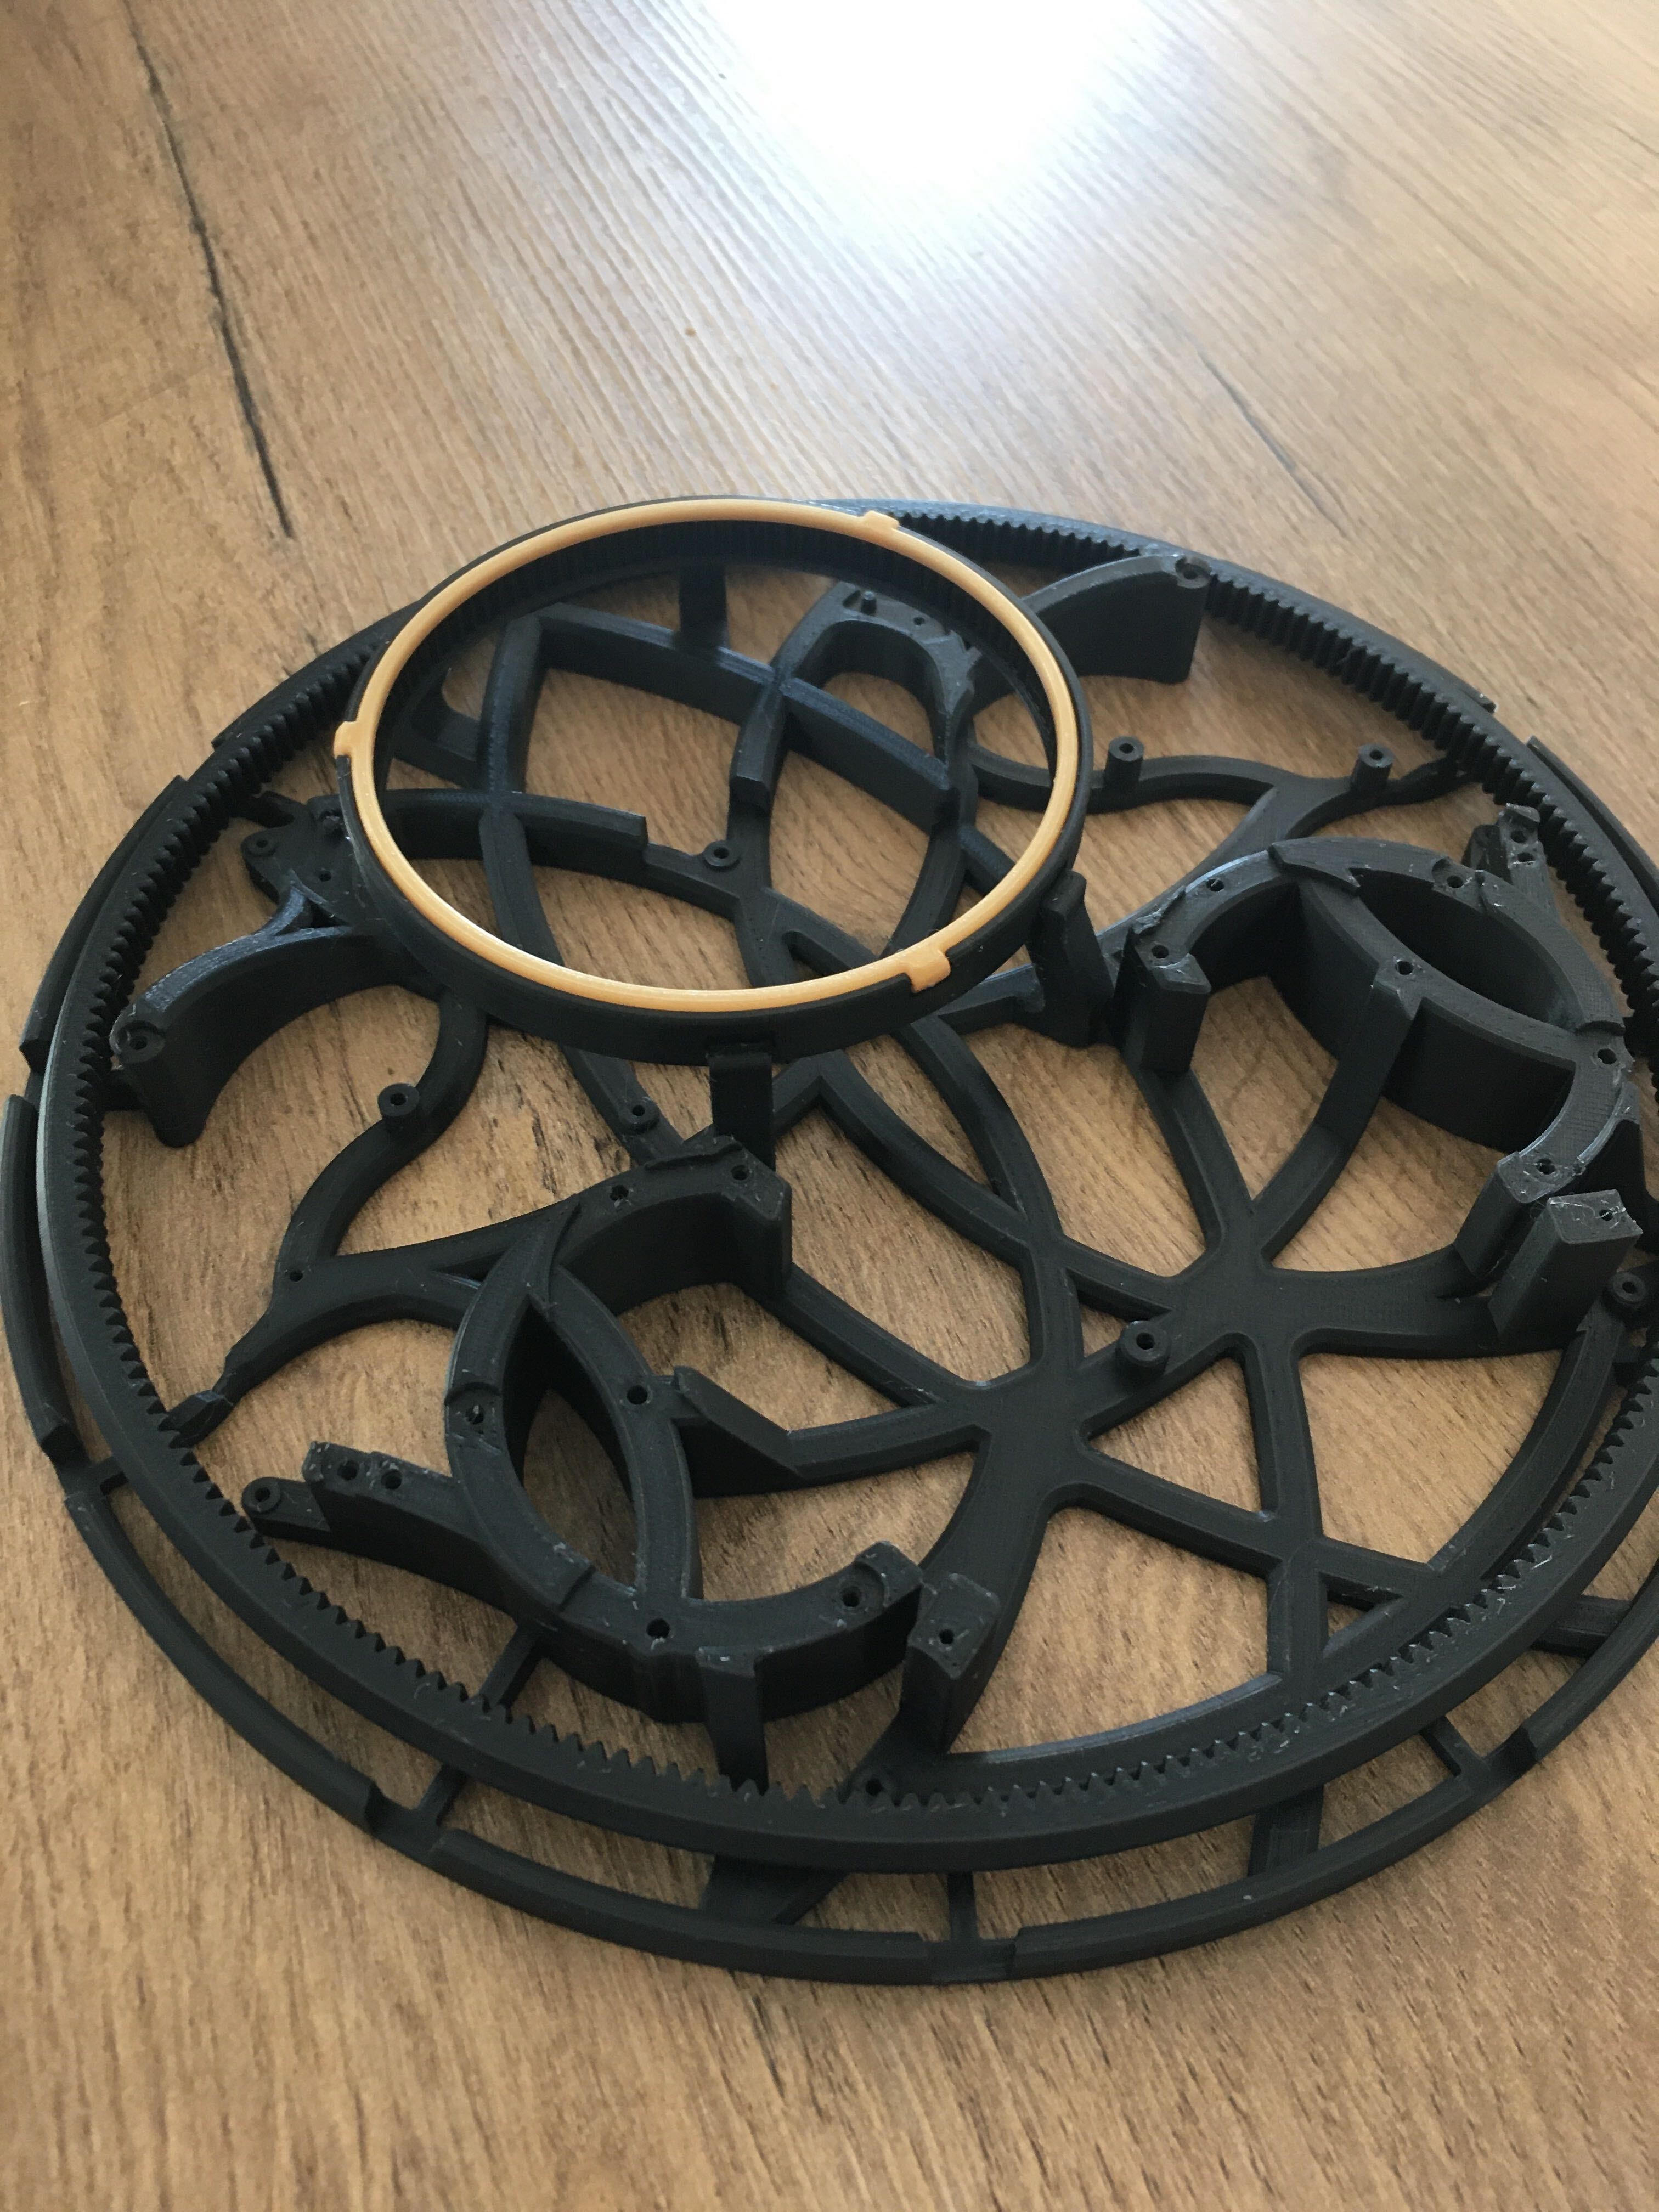
I received many requests on whether or not the Base (The largest single piece part) can be fitted onto some printers with slightly smaller rated build volume. There is a new split base and ring gear option that only requires a 160 x 110mm build area to print the entire model. The base and ring gear files can be downloaded for free as a fit check here.
Links to additional hardware that I used:
1.5mm OD Pins: Link
2.0mm OD Pins : Link
M2 Scews: Link
Sheet Spring Steel for mainspring : Link (Optional as I highly recommend using the 3D printed PETG spring)
Update Oct 09, 2021
Design Update:
- 10_Base_Split : Added split base option to reduce minimum printer bed size requirement significantly to 160 x 110mm
- 13_Ring_Gear_Split : Added split Ring gear option to reduce minimum printer bed size requirement
Assembly Guide Update:
- Page 3 : updated min print bed requirement from 220x220mm to 160x110mm
- Page 4-5 : added split base and ring gear assembly details
Update Dec 6, 2020
Added Step file of Base for those who wanted to try modifying it to fit smaller print beds. Step file can also be downloaded for free in the link above
Update Oct 27, 2020
Added 2 new files:
07_Hairspring_Thin - Thinner hairspring to provide more headroom for frequency adjustment.
45_Tourbillon_Ring_Gear_Larger_OD: Received some feedback that ring gear is too loosely fitted to the Base. Modified with larger 0.8mm larger OD for a tighter fit, increased clearance between runner gear and ring gear for smoother meshing.
Update Sep 13, 2020
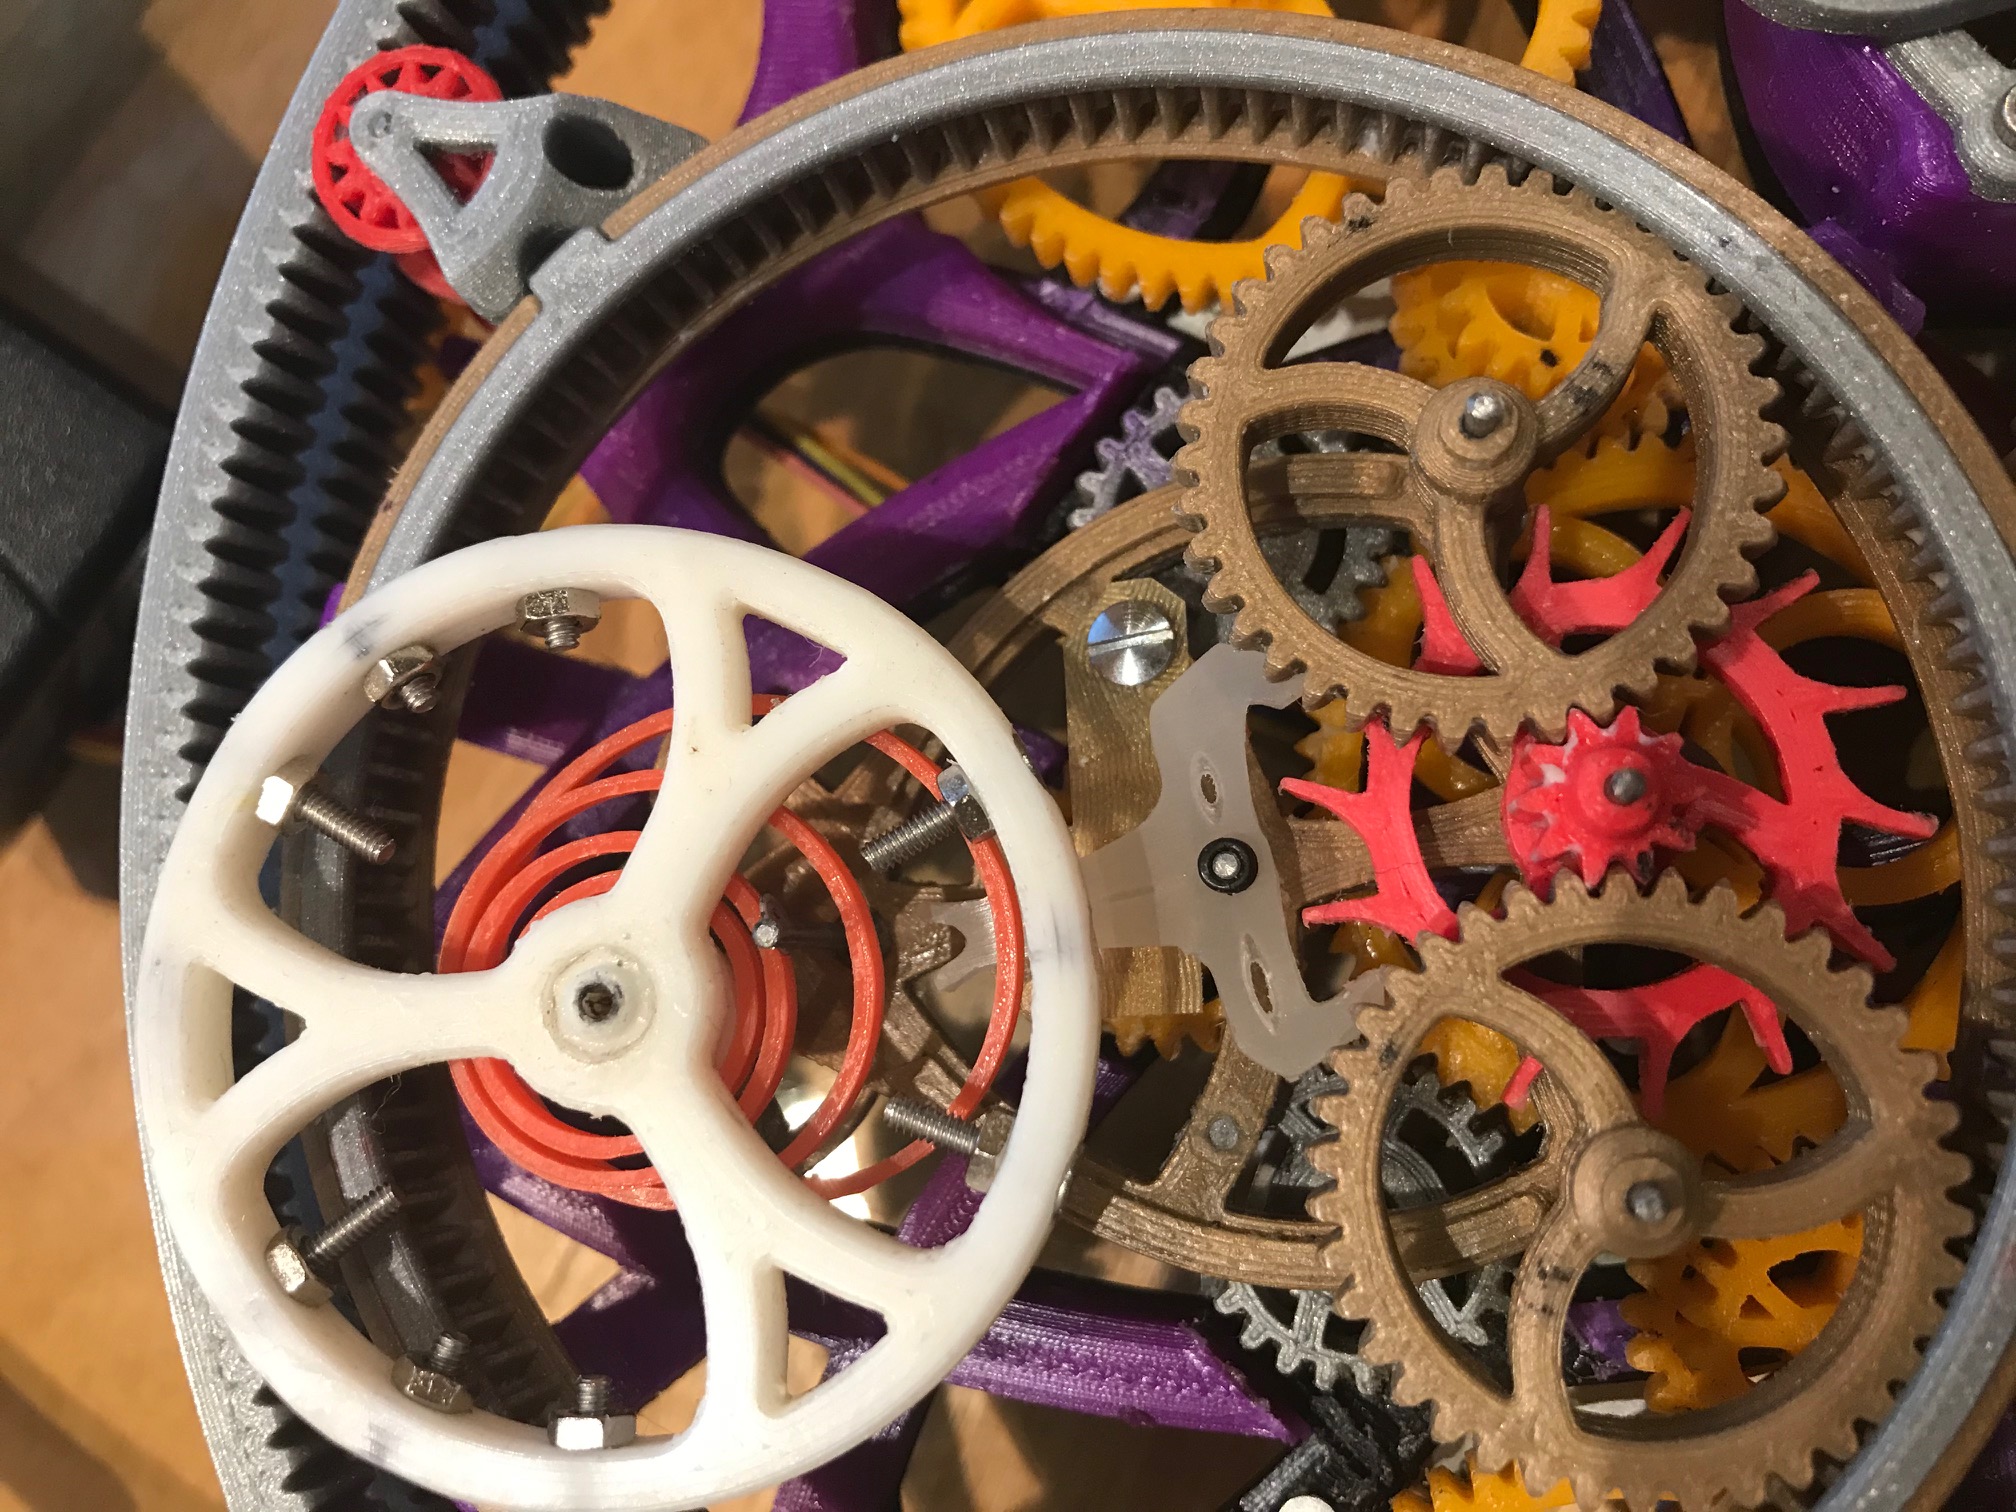
Added the Escapement mechanism explanation in the assembly guide.
Added a Stp file of the escape fork for those who want to optimize the performance further.
Added a "safe" escape fork design (03_Escape_Fork_Reduced) that should be able to cater to more significant variations in assembly, printer setup, print settings, etc. (I recommend those who had issues with the mechanism slipping and jamming to give this version a try)
Added high res assembly guide in the download zip.
Fixed some minor details in the runner gear and Tourbillon cage bottom files.
Fixed some qty errors in the assembly guide.
Update Sep 8, 2020
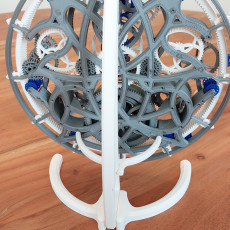
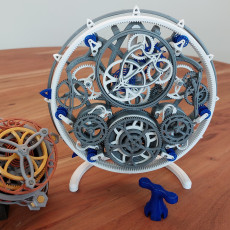
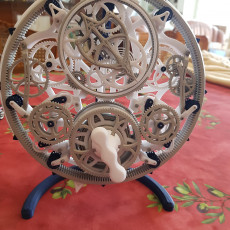
Added Display stand and winding key! Apologies for the long wait to those who requested. Do download the latest zip file dated (08Sept).
I would highly advise downloading and reading the printing and assembly guide before deciding to purchase the file.
Link to assembly guide in case some of you missed it in the description: Assembly Guide PDF
The escapement mechanism is the most intricate and print-setting sensitive part of the mechanism. You can download it for free here to see if you could print and assemble that part before purchasing everything.
.3mf files are also provided for those who want to reference the settings that I used. Please note that you will most likely be required to tweak some settings further since every printer has a slightly different setup.
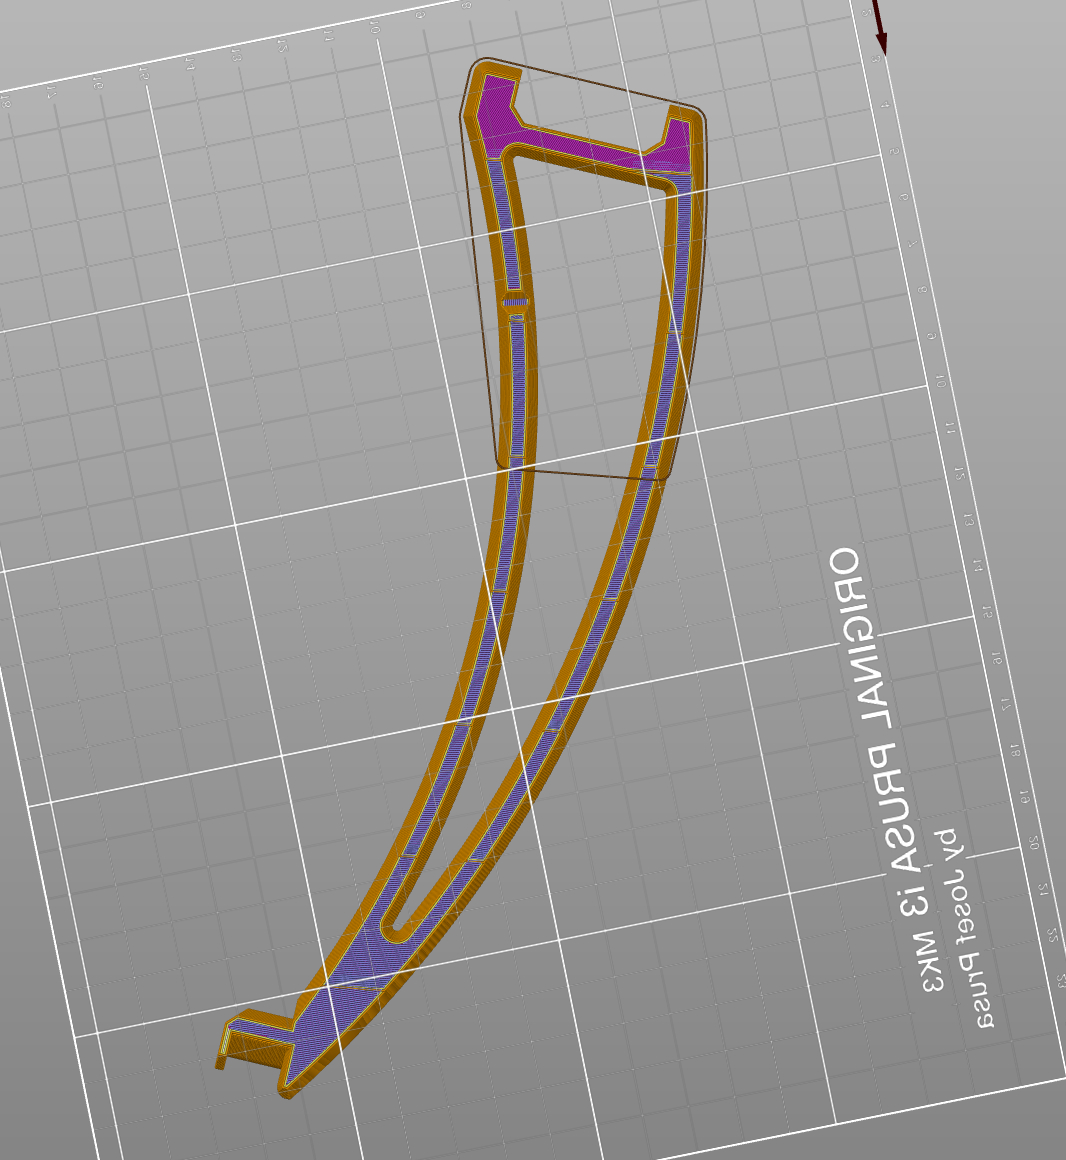
For Prusa Mk3/s Owners, thanks to fellow maker: Marius Tulbure
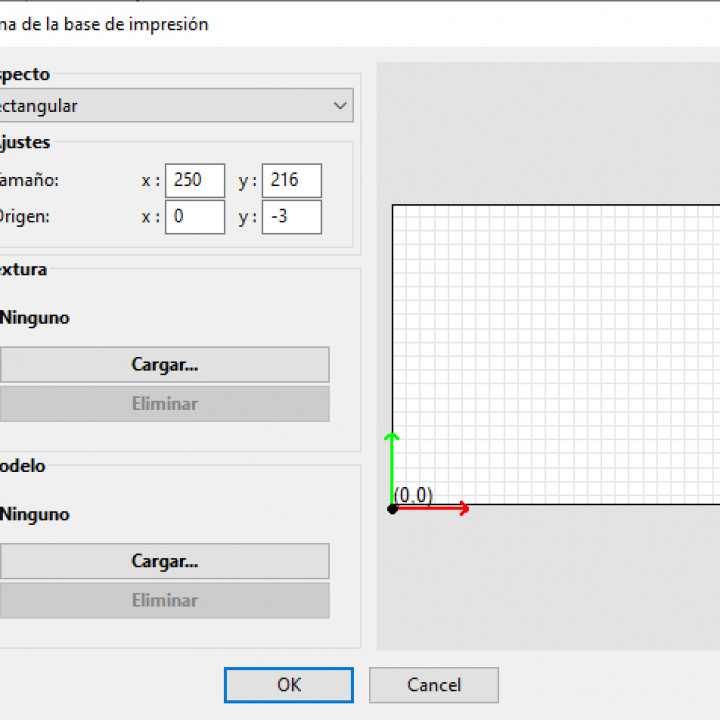
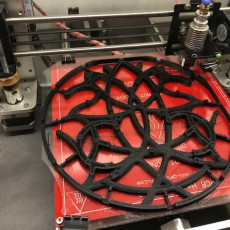
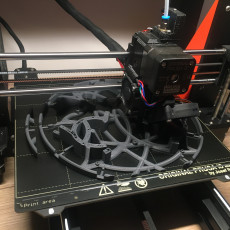
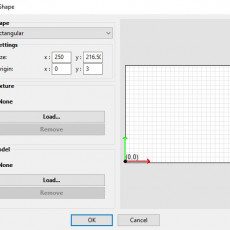
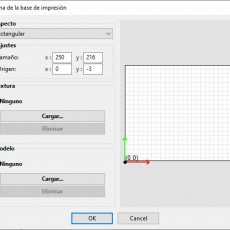
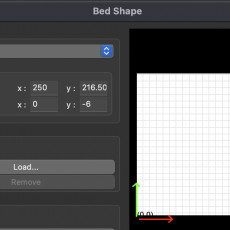
It is possible to print the base on the 250x210 rated build size by setting the plate at 250x216 in your slicer setting and moving the starting point at 0, -3; the last 6mm are printed on the wiping area. You need to remove the skirt as well.
The addition of split base and ring gear option (can be downloaded for free here) allows the use of much smaller print bed sizes, as small as 160 x 110mm to print the entire model.
| Date published | 15/06/2020 |
| Price | $25.00 |
| Benoetigte Zeit | 5000 - 6200 Minuten |
| Menge an Filament | 310-330g |


Thanks for the design and instructions. Consider this proof that it can be printed on a prusa mk3s
Bonjour à tous, Désolé Daniel pour le tutoiement dans mon message d'avant - c'est mon doigt qui a glissé... l'impression et le montage avance bien. mais j'ai du recommencer plusieurs fois la base et même en ayant modifié mon imprimante, la pièce ne s'imprime pas entièrement. je vais devoir faire du collage. Toutes les pièces sont imprimées en ABS, et la base en PLA. Actuellement la base en est à 58% - encore 4 ou 5 h. J'ai traduit la superbe notice de montage en français. Celui qui en veut ...
Bonjour à tous, J'ai imprimé toutes les pièces en ABS. Pour les engrenages et les petites pièces, pas de problème. Mais pour la base (10) et pour les couronnes dentées (13), il ne faut pas imprimer en ABS car l'ABS se rétracte beaucoup trop (La base se décolle du plateau et les couronnes dentées se rétractent tellement que les pièces deviennent trop petites et elles forcent sur les pièces (12). J'ai donc imprimé ces pièces en PLA. J'ai encore quelques petits réglages et ajustements à effectuer. Pour l'instant tous les engrenages tournent bien librement. Mon imprimante a un plateau de 20x20cm d'origine et je l'ai agrandi à 22x22cm.
When I tried this on my Prusa the bottom edge of the base was flattened off by about 1mm. Maybe a 250x217 base would work better with 0,4 instead of 250x216 and 0,3 as suggested
Hi my name is Terry and I finally finish the journey of printing and assembly of this fantastic piece of work. Got two questions: 1. Where can I find the support rack files? They did come with the file that I purchased. 2. I use PLA for the main spring and it does not have enough power to drive the clock. Any suggestion? Have a nice day. Regards, Terry.
I started printing the gears with ANYCUBIC PHOTON S. The printing is superb, no sanding or beating. The pieces produced are very hard but also very brittle. I am looking for a solution to have more resistant results. On the other hand, you have to put the parts to the right scale, because the one I printed are just a little too big. Part 45 broke while handling it and the spring failed.
Very fun and challenging design. Spent the most amount of time getting the escape fork to work, other than that it went together pretty well. Thanks for the cool design!
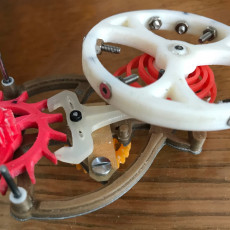
Well done ! your clock is very successful and it works well, but it works too fast, the seconds hand turns too fast: 36 "to make 1 revolution normally done in 1 minute. I think the balance should be made heavier. , I had to weigh it down too (with screws and nuts) See the photo. How long does it work with the spring? How long does it work with the spring?
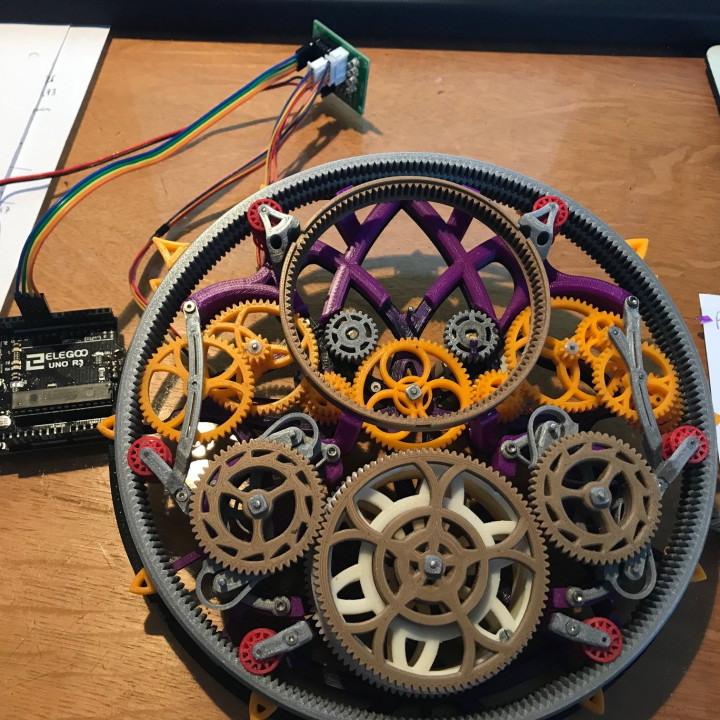
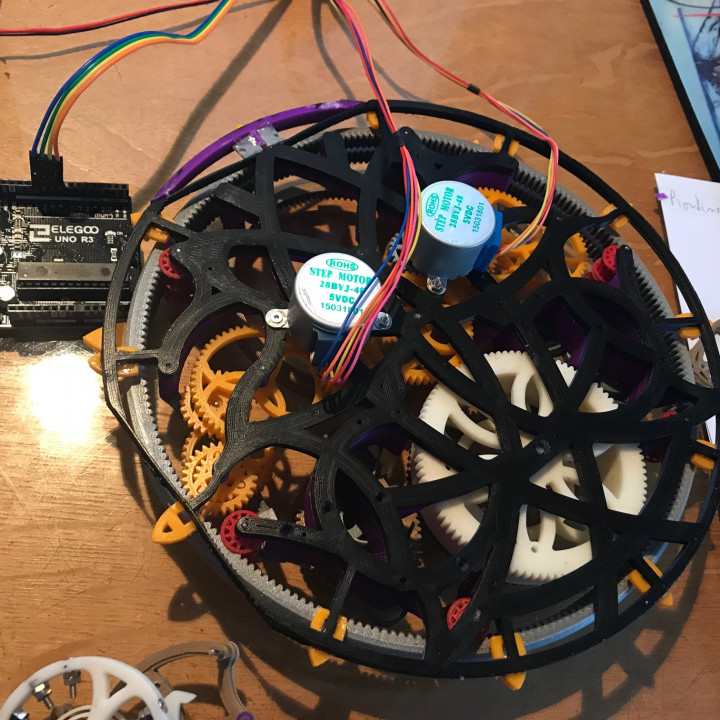
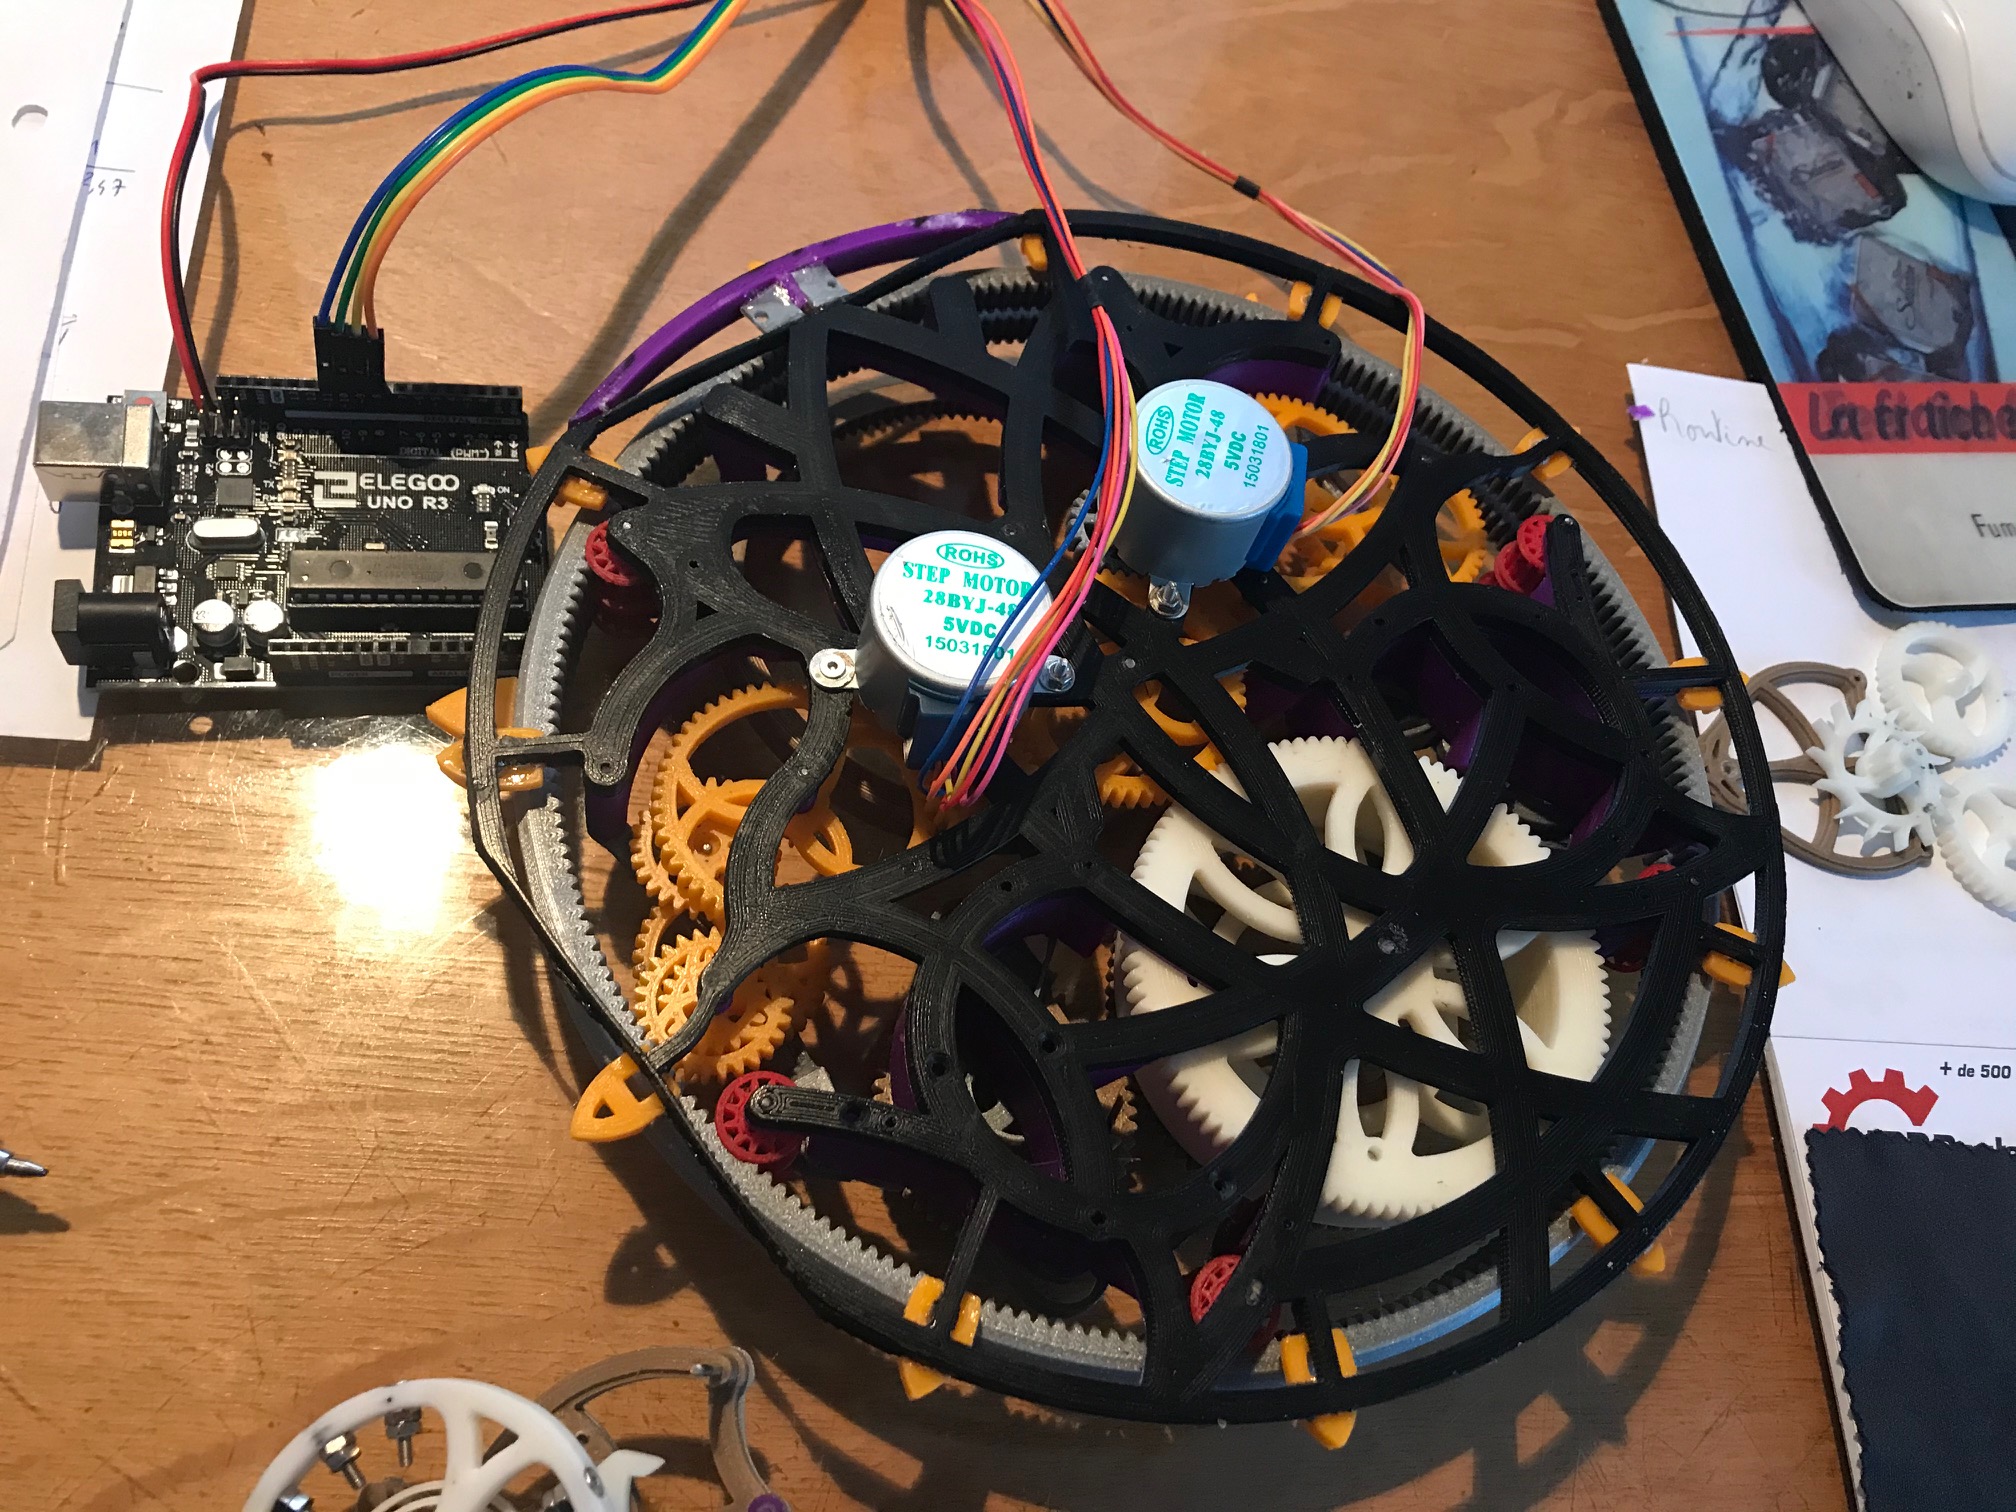
The spring of the clock does not allow a durable operation, I thought of running this clock with an electric motor step by step. I even had to put 2 because their power is too low. see the photos. The clock has been running for 8 hours without any stopping. She just lost about 45 seconds ... one more little adjustment to make.
Dear Dan you works are amazing!! I like to check my printer accuracy . What is the pitch or module size that you used?. Thanks in advance. Shiran
dificult to see but part 27 does not sit low enough and would not engage with 25 anyway as its diameter is too small. just FYI my spacer part 28 is 12.8mm
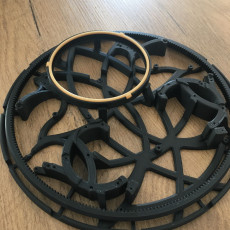
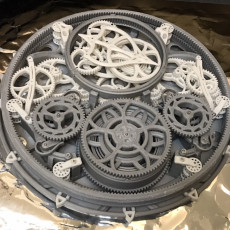
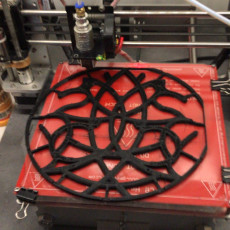
Ring gear has a diameter of 20cm and I printed the base like this : see photo, there are 2 missing areas
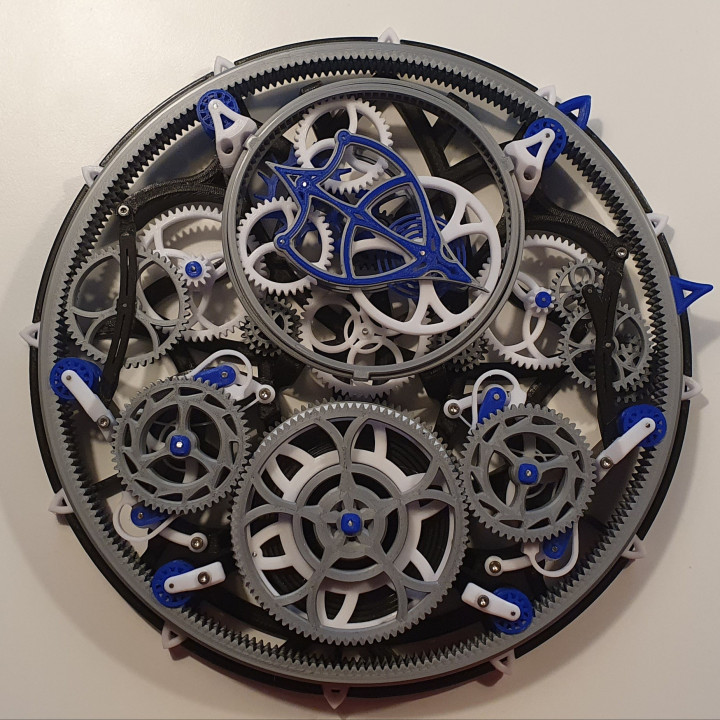
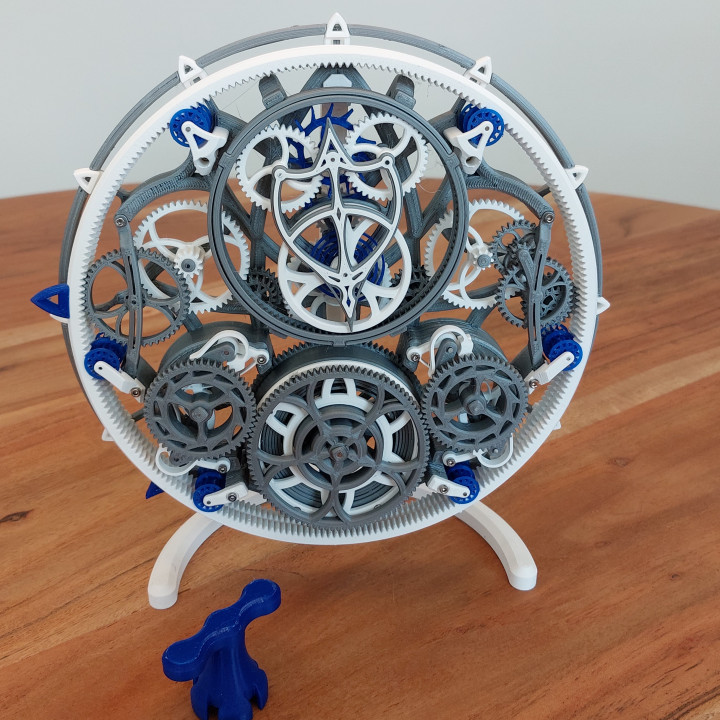
My version !
Just finished assembling and it works like a charm! Thank you for a great design and a great experience!
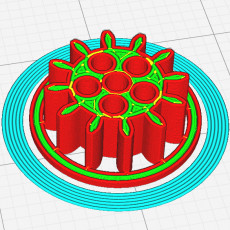
I can't fit the pieces, is the configuration correct?
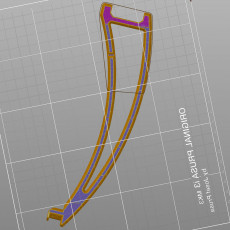
have u tried using cura or any alternative slicer? I just tried it on my prusa slicer and was able to select the side face to lie flat on the build plate. Ensure that you did not select the chamfered sides
Hi everyone, I am coming to you because trying to print part number 12 namely guide gear but without success the part does not have a problem but it is the collar around which is imprinted in my slicer it is missing of the filling apparently, all the other parts are printed without worry apart from this one I only need these parts to be able to pass to the assembly. For info I use simplify3D with the profile of Tommy Desrochers for the alfawise U30Pro. And sorry for english but i'm french and i use google translator. There it is, thanks
Just like this one here. I am most certain that it slows down the balance wheel thus adjusting the time in case the whole assembly its running too fast, but I was wondering if the weight of the bolts and nuts creates a larger "momentum" while it moves the fork ?
Hello, I made this change. Without the screws, the clock runs too fast. The screws weigh down the balance, which gives it more amplitude and therefore the clock runs less quickly. I attach photos which show the current setting with the screws. But the pendulum of the clock stuck regularly. I solved this stuck problem by adding a slat under the fork. This blade allows the fork to be braked, just enough to keep it where the finger of the balance has placed it. We see in the photo the screw that holds this strip which is a very thin piece of support and cut to the right size. The motorization of the clock allowed me to put the right amount of screws. Now, the clock indicates the correct time (1min shift per 24 hour). But after 3 or 4 days, the balance spring breaks (printed in ABS)
Finally finished this awesome design! Spent quite a while getting some settings tuned right for key parts, but overall, it was a huge milestone achieved. Just a fantastic design; thank you very much Dan!
Just finished last night, got it working! If you are interested in seeing a video of it working, see (sorry for the poor color of the video): https://vimeo.com/495016713. Printed on my Raise3D E2 using 0.40mm nozzles, PLA, except for mainspring which was PETG.
My result. Works for 10 minutes with PLA Mainspring. Will be switching to PETG Mainspring once I get my spool. I noticed that once all the minute and hour transmission + outer rings were put in, the assembly was not as smoothly rotating as in the tutorial video even though all the gears printed perfectly. Must be printer inconsistencies, but that's normal I think. Thank you so much Dan for all your effort in putting this toegether. Cheers!
My result. Works for 10 minutes with PLA Mainspring. Will be switching to PETG Mainspring once I get my spool. I noticed that once all the minute and hour transmission + outer rings were put in, the assembly was not as smoothly rotating as in the tutorial video even though all the gears printed perfectly. Must be printer inconsistencies, but that's normal I think. Thank you so much Dan for all your effort in putting this toegether. Cheers!
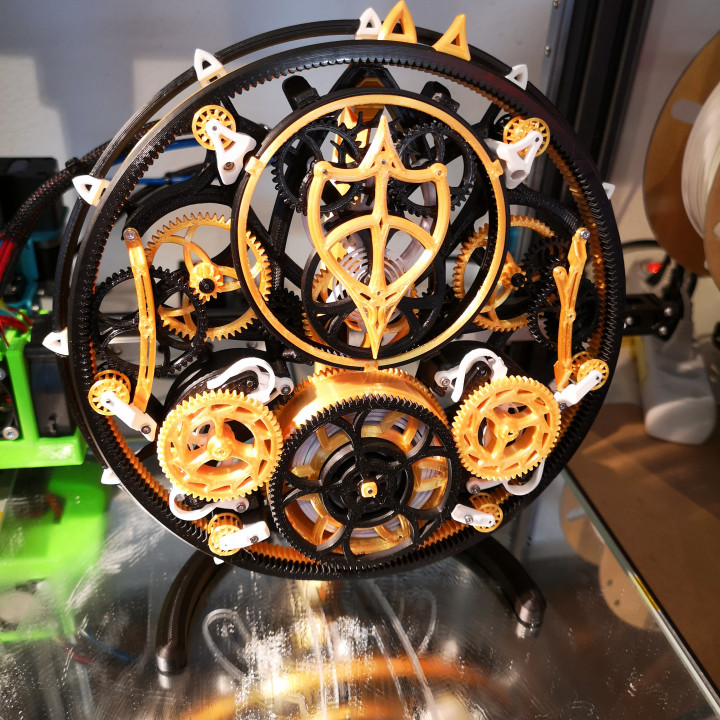
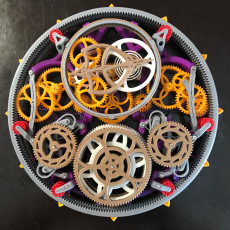
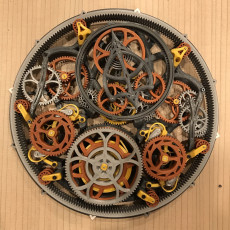
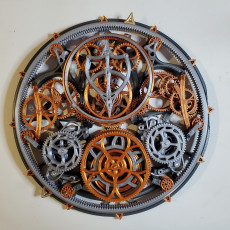
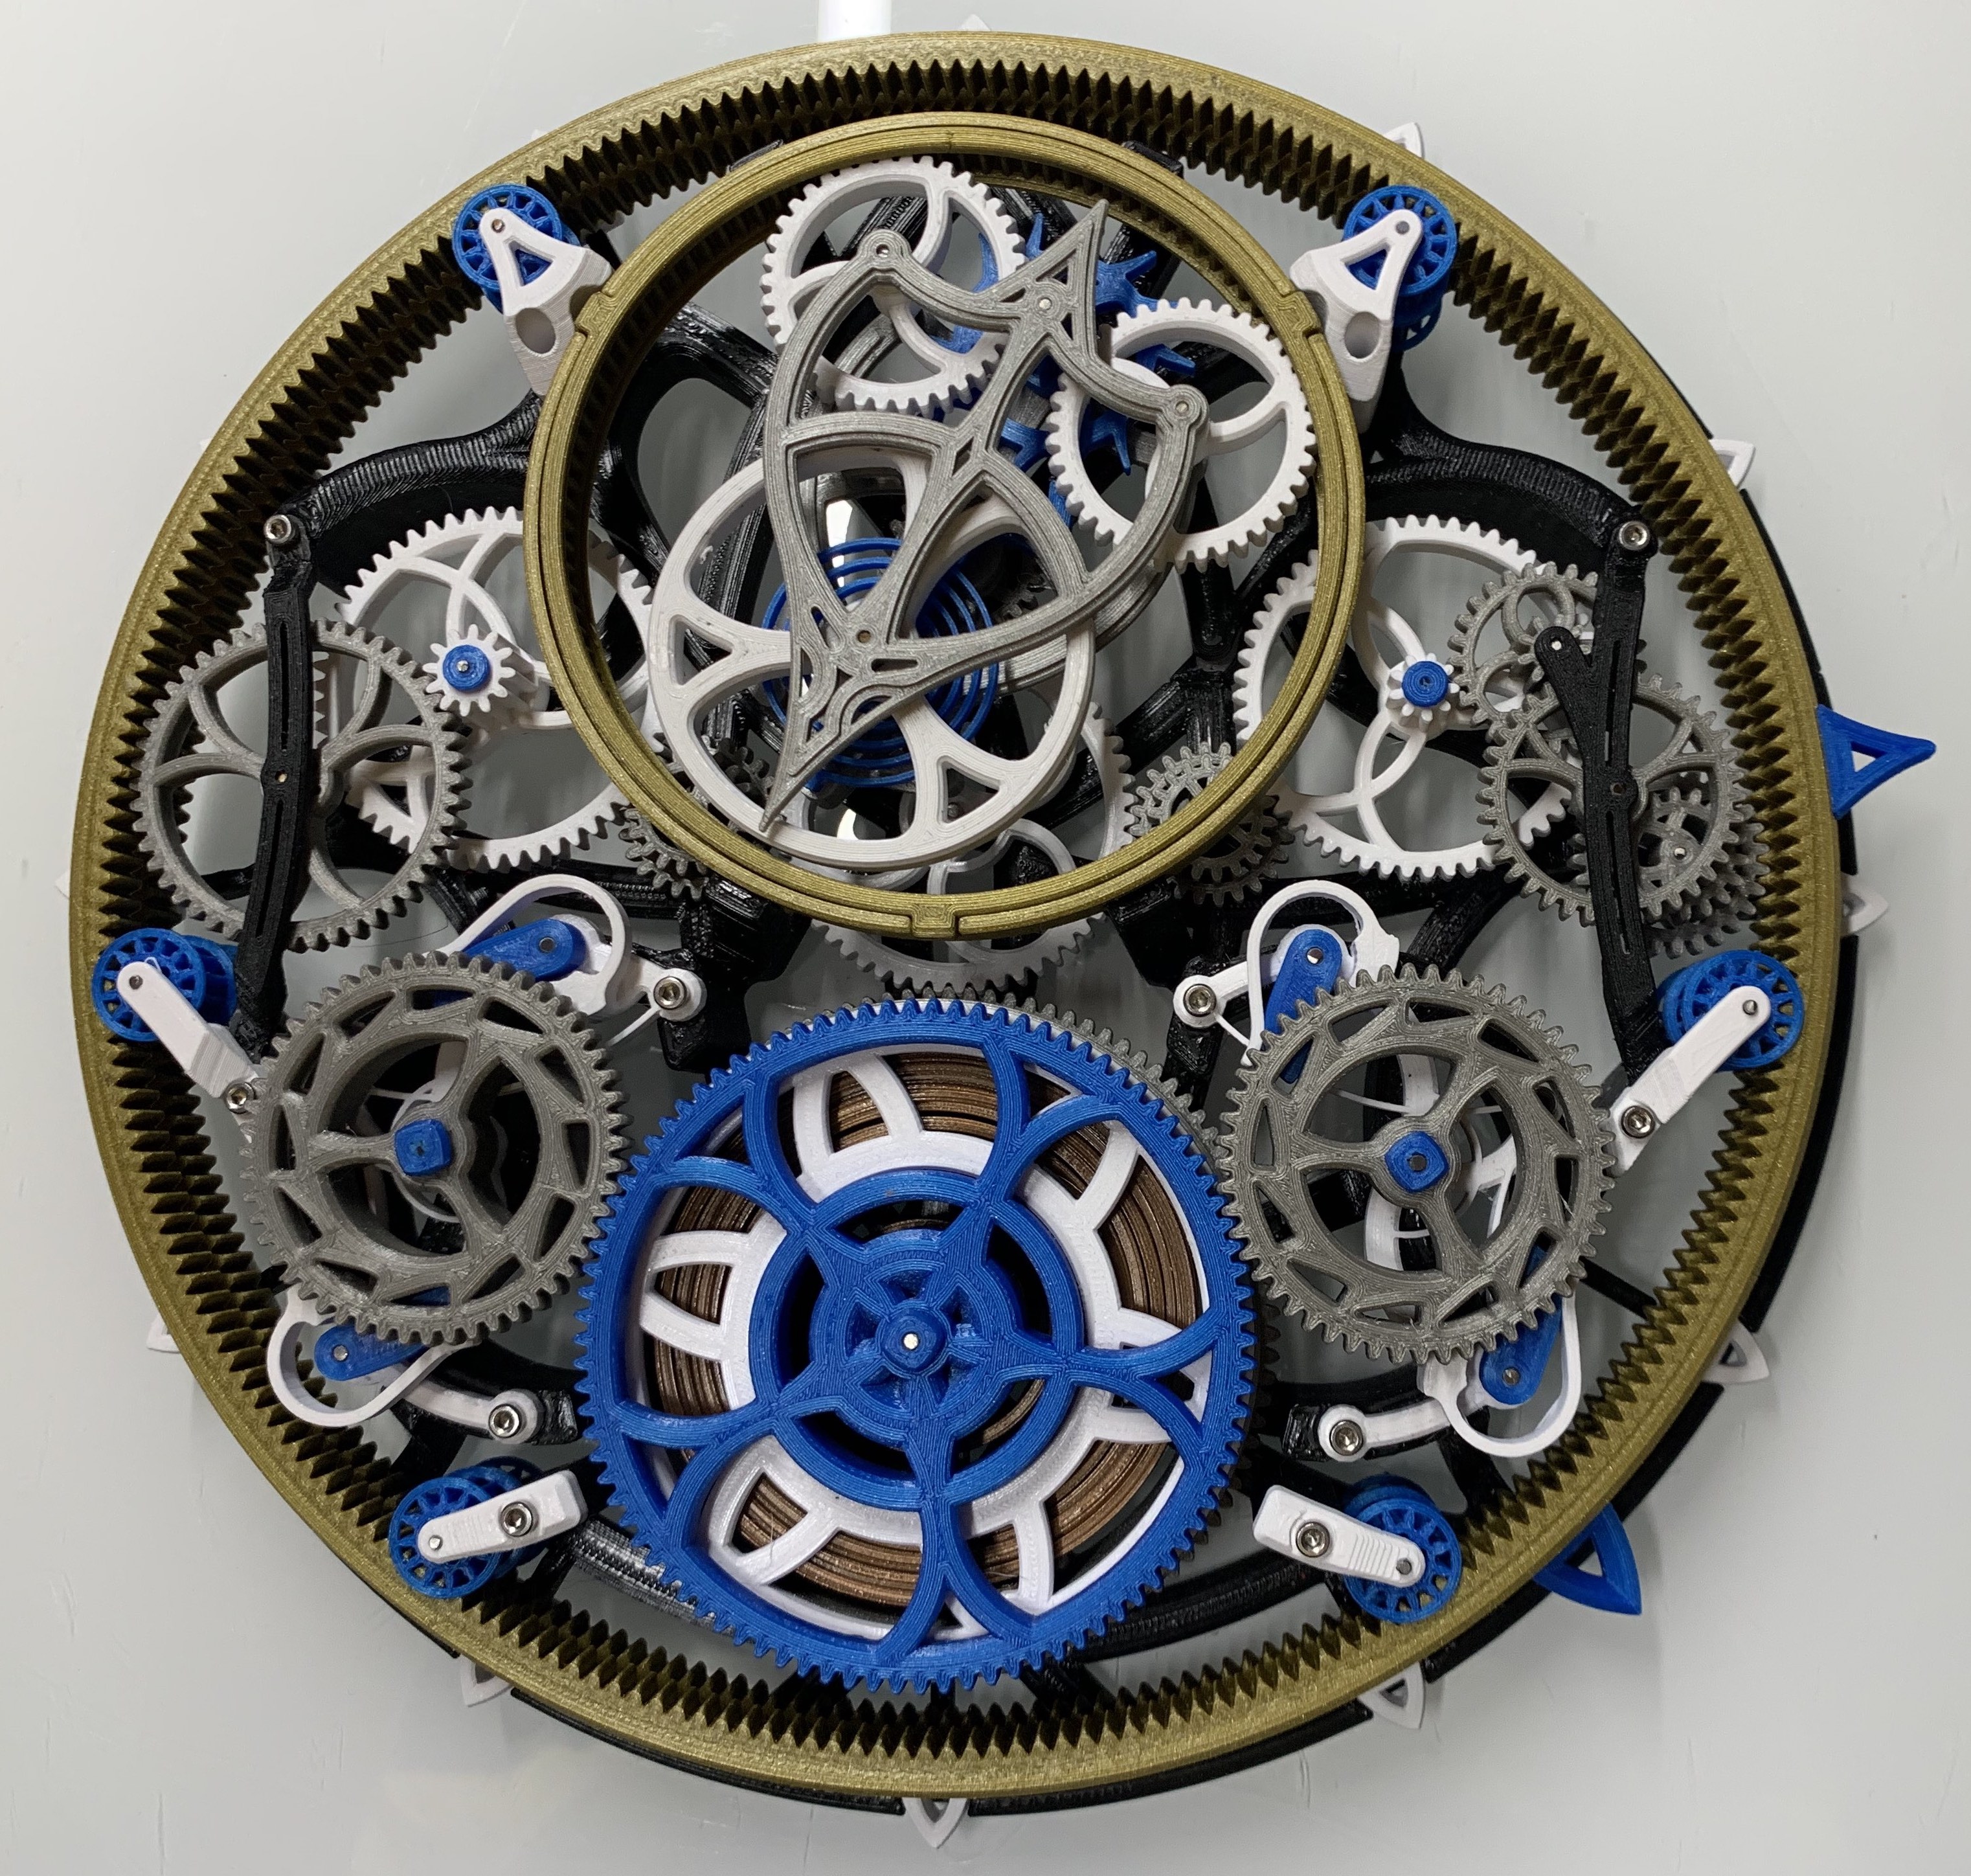
I first used a GOLD color but then I changed my mind to make less colored.
I've just finished the assembly and I must say this was a super fun to do from the beginning to the end. It took ~2 weeks because I built it with my 3yo son who was utterly thrilled (it looked like 3steps forward and 2 steps back at every stage :) ). I think he loved the journey more then the result. Result is fantastic despite the fact that I had a minimal 3D printing experience prior this one. The guide is well written so it could be printed easily (PLA, Prusa Slicer, Cura + Prusa i3 mk3) I have a few comments to the assembly guide: - 2x 10mm 1.5mm pins are missing in part list (pins for 35_Hour_Transmission_Bracket) - 1x 22mm 1.5mm pin is missing in part list (main spring pin) - I not sure why there are 14 1.5mm washers (6 for Guide Gears + 1 for tourbillon so 7 should be enough) - I'll have to add some screws to the balance wheel because the tourbillon is too quick and jams after few seconds of running. It would be handy to add holes to the design (stl) of the balance wheel - I faced an issue in Prusa Slicer for 48_Display_Stand_Post. It could not place the part flat on the bed properly. This was mainly issue in Prusa slicer which could be solved by using Cura. - I faced a lot of stringing on gears (PLA, between gears). It was caused by some Prusa Slicer setting because it printed inner part of the tooth and then transitioned to next tooth which made a lot of mess and basically the gear were spoiled. Cura morelike standard settings gcode was fine and produced very nice gears with no stringing and a lot faster than Prusa Slicer with stantart settings + 3 perimeters. - because of my lack of experience in 3D printing my biggest hesitation was the fact that the 10_base part was bigger than the printing bed. But my initial thought was I’m going to print it bigger anyway so there will be some splitting for sure. Finally printed it 1:1 and split in the lower part to avoid any functional parts which worked great and a superglue holds it perfectly together.
Great project. Printed on Creality CR-6 SE at 1.5mm resolution and 4.0mm nozzle. Sliced with CURA using default values for my printer. Combo of Hatchbox and Sunlu PLA. After a few days of no use the mainspring broke in a few places. Will reprint using PETG, as recommended, or may just go the metal route; haven't decided. Instructions were excellent, STL files excellent. Project went together almost effortless. Great job Dan!
Hi all - I'm really looking forwared to try this project. I dowloaded the files erlier today and I'm try to start with the base, Using Cura I see some strange ractangles of fill inside the base which I belive doesn't belong there as there is no reason for a support or something similar at these points. I have Ender 3 Pro, is anyone know how I can I slice the base witout these ?
J'ai motorisé cette horloge avec des moteur pas à pas, (2 moteurs car ils sont peu puissants). L'horloge fonctionne environ 4 ou 5 jours avant que le ressort du balancier se casse. Voir d'autre photos déjà déposées.
I completed this print-build project this weekend and I too am a big fan of Dan T. and the work he did to bring this interesting project to life. Thank you Dan for sharing you work! I am happy to pay the 25 bucks for the pleasure of pushing the limits of my knowledge of 3D printing and learning to get the most out of my Prusa MK3S printer. I learned a lot about how the tourbillon clock movement works and how a complex design like this can be implemented. Dan’s instructions were great, very complete, and easy to follow. A very fun project to build! My clock model runs well, though I am still fighting a bit of binding in the minute ring gear assembly that does not let it use the full unwind of the main spring before the movement stops. I had some stringing issues with the print of the #12 Guide Gears and I think these messy/imperfect gears are what are causing the occasional bind. I am going to reprint these with better quality and see if that clears up the issue. I still have to print the stand as well.
Terminado gracias dan
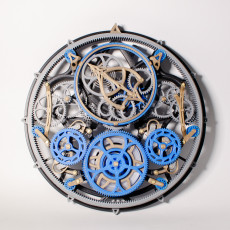
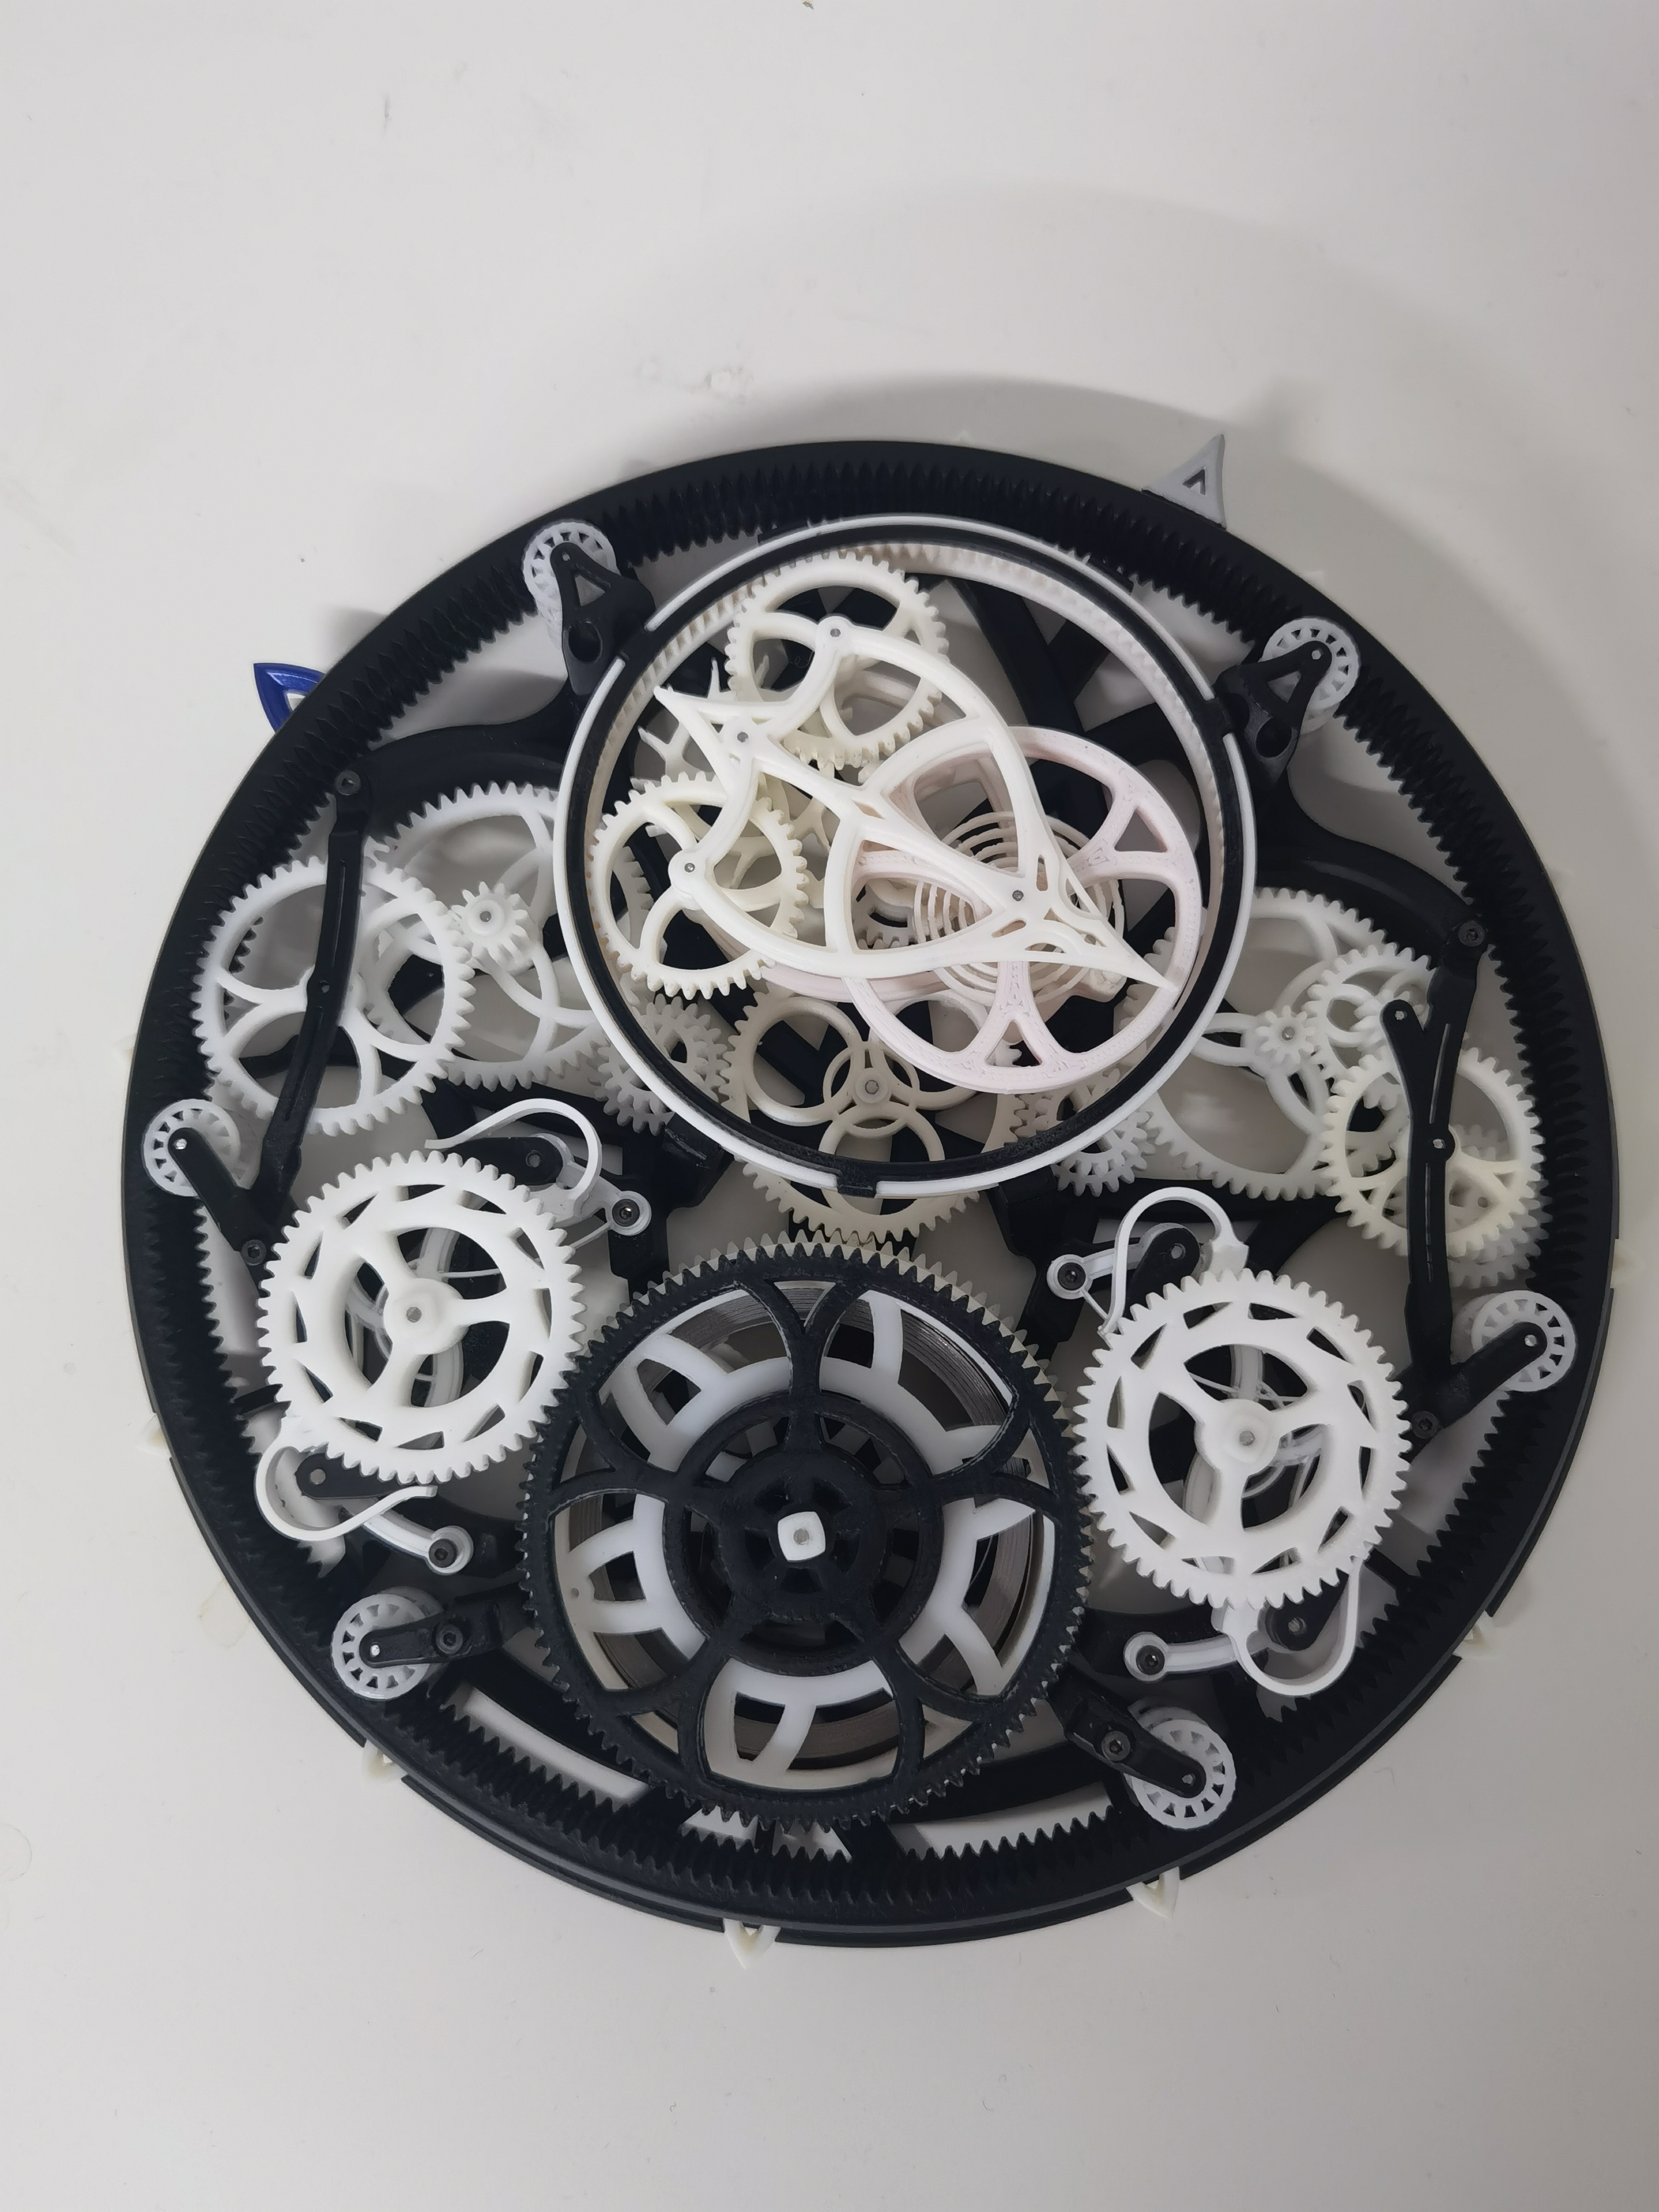
Our version of this beautiful tourbillon.
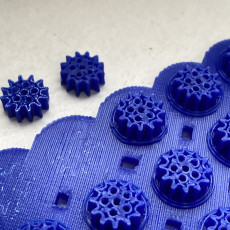
Impreso en Anycubic Chiron PLA Glitter de Leon·3D PLA Snow de Smartmaterials PLA Glitter Blue de Smartmaterials PLA True Black de Smartmaterials
My reddit post: https://www.reddit.com/r/3DPrintCommunity/comments/mqyuri/tourbillon_mechanica/
hi there , built the Tourbillon Mechanica .works great
Almost 2 months of work and I don't know how much swearing to fine tune all and make all working, but definitely one of the most satisfying works I've ever done! Thanks Dan, thanks a lot for such a great project!!!
I was super hyped, becuase i really like mechanisms as a whole. Came out pretty good. When i first built the tourbillon i was sceptical, because when using to little force on the runner wheel it would'nt run at all and when using to much force the impulse pin jumped out of the fork and the mechanism was blocked. The difference between not working and getting stuck was very little, so i ended up modifying the fork and made the prongs longer. Now it doesn't block itself anymore. The only thing i have to figure out now is the timing of the assembly. Right now its runs way too fast. Also the speed depends on how much i wind up the main spring, which sucks. Since i dont want to add weight to the balance wheel, im tuning it trying different stiffnesses for the main spring.
I have finished the build but the gears that trap the escape wheel put so much pressure it won't run on its own. I am not sure what to do to make it work.
It works smoothly! The second hand sometimes gets stuck.
Here are the settings that i used for my printer. You may need to play around with the origin position slightly (+/- 1mm) depending on your printer end stop variation in order to ensure that nothing gets cut off. Hope this helps!
Finished! Loved this project!
Printed on a Anycubic Mega S. Cutted the bottom in two parts to fit it on the printers bed.
Printed on an Ender 5 with DD and an SKR Board + 2209s. Worked great. Had to modify a few files to fit a bit better. Really happy how it came out. Awesome design!
Hi All, After printing the "Mini Mechanica 2.0" I've decided to print its big brother, the "Tourbillon Mechanica". Still needs some tweaking to extend the running time of the clock, but basically I'm happy with the result. Biggest parts printed on a MK3S with a 0.4 nozzle. Al gears and small stuff printed on a MINI+ with 0.3 nozzle. Short video here: https://youtu.be/rvbzjQHECdg Parts fit very well. The manual is excellent!
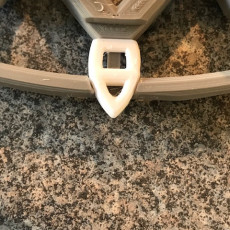
Looks like the hour and minute markers are the same part. The hour marker looks different in the instructions. Have I missed something or do you need to update the package with the correct file? Great project - very cool to see it run.
Hi, I finished mine over Christmas holidays. Works very well and looks beautiful! I will provide links to videos as soon as I set up my youtube channel! Big thanks to Dan!
Wonderful design! Printed very well and works as expected.
Perfect design! Mine contain mutiple material including PLA, PETG and Resin printed parts. The steel spring can power this clock more than an hour.
Thanks for a Beautiful design.
bennyvoks • Benny Voks • 5 minutes ago✕ Love this! Printed with 0.4 nozzle all the way. Around 10 minutes running with the petg spring. Any idea how to motorize this masterpiece?
Thanks for the design. Enjoyed it. :)
Excellent Christmas project for my new Bambu P1S with AMS
Geschaffen
Hi, very happy with my release printed on Ender 3 V3 SE all PLA, 0.4 Nozzle. Now my next challenge will be to make the piano by Dan. And I think this one would be a real challenge...
Fun build! Brilliant design work!
Well it was an interesting build! I have to say the instructions were good! Seemed like lots of files were upside down but not a big issue. Still in the process of getting it adjusted. The Tourbillion is a pain but its probably me. I plan on rebuilding it. Thanks for a good project!
Striking project! Thanks
This has been a wonderful project! I had some troubles with the small parts (did not have an 0.3 nozzle, printed them with a 0.2 nozzle) and printing the mainspring with PETG - but after looking into the details and get me some help online it finally works :-) Printed on an Anycubic Kobra 3 Combo. Filaments are all from Anycubic - and for the mainspring o only had bright orange PETG at hand. I love it :-)
PLA Silk mit 0,2 mm Düse und PETG mit 0,4 mm Düse. Hat nur 6 Tage Druck gedauert, 1 Tag Montage
Das Tourbillon hat sofort funktioniert. Für Basis und Feder habe ich PETG mit Düse 0,4 mm verwendet. Den Rest PLA Silk mit Düse 0,2 mm gedruckt. Von der Escape Fork habe ich das Referenzteil verwendet. Ich habe noch nie so viel Spaß mit den Bau von 3-D-Modellen gehabt, weil alles sehr gut passte. Die Dokumentation ist wirklich ausgezeichnet.
I managed to print the base on 250x210 by setting the the plate at 250x216 and moving the starting point at 0 - 3 the last 6mm are printed on the wiping area, everything printed very nice. You need to remove the skirt as well, there's no place for it.